The best UX solutions don’t come from having all the answers, they come from asking the right questions.
Design thinking is a way to do just that. It’s not about guessing what users want but about uncovering real problems and testing creative ways to solve them.
Start prototyping innovative apps today. Unlimited projects!
The most valuable products, regardless of their industry of sector, tend to solve problems for people. It’s a basic concept taught in most business schools: people are willing to pay money to have their problems fixed for them. From the UX side of design, you can create a tool that helps people live their lives to the fullest, with as little stress as possible.
The design thinking methodology is a means to that end. It’s natural that UX designers set out to solve people’s problems, whatever those may be – but solving problems can be challenging. After all, how do we even identify problems in people’s everyday lives? This can be more difficult than anticipated, especially so in the 21st century when we already have solutions for almost everything.
Design thinking is a problem-solving approach that helps UX designers tackle complex, ambiguous challenges by keeping people at the center of the process. At its core, it’s about understanding users, redefining problems, and coming up with creative, practical solutions that actually improve lives.
The concept dates back to The Sciences of the Artificial (1969) by Herbert A. Simon, but over the years, it has evolved into a widely adopted methodology, with the Hasso-Plattner Institute of Design at Stanford (aka the d.school) being one of its biggest champions.
Unlike traditional problem-solving methods that break problems down in isolation, design thinking is hands-on; testing, tweaking, and refining ideas in a continuous cycle. It pushes teams to experiment, test, and refine their ideas through an iterative process. The goal? To create innovations that are not just functional but meaningful, intuitive, and desirable.
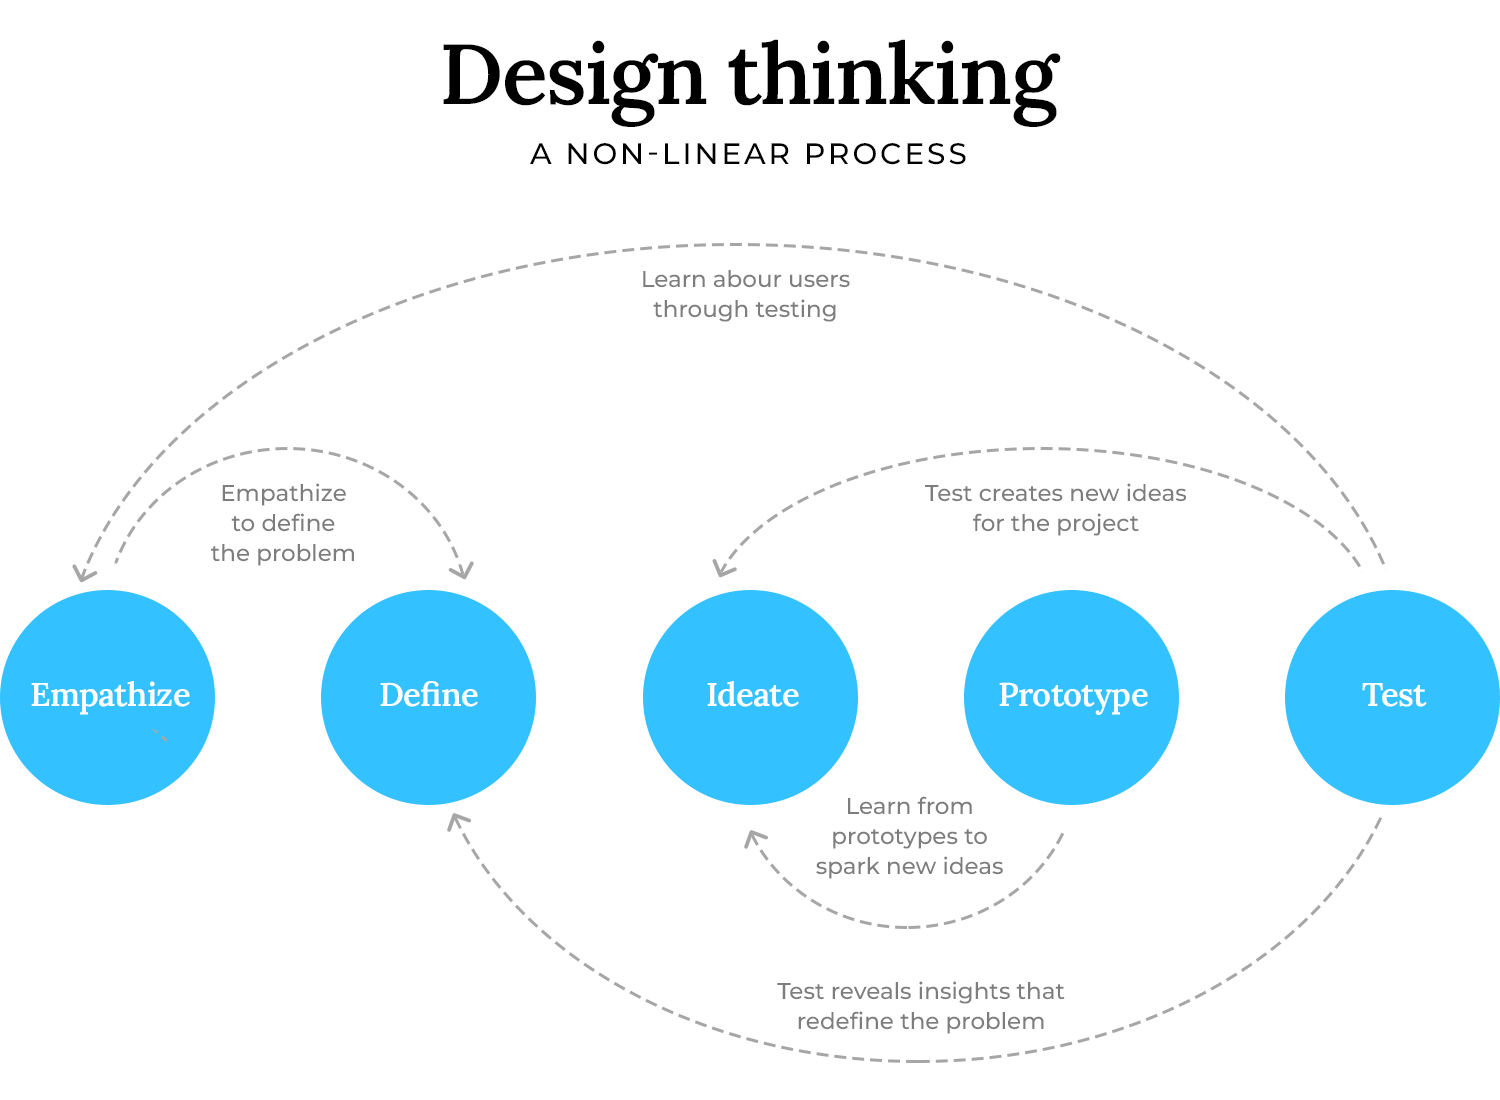
Because design thinking is flexible, different teams and industries have developed their own variations of it. While the core principles remain the same; empathize, define, ideate, prototype, and test, there’s plenty of room to adapt the process to fit specific needs.
At the end of the day, design thinking isn’t just for designers, it’s for anyone looking to create thoughtful, user-centered solutions that solve real problems in a way that feels natural and effortless.
Design thinking isn’t about following a strict checklist, it’s a mindset that keeps users at the heart of product development. But to turn that mindset into action, we have a flexible five-step process that helps designers move from understanding a problem to building a real solution.
Each stage flows into the next, and it’s rarely a straight path forward. You might uncover something during testing that sends you right back to defining the problem, or you may tweak a prototype after an unexpected insight from a user interview. That’s the beauty of design thinking, it evolves as you learn.
Let’s break down each step with real-world UX examples to see how it all comes together.
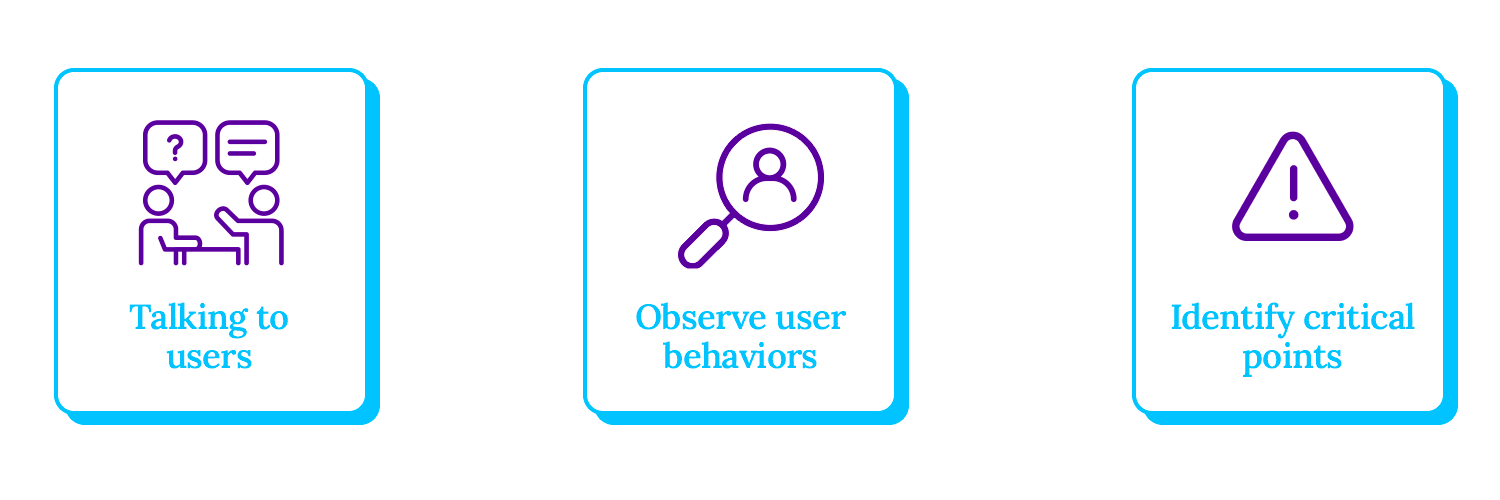
Every great UX design starts with empathy. Before thinking about solutions, you need to step into the user’s world and uncover what they truly need. This means talking to them, observing their behaviors, and identifying pain points they may not even be aware of.
Real-world example: imagine you’re designing a fitness app for beginners. Instead of assuming what users want, you conduct interviews and observe how they interact with existing workout apps. You find that most feel overwhelmed by too many features and just want a simple, structured way to stay consistent. This insight shapes your approach, ensuring your design addresses their real struggles rather than assumed ones.
Once you’ve gathered insights, it’s time to define the core problem. Instead of focusing on company goals, this stage is about articulating what users need in a way that guides design decisions.
Ux project example: after research, you realize the problem isn’t just that beginners lack motivation, it’s that they don’t know where to start. Instead of a vague problem statement like “we need to create a fitness app for beginners”, a better approach is “newcomers to fitness need a structured yet simple way to build consistent workout habits without feeling overwhelmed.” This keeps the focus on the user, making it clear what your solution should accomplish.
With a well-defined problem, it’s time to generate ideas. The goal here is quantity over perfection, capturing as many potential solutions as possible before narrowing them down.
Popular techniques:
- Crazy 8s: each team member sketches eight different ideas in eight minutes, forcing quick, creative thinking.
- Mind mapping: starting with the problem at the center and branching out with possible solutions.
- Worst possible idea: brainstorming deliberately bad ideas to break conventional thinking and spark unexpected solutions.
For the fitness app, crazy 8s might lead to ideas like a simple “streak tracker” for consistency, an AI feature that suggests workouts based on mood, or a short daily workout plan designed to feel achievable. At this stage, nothing is dismissed, what matters is exploring different angles before refining the best ideas.
A prototype turns an idea into something real. It doesn’t need to be a high-fidelity product, just enough for users to interact with and provide feedback. Prototypes can be anything from paper sketches to interactive mockups created with a tool like Justinmind.
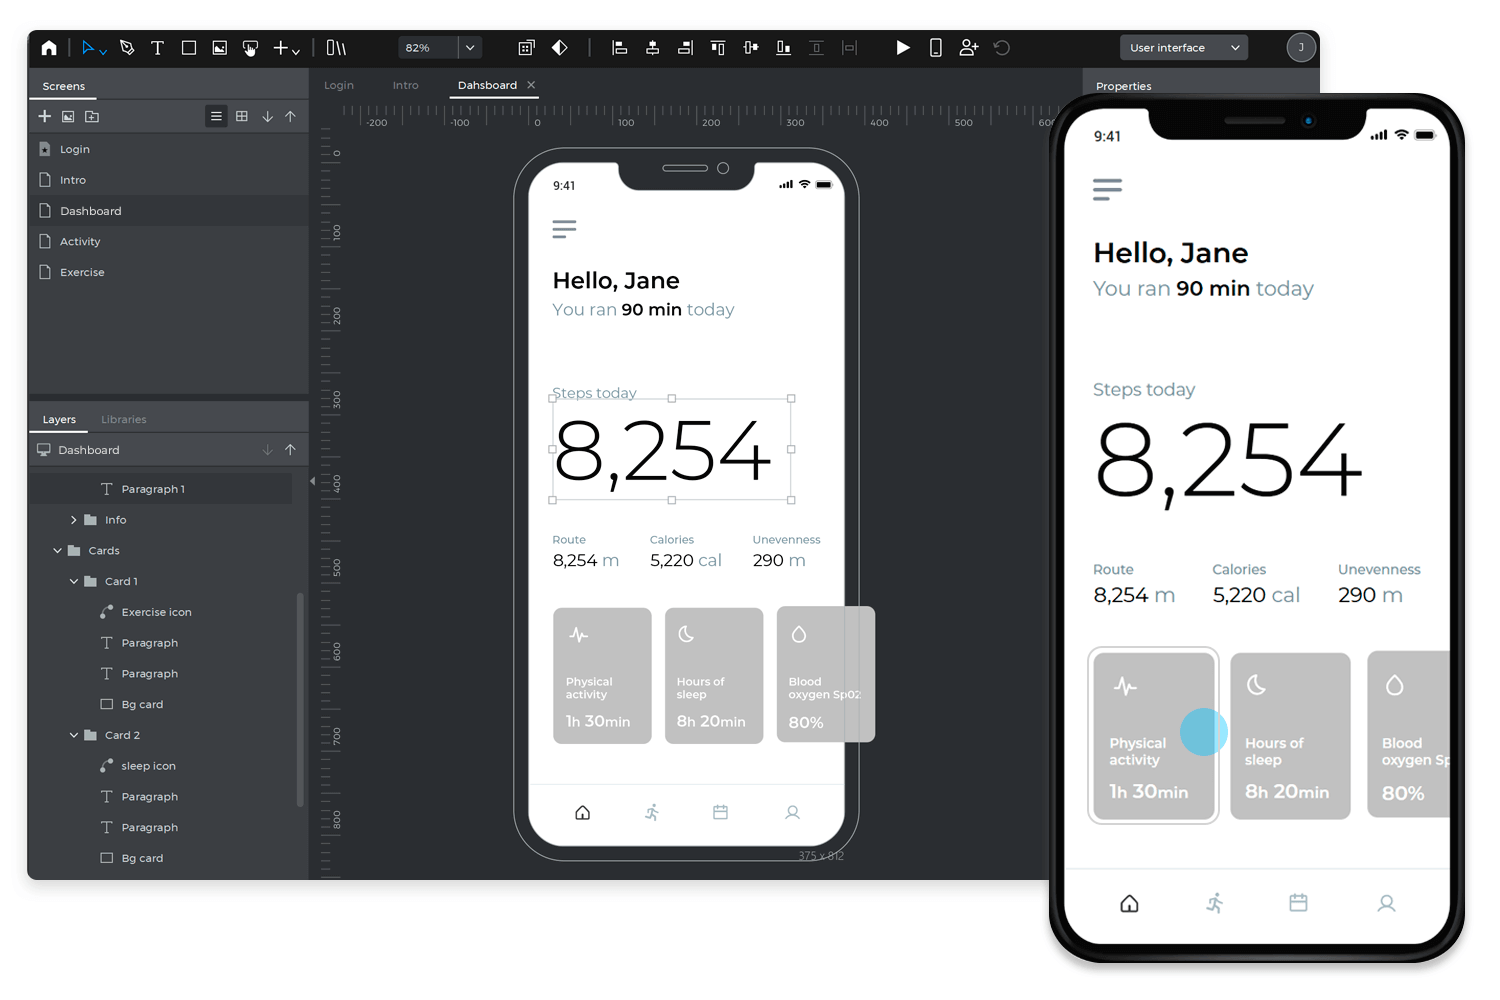
For the fitness app, your team decides to prototype a habit-tracking feature. Instead of coding a full app, you use Justinmind to create a clickable wireframe. This lets users tap through a simulated experience, helping identify what works before committing to full development. The key here is to stay flexible; prototypes are meant to evolve, not be perfect from the start.
User testing reveals how well a design works in practice. Rather than just asking users if they “like” a design, the goal is to observe their interactions and uncover friction points.
Tips for effective user testing:
- Let users explore without guidance. If they need constant explanations, the design isn’t intuitive enough.
- Ask open-ended questions like “what did you expect to happen here?” instead of yes/no questions.
- Look for patterns. If multiple users struggle with the same element, it signals a design issue.
During testing, you notice users enjoy the habit-tracking feature but struggle to find it in the app’s navigation. That’s a usability issue that can be refined before moving forward with development. Testing isn’t a one-and-done step, it’s a continuous process of learning, tweaking, and improving based on real user feedback.
Start prototyping innovative apps today. Unlimited projects!

Testing brings valuable insights, but what happens after? Design thinking doesn’t stop at refining a prototype, it keeps pushing for better, more intuitive experiences. That’s what makes it such a powerful tool in UX design. It’s not just a process; it’s a way of thinking that helps teams move beyond assumptions, uncover real user needs, and craft solutions that feel seamless.
Good UX isn’t a happy accident. It comes from an intentional, iterative approach where user research, collaboration, and creative problem-solving all work together. That’s exactly what the design thinking process is built for.
- User-centered solutions: many products miss the mark because they’re built on assumptions instead of real user insights. Design thinking flips that by focusing on research first; watching, listening, and uncovering what people actually need. Example: a budgeting app team assumes users want detailed financial breakdowns, so they invest in complex analytics. But research shows most people just want a simple way to track spending. That shifts the design approach, prioritizing ease of use over features that might overwhelm them.
- Encouraging collaboration across teams: great UX doesn’t happen in a vacuum. Designers, developers, product managers, and stakeholders all bring different priorities to the table. If they’re not aligned early, the result is last-minute changes, delays, and missed opportunities. Design thinking helps by creating space for collaboration from the start, through workshops, brainstorming, and prototyping.
Example: a team redesigning an e-commerce checkout involves developers, designers, and business leaders from the beginning. Instead of clashing later over conflicting goals, they shape a solution together, one that’s visually appealing, technically feasible, and conversion-friendly.
- Drives innovation and creativity: the best ideas often come from trial and error. Design thinking encourages teams to test ideas, tweak them, and push past obvious solutions. Example: Airbnb’s early growth was slow, and traditional marketing wasn’t working. Instead of just adjusting their ads, they reframed the problem: people weren’t booking because listings had poor-quality photos. Their fix? Sending professional photographers to hosts. That one decision helped transform their business.
- The value of thinking beyond features: a great product isn’t just functional, it feels effortless. Design thinking helps teams stay flexible, explore ideas, and fine-tune experiences until everything fits naturally. The process isn’t rigid or linear, and that’s the point. The more teams embrace iteration, the better their products become not just in usability, but in how they truly fit into people’s lives.
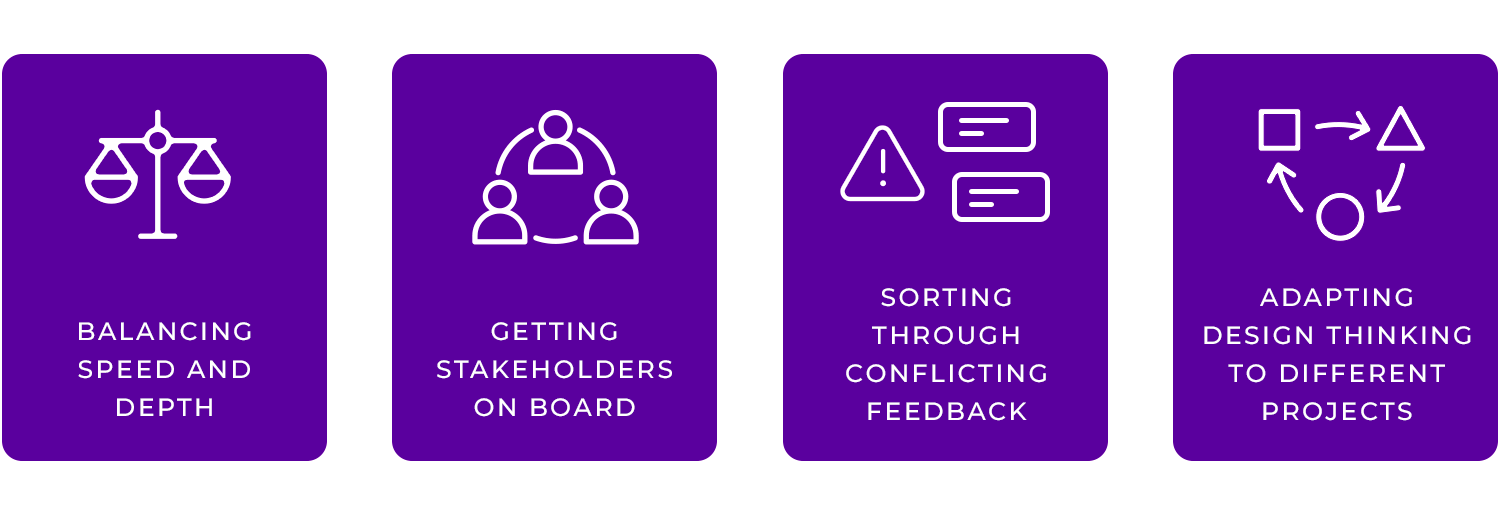
Bringing design thinking into real projects takes more than understanding the process, it requires flexibility, collaboration, and a willingness to adapt. Challenges come up along the way, from balancing research with fast-moving deadlines to getting teams aligned on a shared vision.
Here are some common roadblocks and ways to tackle them:
Design thinking encourages deep user research, but in fast-moving projects, time is often limited. The trick is knowing when to go deep and when to move fast. Instead of getting stuck in endless research, focus on the essentials; what are the biggest user pain points? What assumptions need validation right now?
Quick prototypes, low-fidelity wireframes, and small usability tests can provide early insights without slowing things down. For instance, if you’re redesigning a website, test the navigation and key call-to-actions first before refining individual page layouts. This way, you’re always learning without delaying progress.
Not everyone in a company will immediately see the value of design thinking. Some stakeholders may be skeptical, seeing it as a “nice-to-have” rather than a business priority. Instead of trying to convince them with theory, let them experience it firsthand.
Invite stakeholders to user testing sessions and let them see real users struggle with a product. Share stories and data that connect user needs to business goals, like how a streamlined checkout process can increase conversions or how improving onboarding reduces support costs. Numbers help, but nothing beats watching a frustrated user in real time to make the case for better design.
A very important note regarding this stage in the design thinking process is that the designer needs to resist the temptation to form assumptions regarding users.
This is more difficult than some realize, as it’s human nature to assume things about people. You need to take care, as assumptions can lead your product away from a real solution and into the realm of useless pretty products users don’t hate, but don’t need either.
User research can sometimes feel overwhelming, especially when different users say different things. One person loves a feature, another finds it confusing, so what do you do?
The key is spotting patterns. If one person struggles with a button placement, it might not be a big deal. But if eight out of ten users can’t find the “Help” section, that’s a real problem. Prioritization is everything, focus on fixing what impacts the most users. And when internal opinions clash? Let the data decide.
Every project is different, and design thinking isn’t a rigid formula. A small startup might rely on quick guerrilla testing and scrappy prototypes, while a larger enterprise may invest in in-depth research and usability labs. The process should fit the project, not the other way around.
For complex enterprise applications, you might need to spend more time in the “Define” stage to fully understand workflows before jumping into ideation. For a fast-moving consumer app, rapid iteration and real-world testing might take priority. The best teams know when to adjust the process to suit the problem at hand.
Start prototyping innovative apps today. Unlimited projects!

Applying the design thinking process requires the right tools to gather insights, explore ideas, and refine solutions. From researching user needs to testing prototypes, these tools help teams organize information, collaborate effectively, and iterate with confidence. Below is a selection of tools categorized according to their role in the design process.
Understanding users goes beyond collecting data, it’s about uncovering motivations, frustrations, and real behaviors. These tools help teams gather, organize, and interpret user insights to build a solid foundation for design decisions.
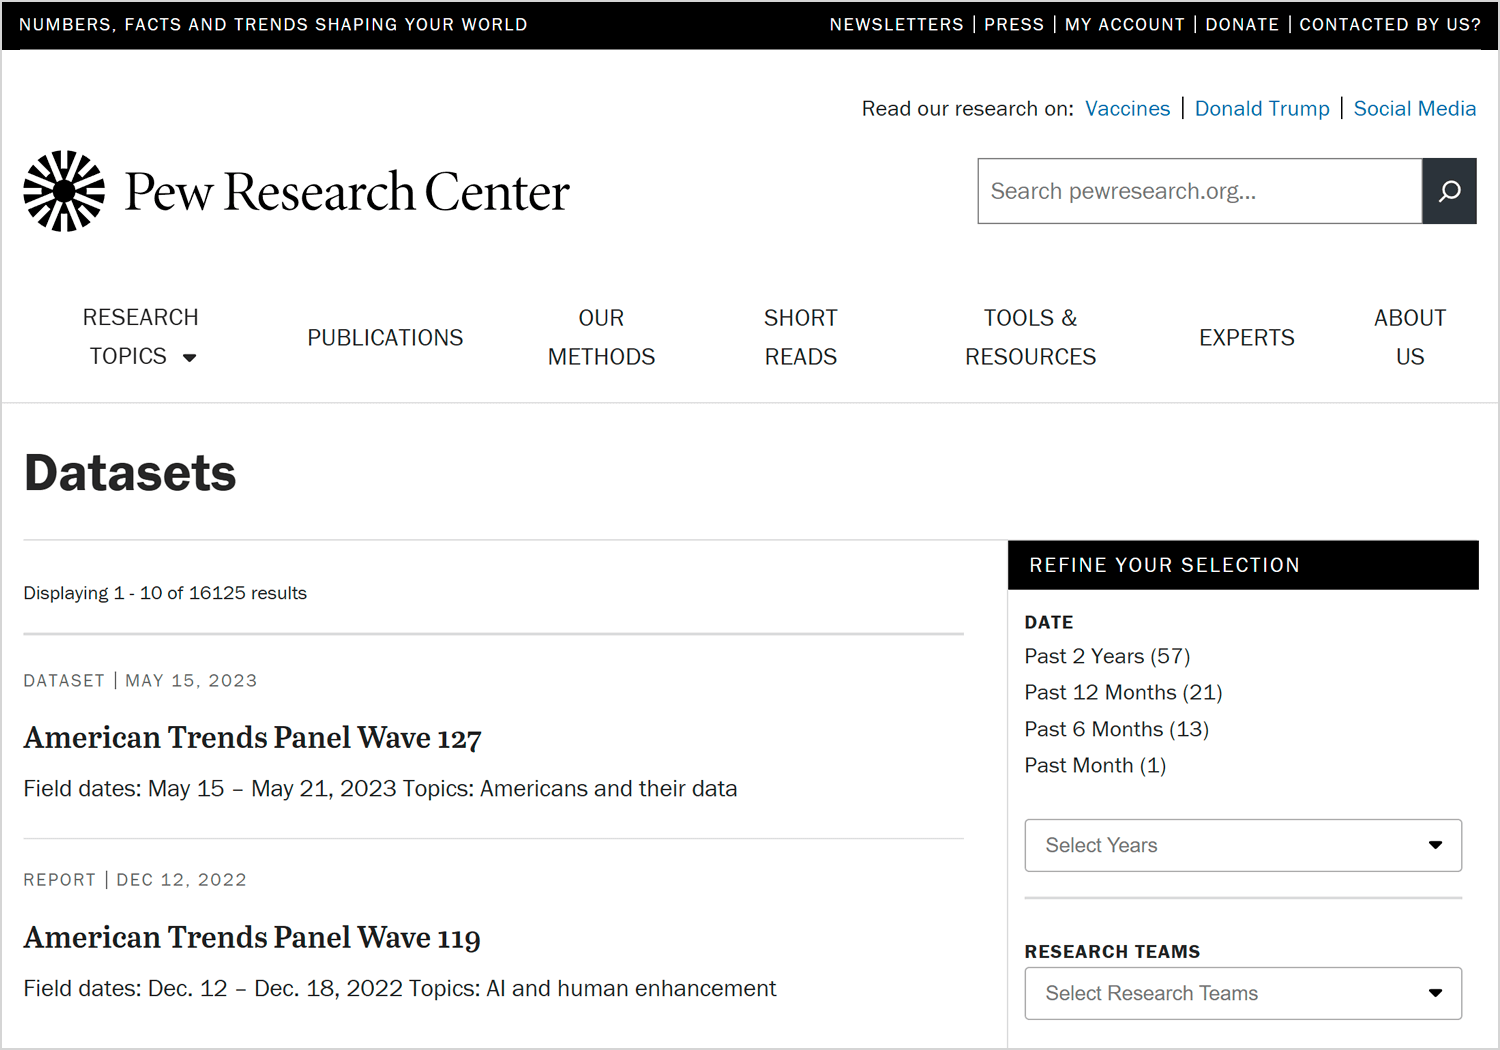
A valuable resource for market trends and consumer behavior, helping teams understand broader patterns before diving into specific user research. While it won’t provide highly specific user data, Pew Research Center can reveal general trends in technology, internet usage, and consumer sentiment.
Cost: free
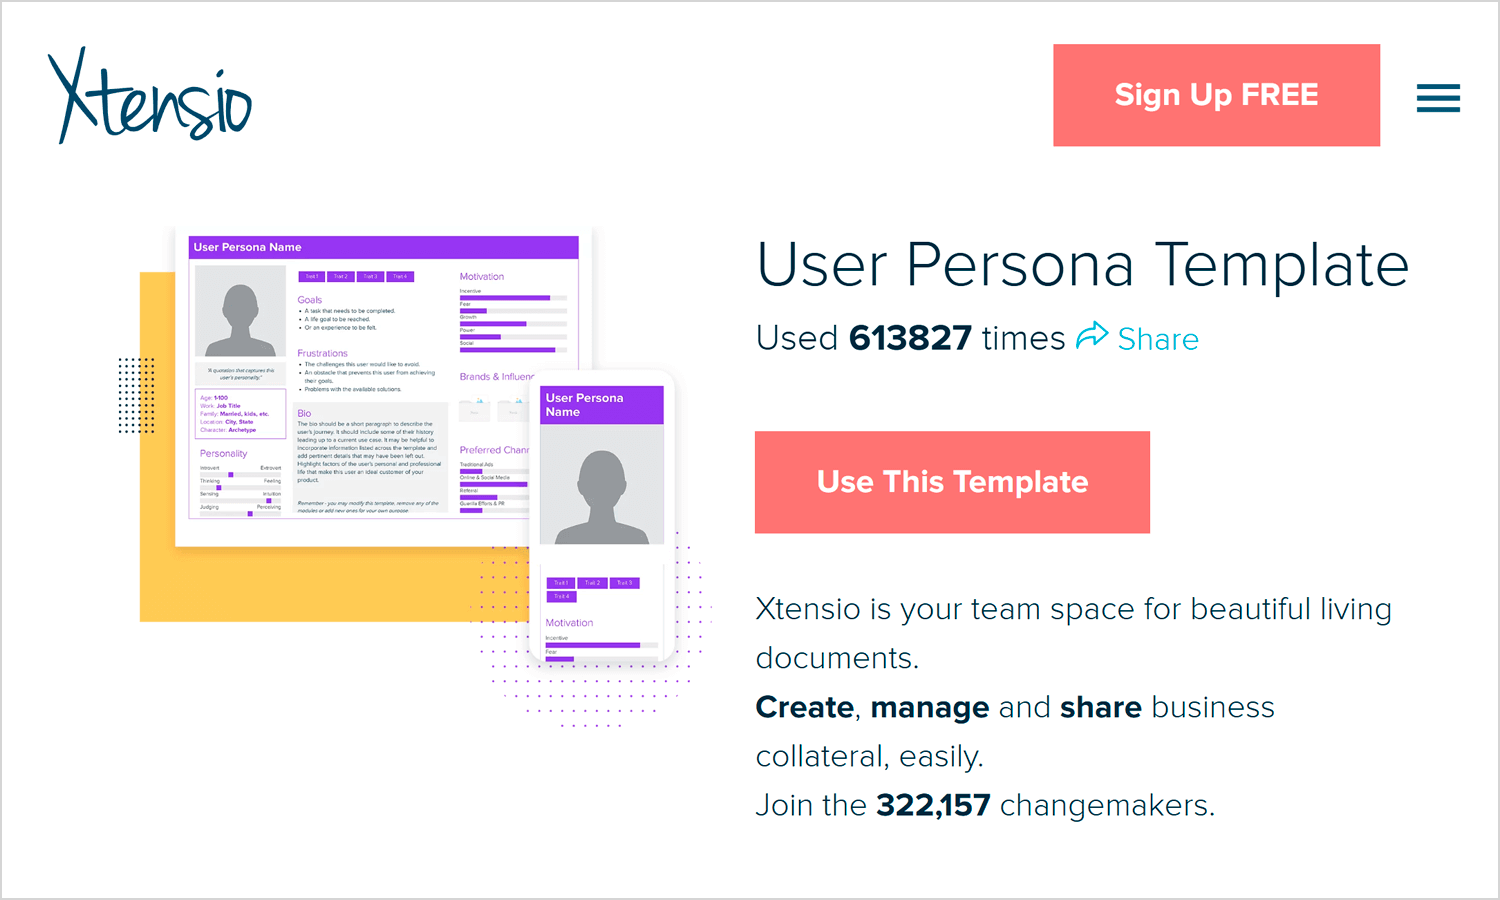
Xtensio helps designers create user personas based on real data rather than assumptions. It provides structured templates where teams can detail motivations, frustrations, and personality traits. The free version allows up to five personas, making it a useful tool for smaller teams.
Cost: free with a paid upgrade available
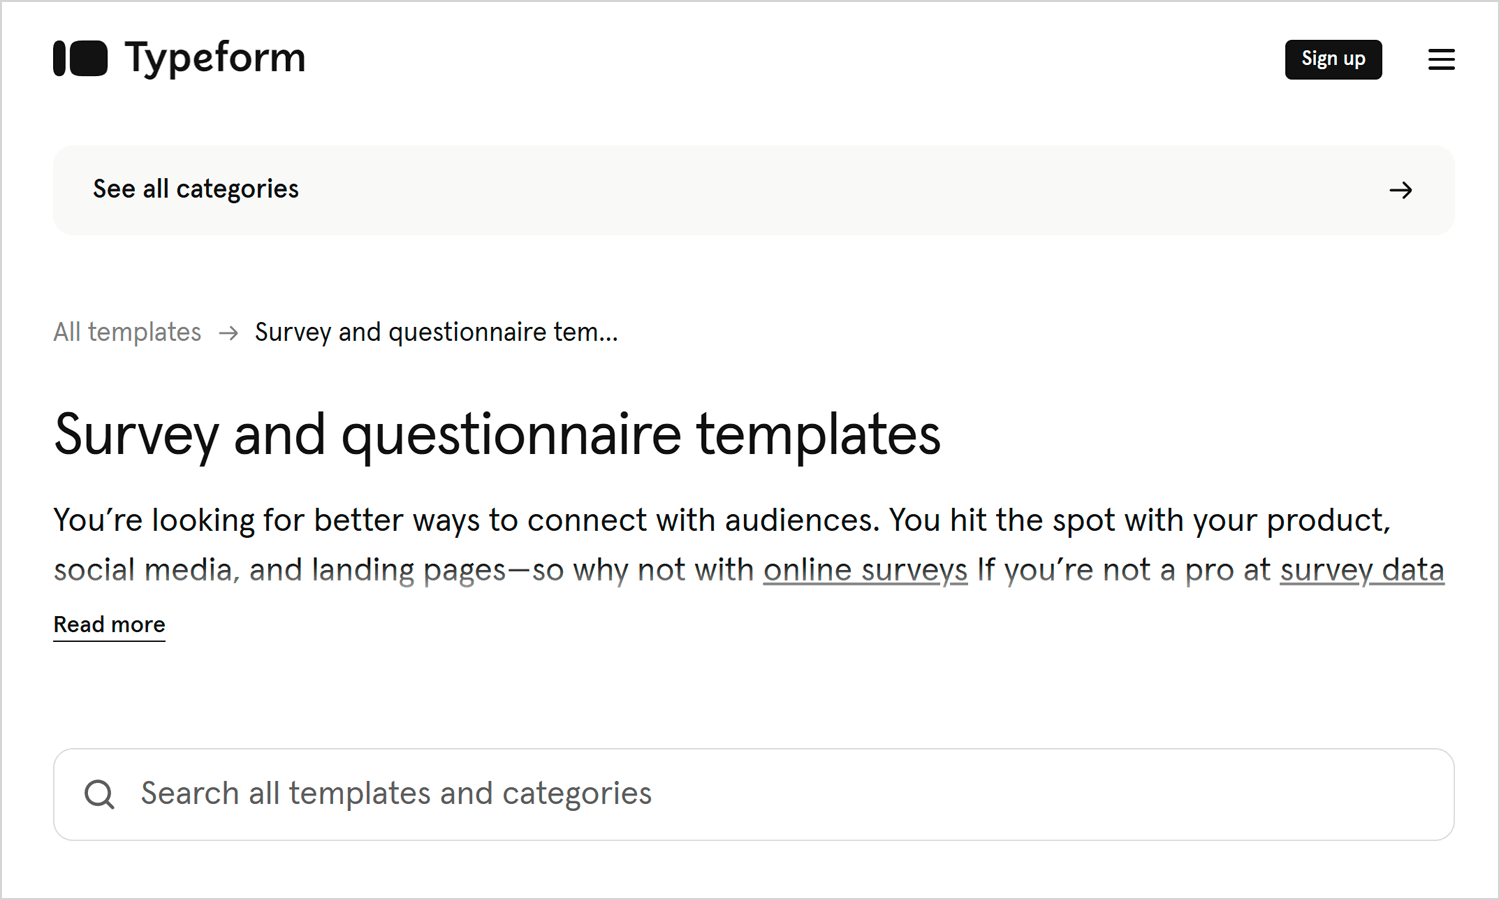
A popular tool for designing surveys to collect large amounts of user data. With customizable templates, Typeform allows teams to gather structured feedback while guaranteeing an engaging user experience.
Cost: free basic plan, paid plans start at $25/month
Sometimes, the best way to understand users is through direct conversations. Zoom makes remote interviews easy, allowing teams to talk to users worldwide and observe their pain points firsthand.
Cost: free

Defining the problem from which users suffer and your product solves can be tricky. These tools help teams structure insights, refine challenges, and break down complex issues into actionable solutions.
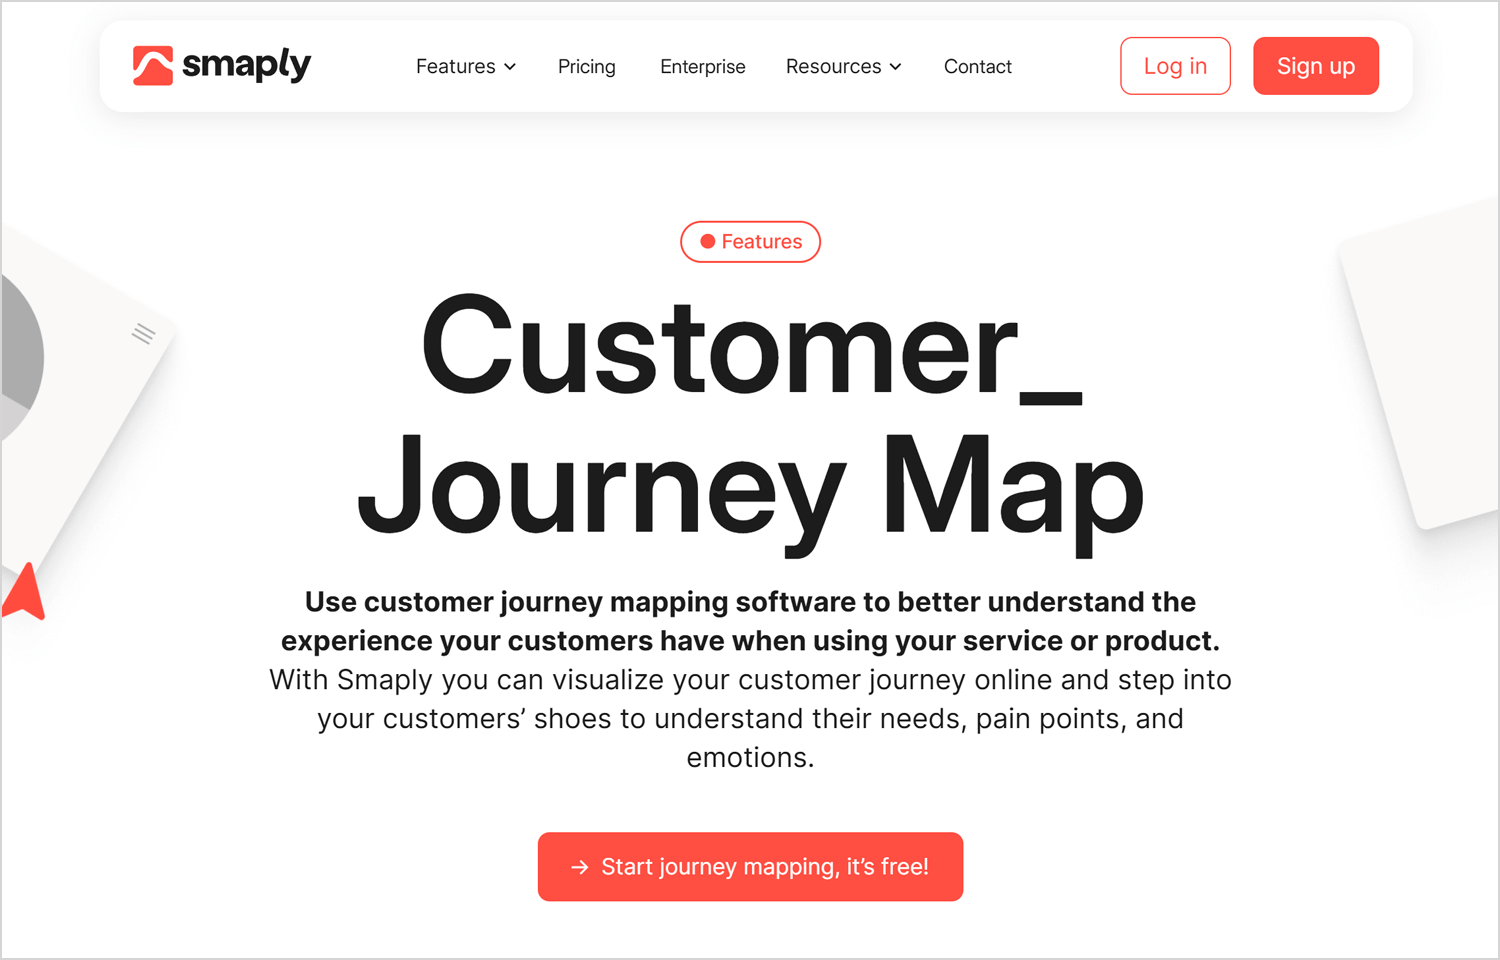
By mapping out the steps users go through, Smaply helps designers visualize pain points and understand motivations, frustrations, and needs. It’s a useful tool for refining problem statements and aligning teams on user challenges.
Cost: pricing starts at $25/month
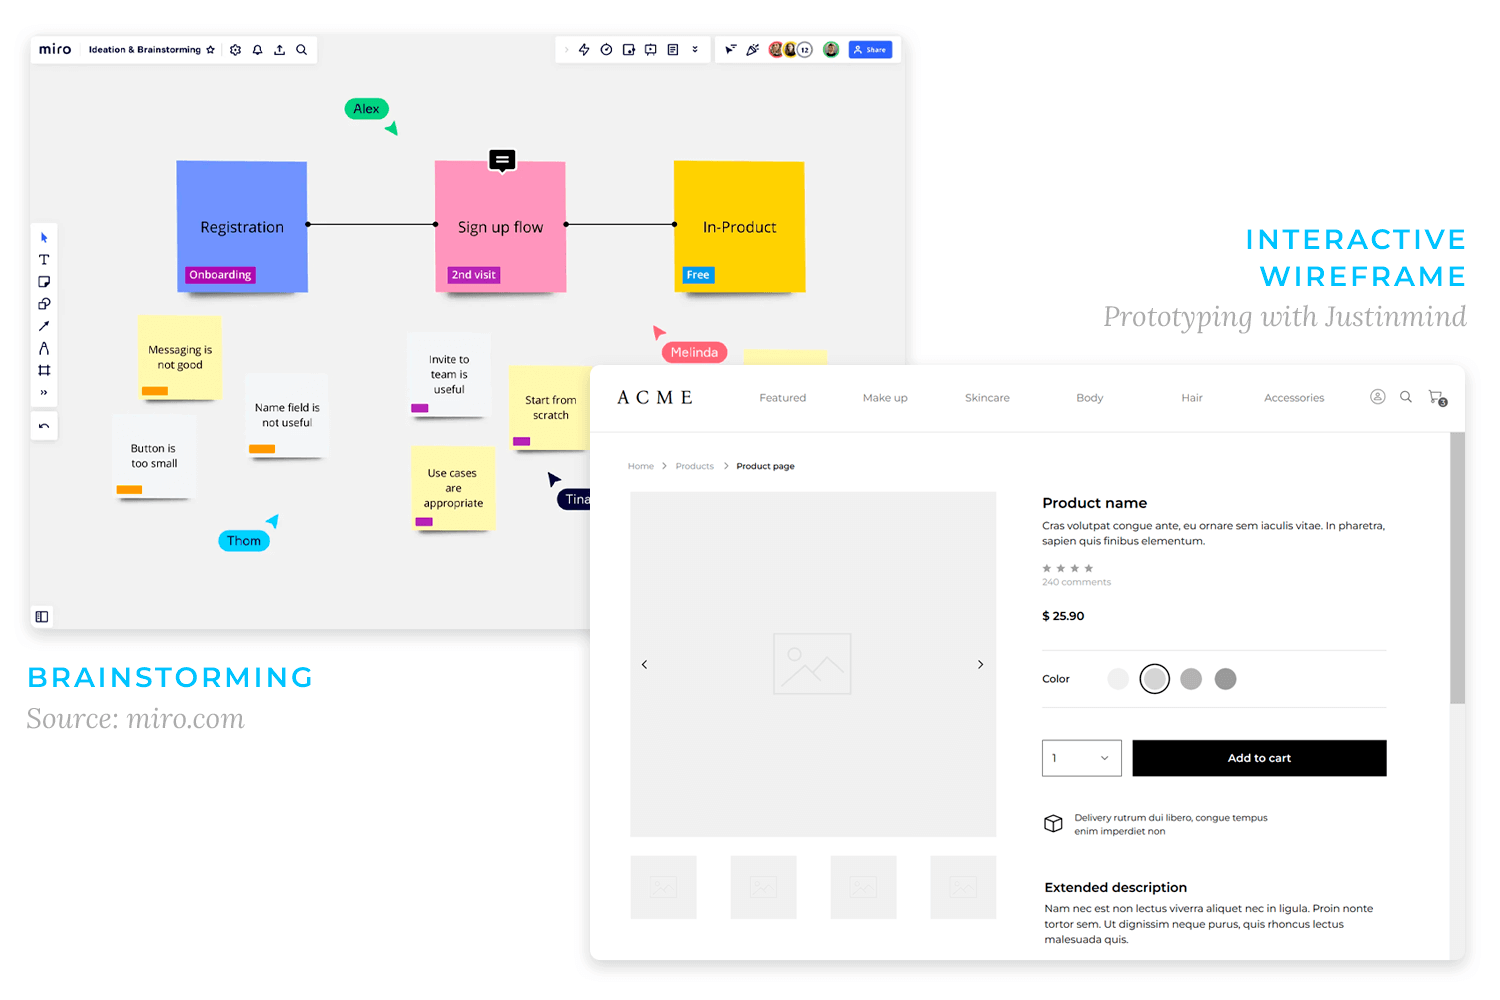
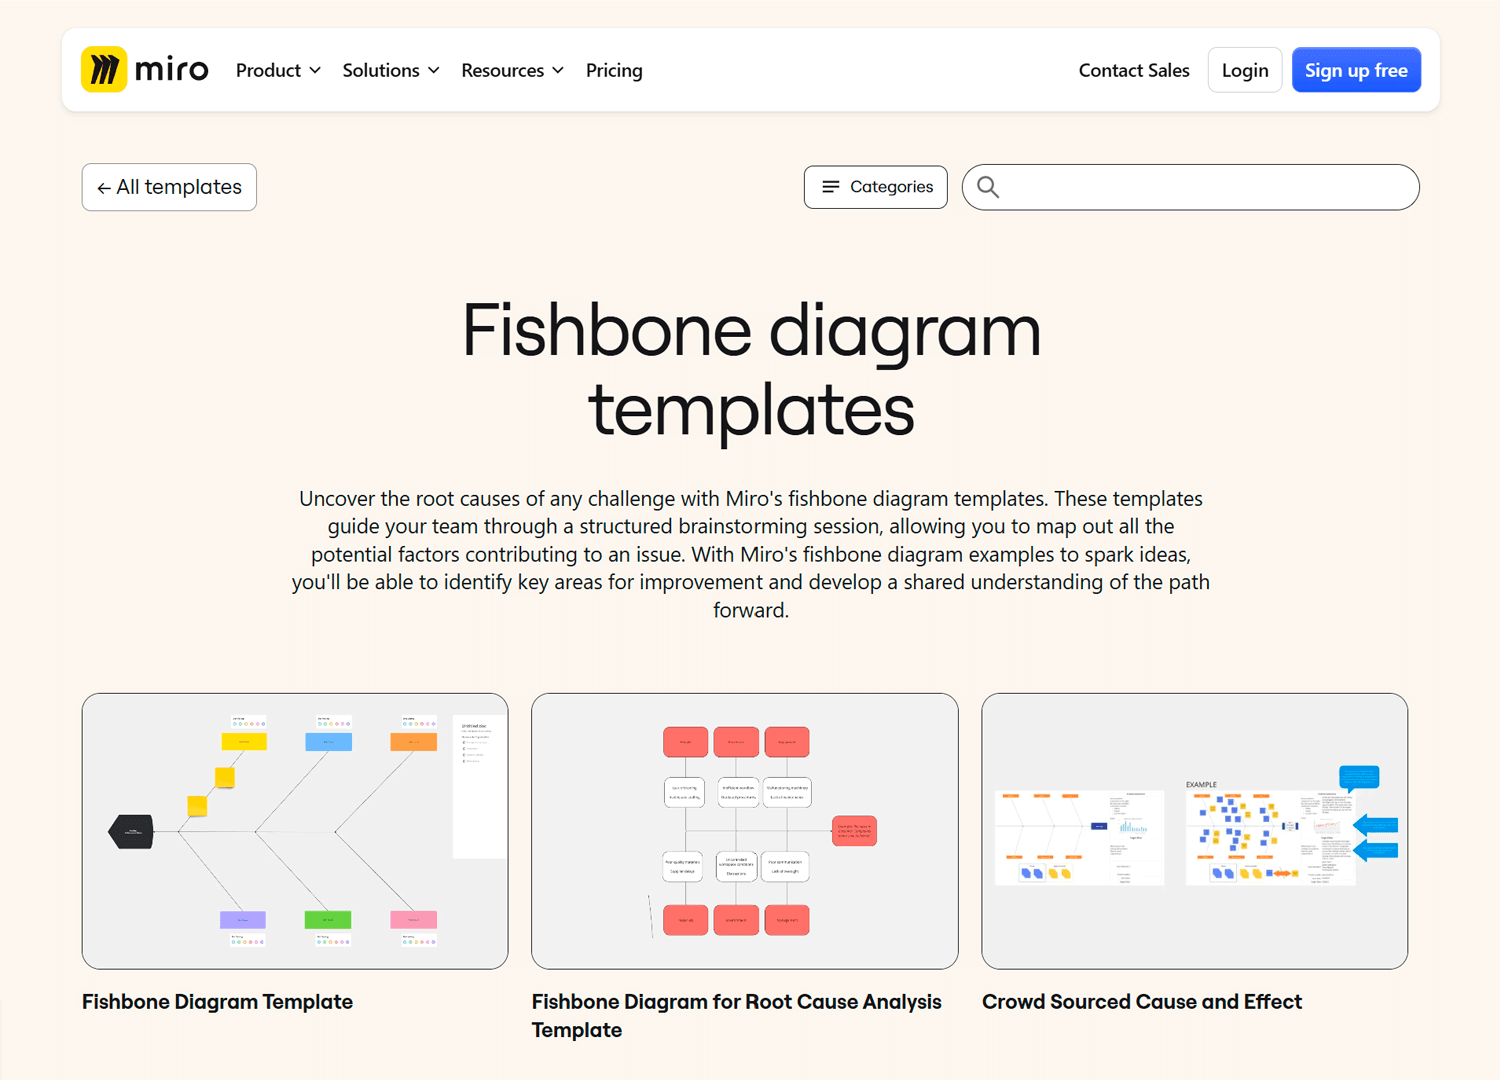
Miro provides a collaborative space for teams to create cause-and-effect diagrams, helping them break down problems into their root causes. The Fishbone Diagram Maker makes it easy to identify underlying issues in a structured way.
Cost: Free plan available, team plans start at $40/month
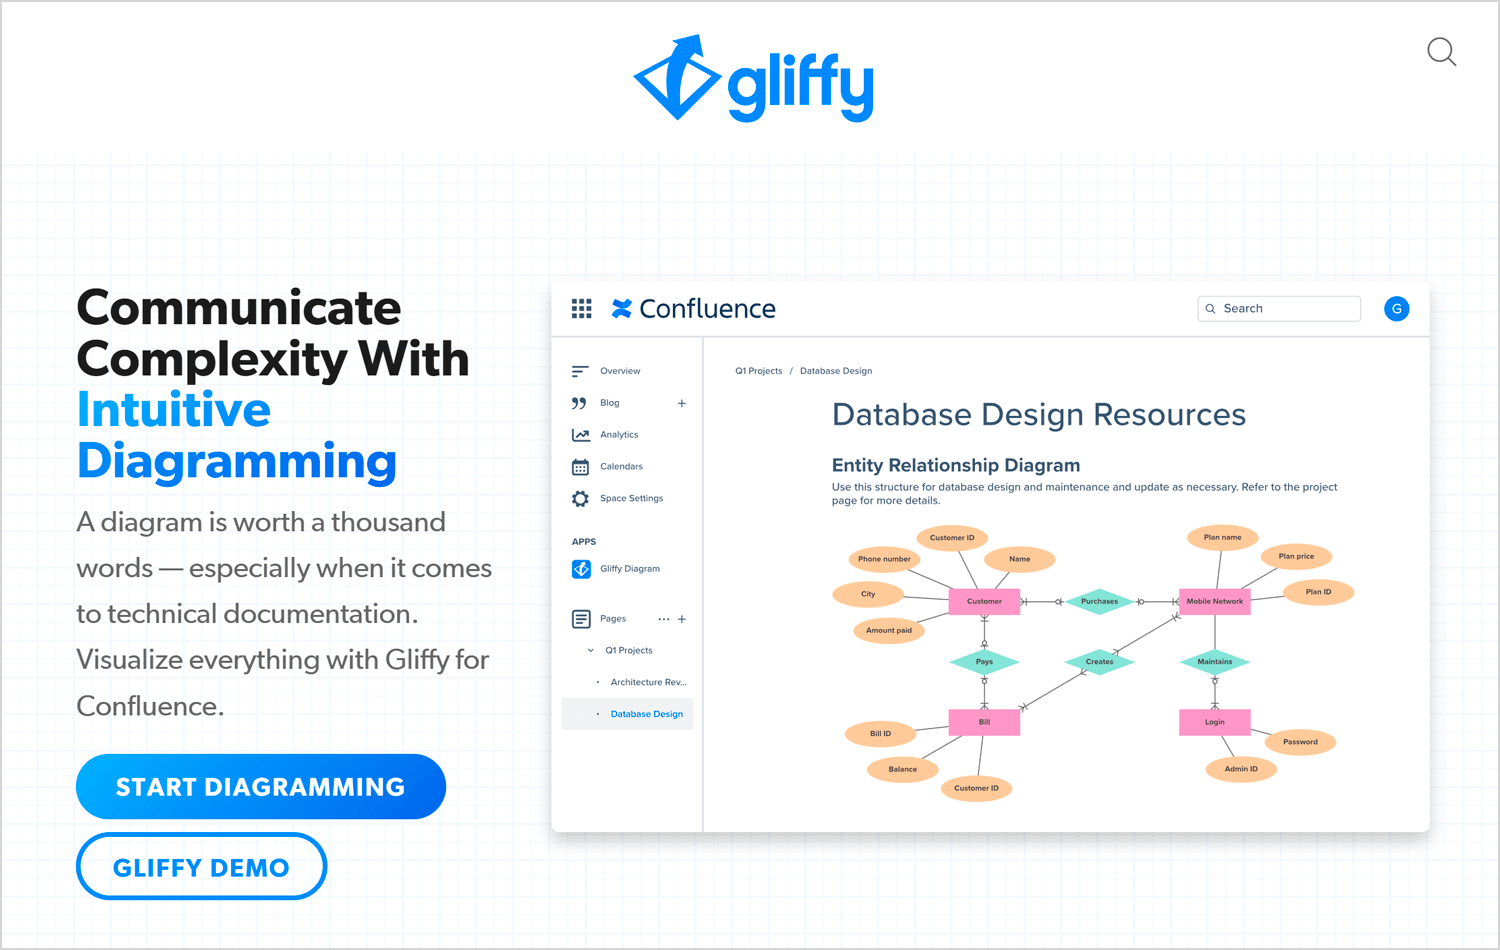
A simple but effective tool for creating diagrams to organize problem-related data. Gliffy allows multiple team members to collaborate, add comments, and integrate findings into a structured visual format.
Cost: available packages start at $7.99/month
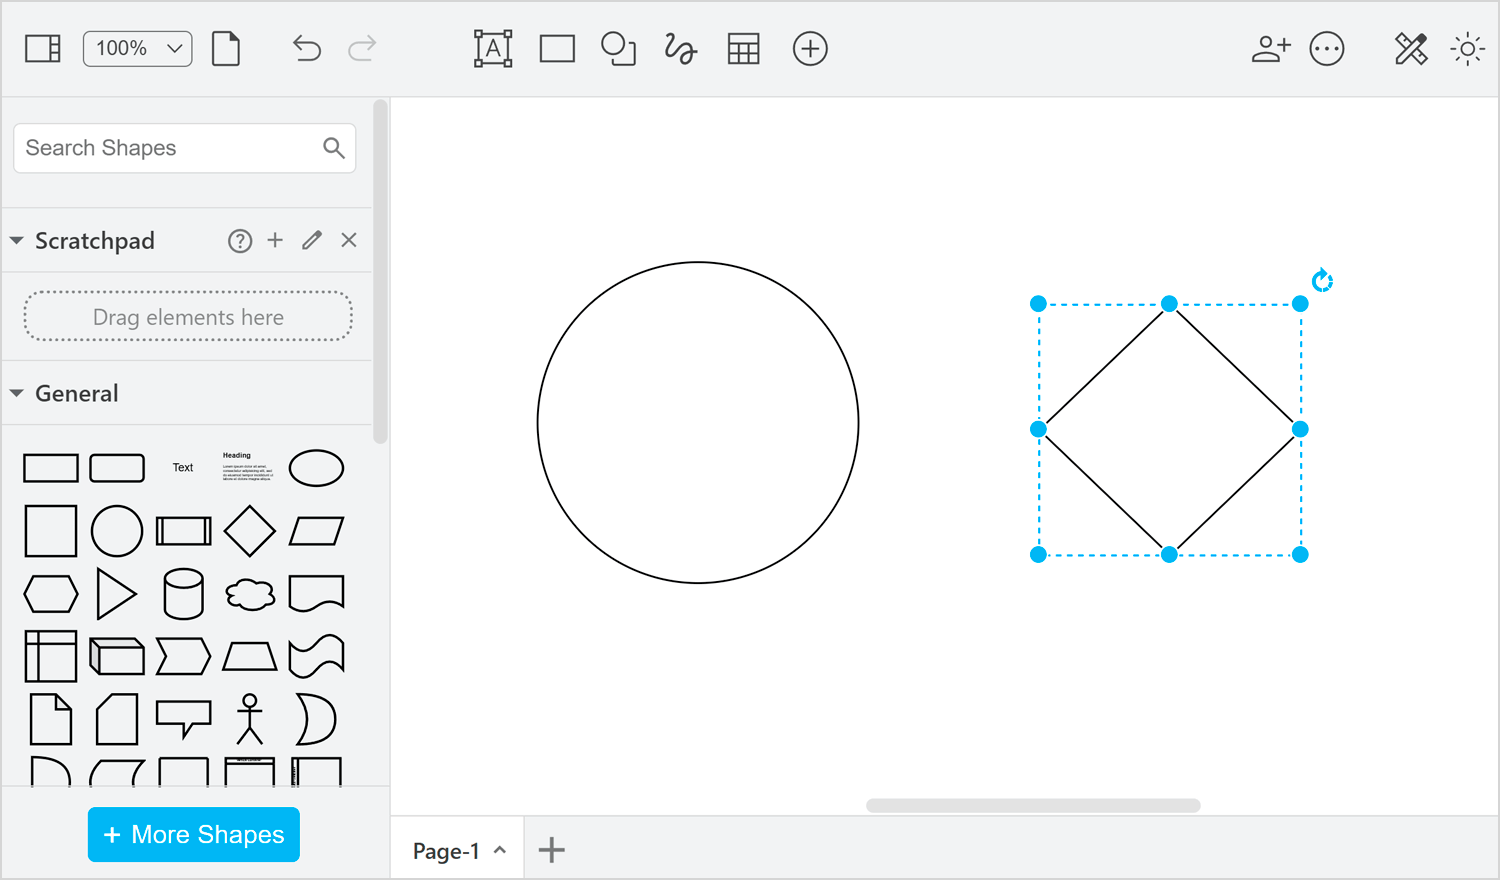
Draw.io is a practical, cloud-integrated diagramming tool with a simple interface. It enables teams to visualize user insights, workflows, and problem areas, making it easier to keep track of all collected data.
Cost: free
This is the stage most UX designers enjoy the most, where ideas take shape. These tools help capture, organize, and refine creative solutions, ensuring that no valuable concept is overlooked.
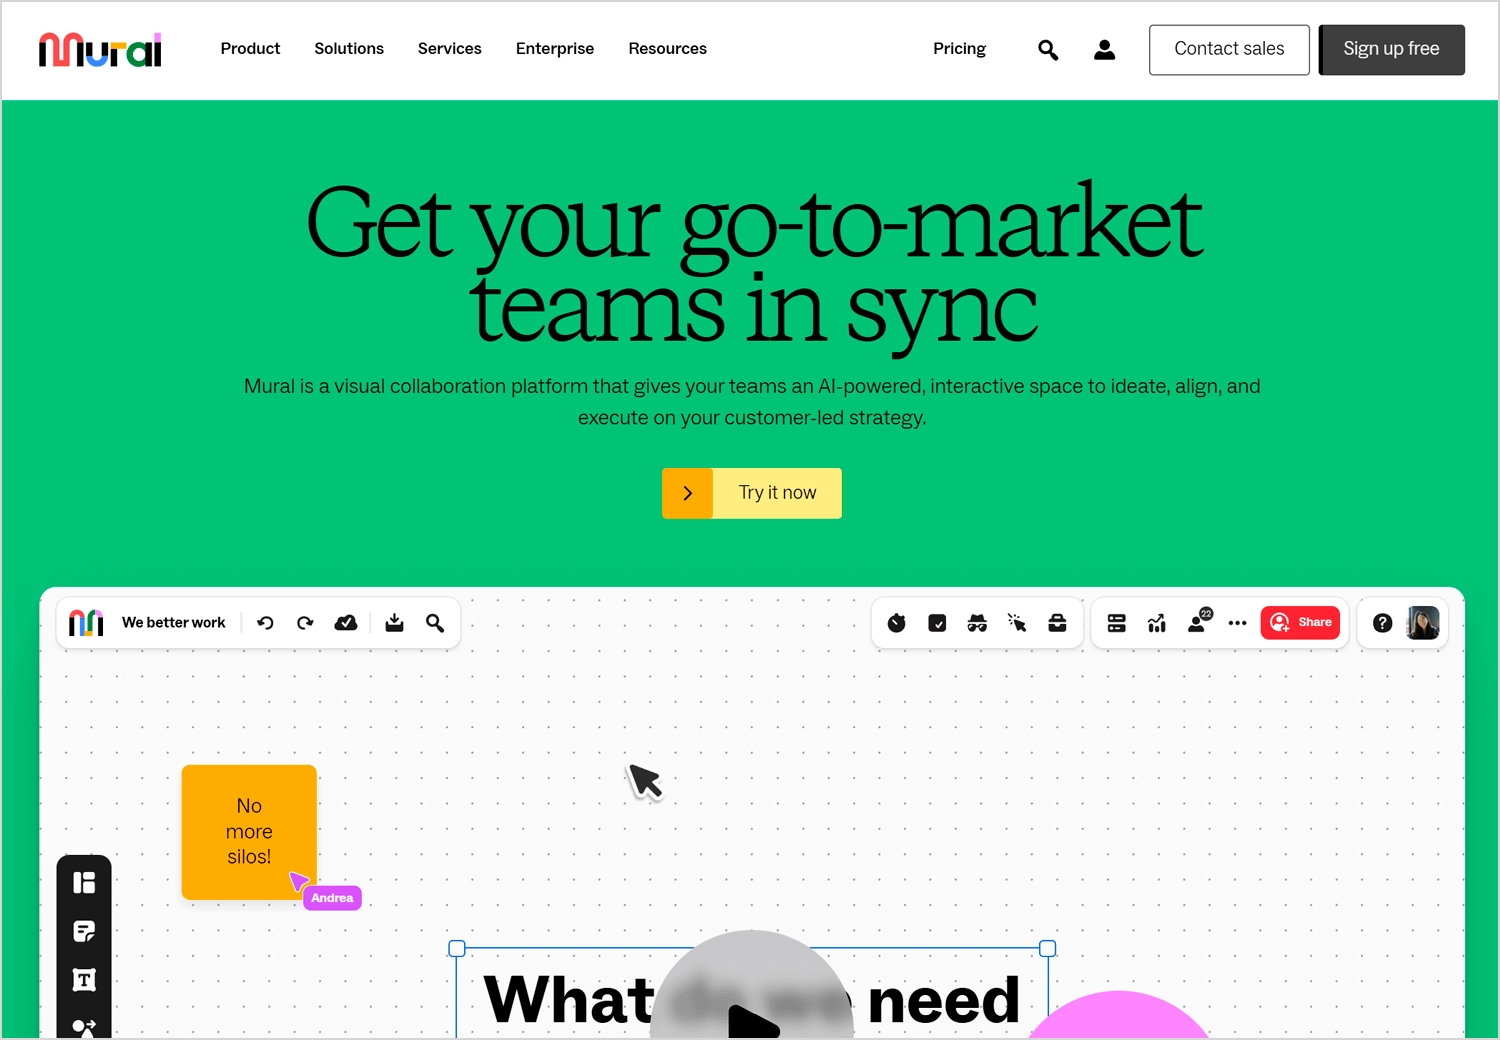
Murally acts as a digital whiteboard, offering a space for teams to freely add sticky notes, text boxes, and diagrams to capture ideas. It encourages free-form creativity while keeping everything visually connected.
Cost: Starter pack available for $12/month
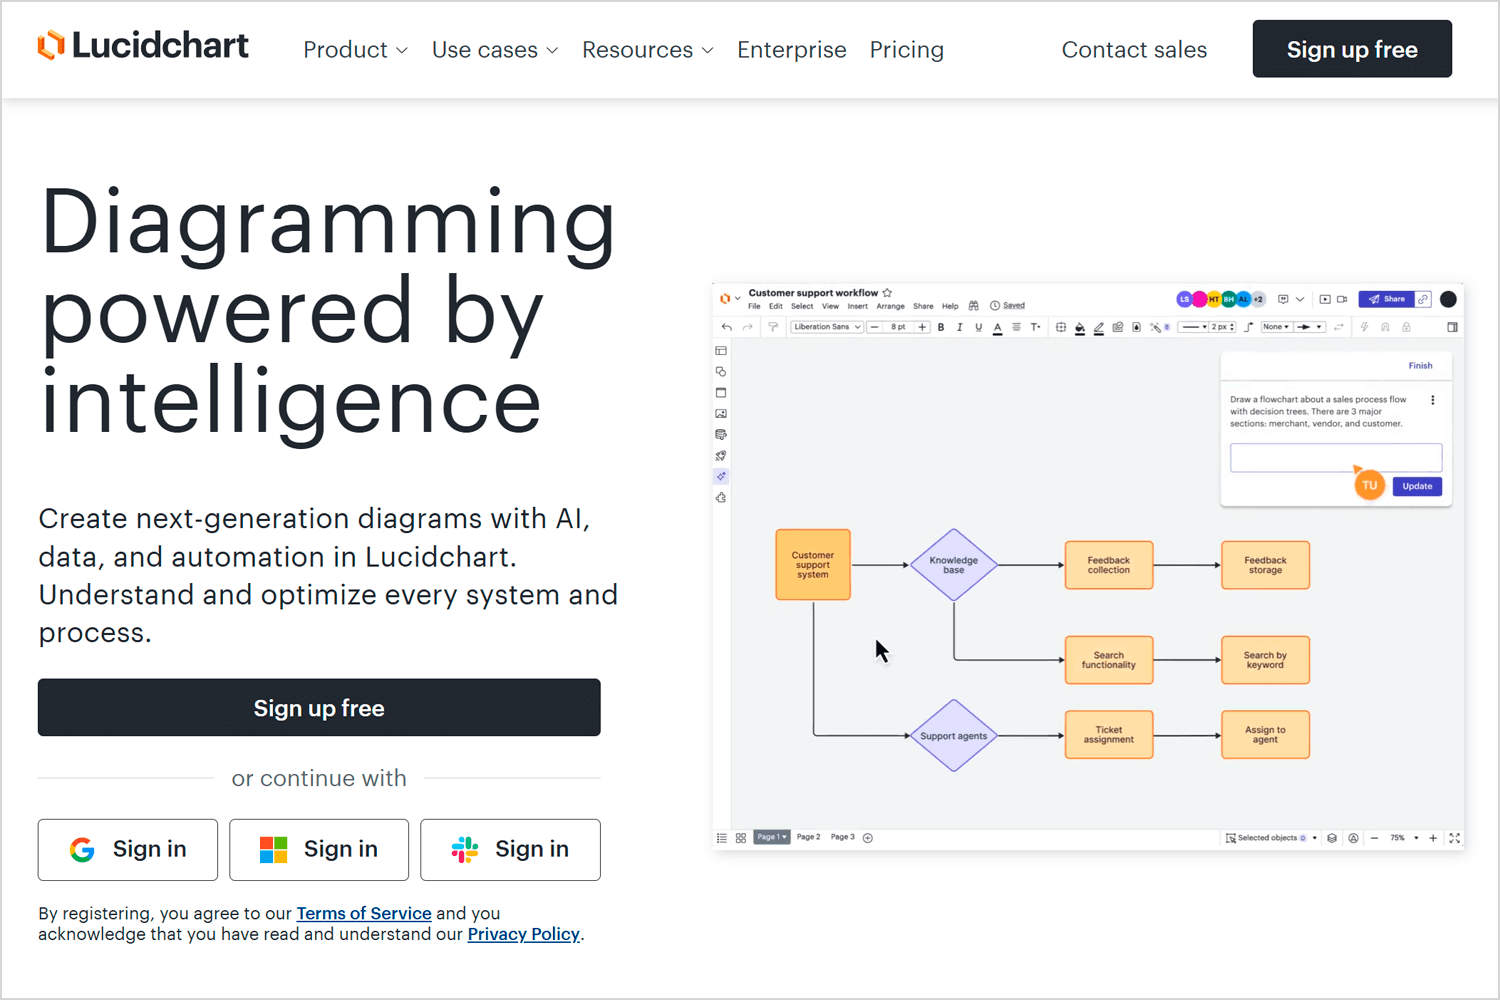
A flexible mind-mapping tool that lets teams visually structure ideas, attach relevant data, and track brainstorming sessions in real time. Lucidchart’s ability to connect live data makes it particularly useful for evolving ideas.
Cost: free version available, basic plan starts at $11.95/user/month
Xmind allows teams to combine multiple visualization types—timelines, matrices, and fishbone diagrams, into a single journey map. This flexibility makes it a great tool for structuring complex ideas.
Cost: available options start at $4.50/month
A professional diagramming tool that offers various pre-made templates for organizing and structuring ideas. SmartDraw integrates with other tools and provides a cost-effective alternative to more expensive solutions.
Cost: $9.95 per month for a single user.
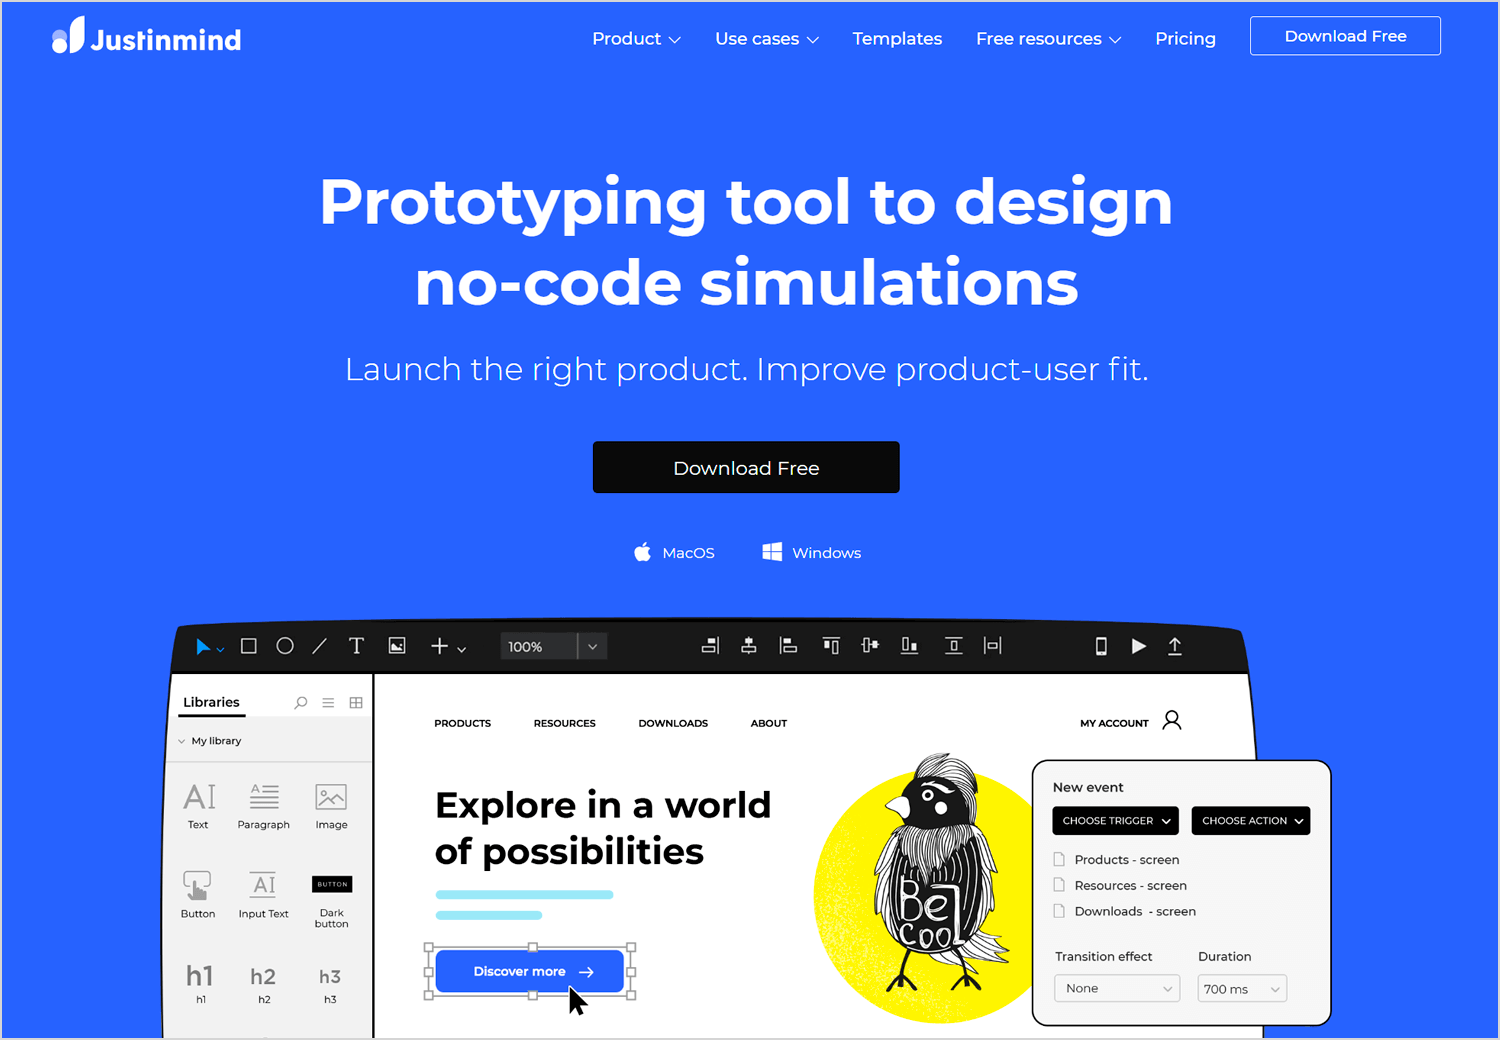
A prototype is worth a million words, it turns ideas into something tangible that teams can experience and test. These tools help create interactive representations of design concepts.
Justinmind is a feature-rich prototyping tool with pre-installed UI kits and collaboration features. It allows designers to create multiple prototypes, refining details as they progress toward high-fidelity designs.
Cost: free forever version, pro version at $19/month
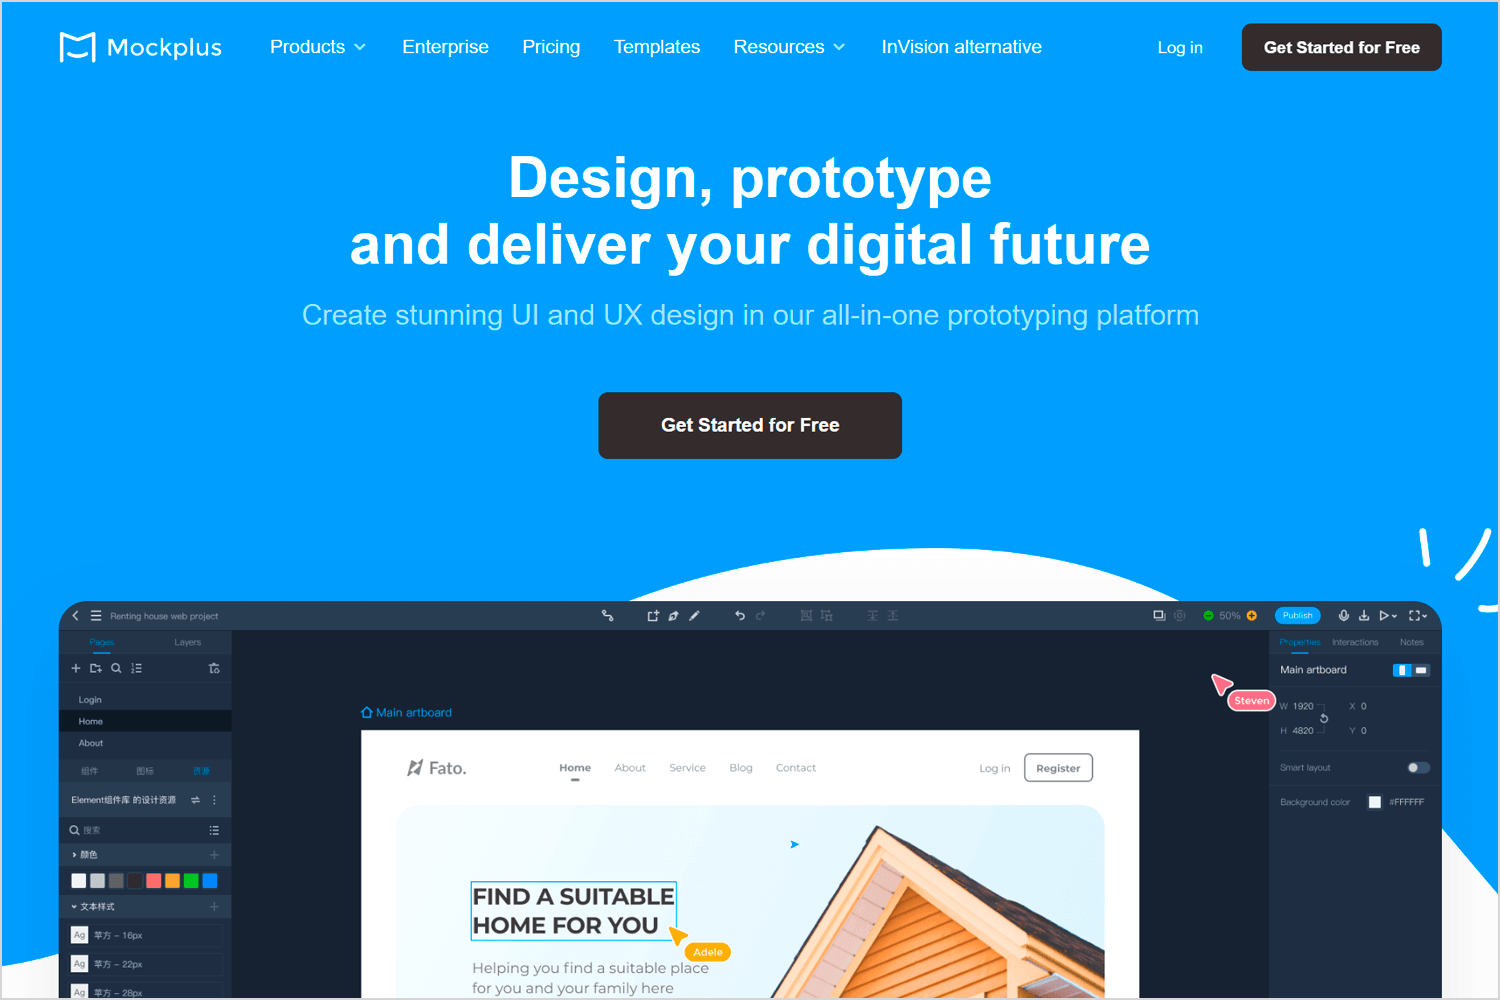
Designed for rapid prototyping, Mockplus offers a simple, code-free approach to wireframing and interaction design. It’s ideal for quickly iterating on ideas before moving to higher-fidelity designs.
Cost: pricing varies
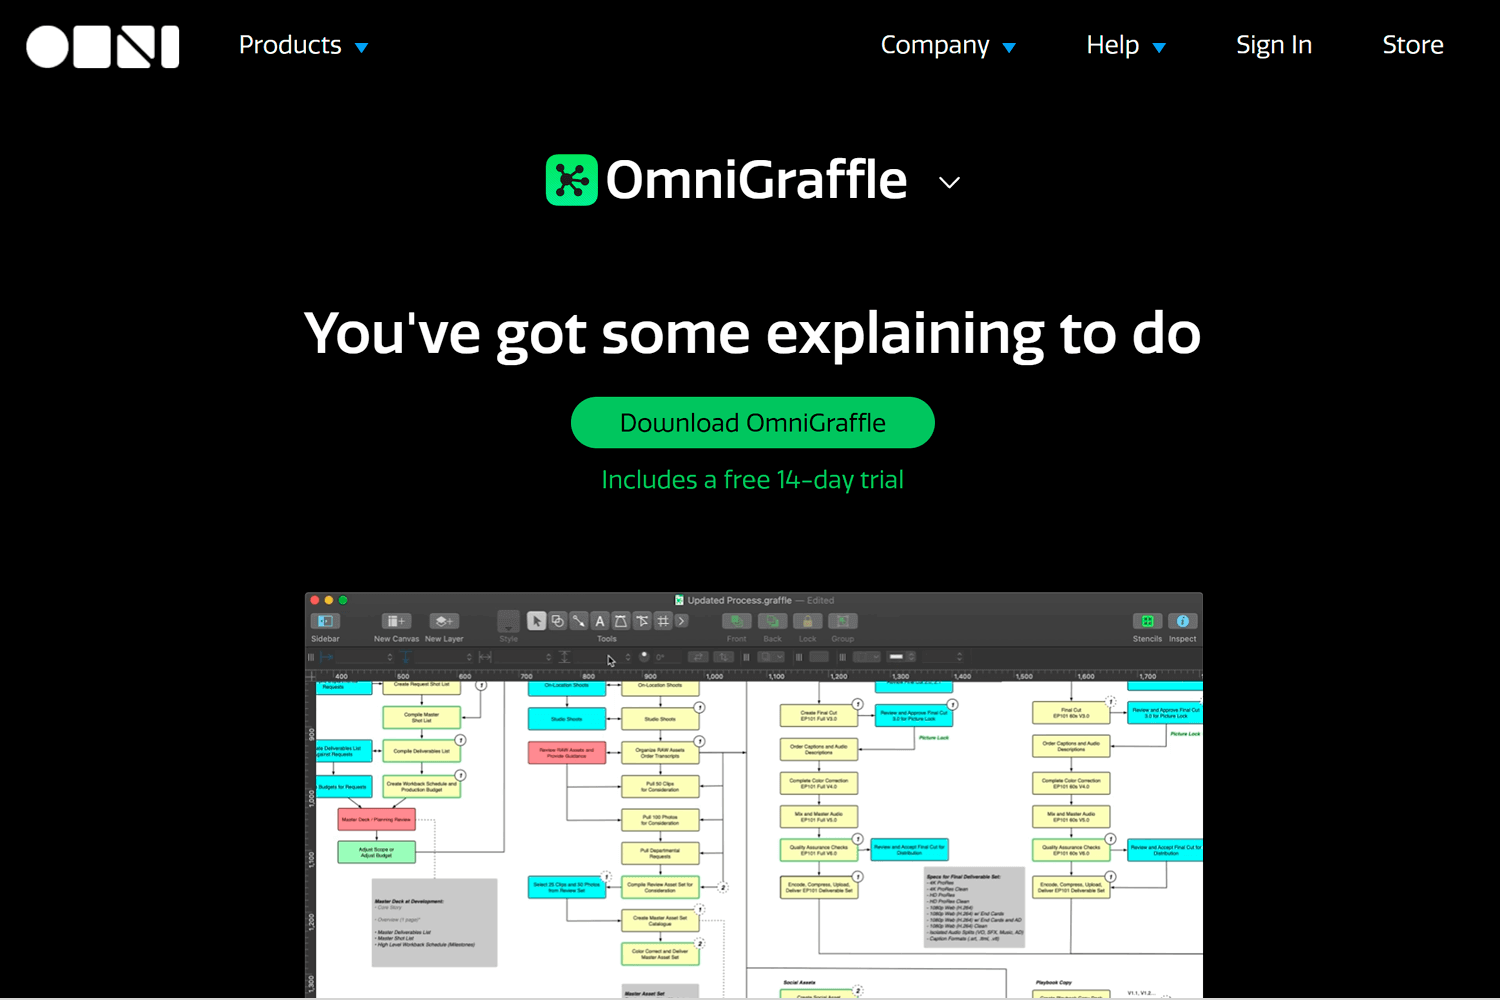
A tool focused on navigation and diagramming, Omnigraffle makes it particularly useful for early-stage information architecture and flow mapping.
Cost: starts at $99.99/year for Mac users.
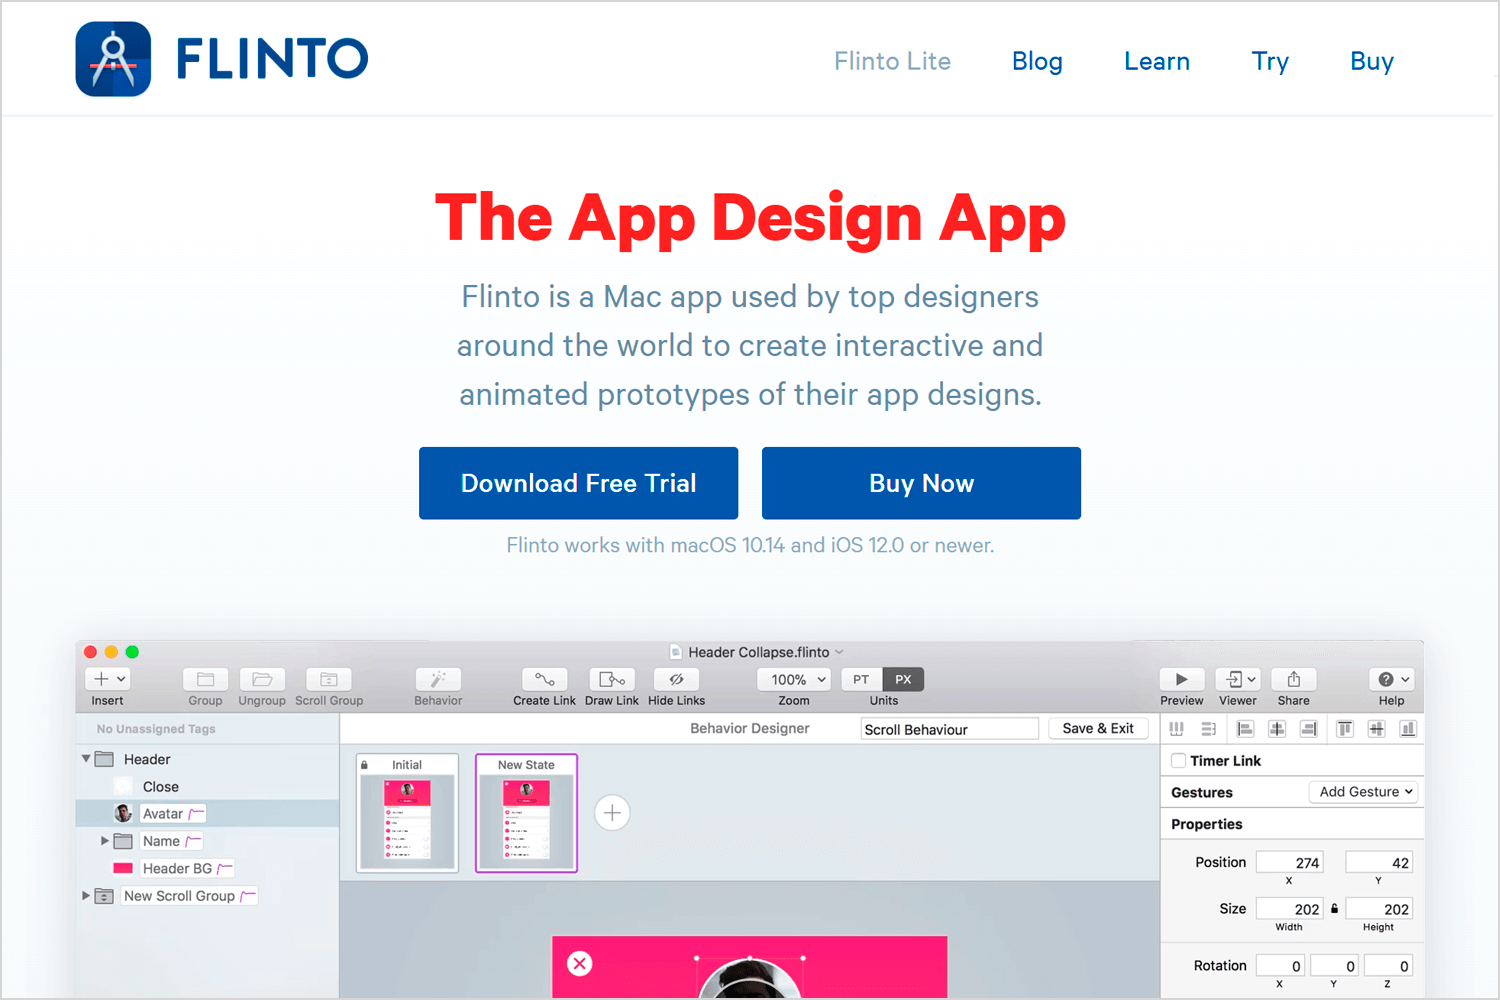
Flinto specializes in interactive animations, making it possible to design realistic transitions and gestures. While it has a learning curve, it’s powerful for teams that want to bring movement into their prototypes.
Cost: one-time payment of $99
The testing phase is where teams validate their ideas, identify usability issues, and refine the product based on real interactions. These tools simplify the process of gathering user feedback.
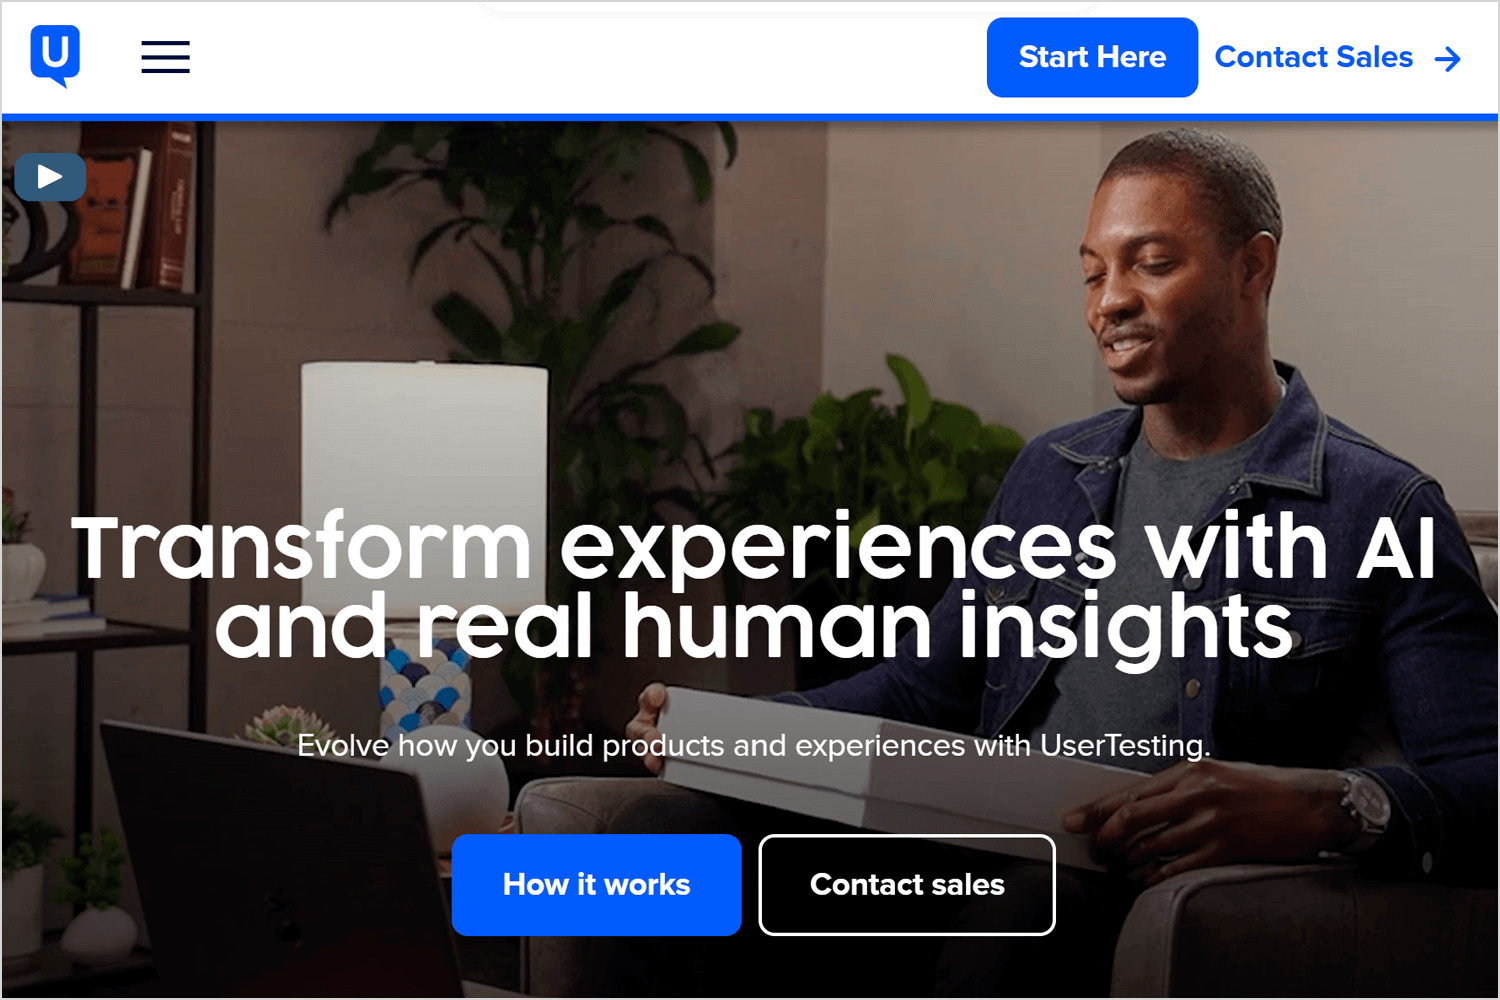
UserTesting allows teams to define demographics, recruit participants, and conduct usability tests remotely. The ability to gather real-time feedback makes it a valuable tool for UX research.
Cost: pricing available upon request.
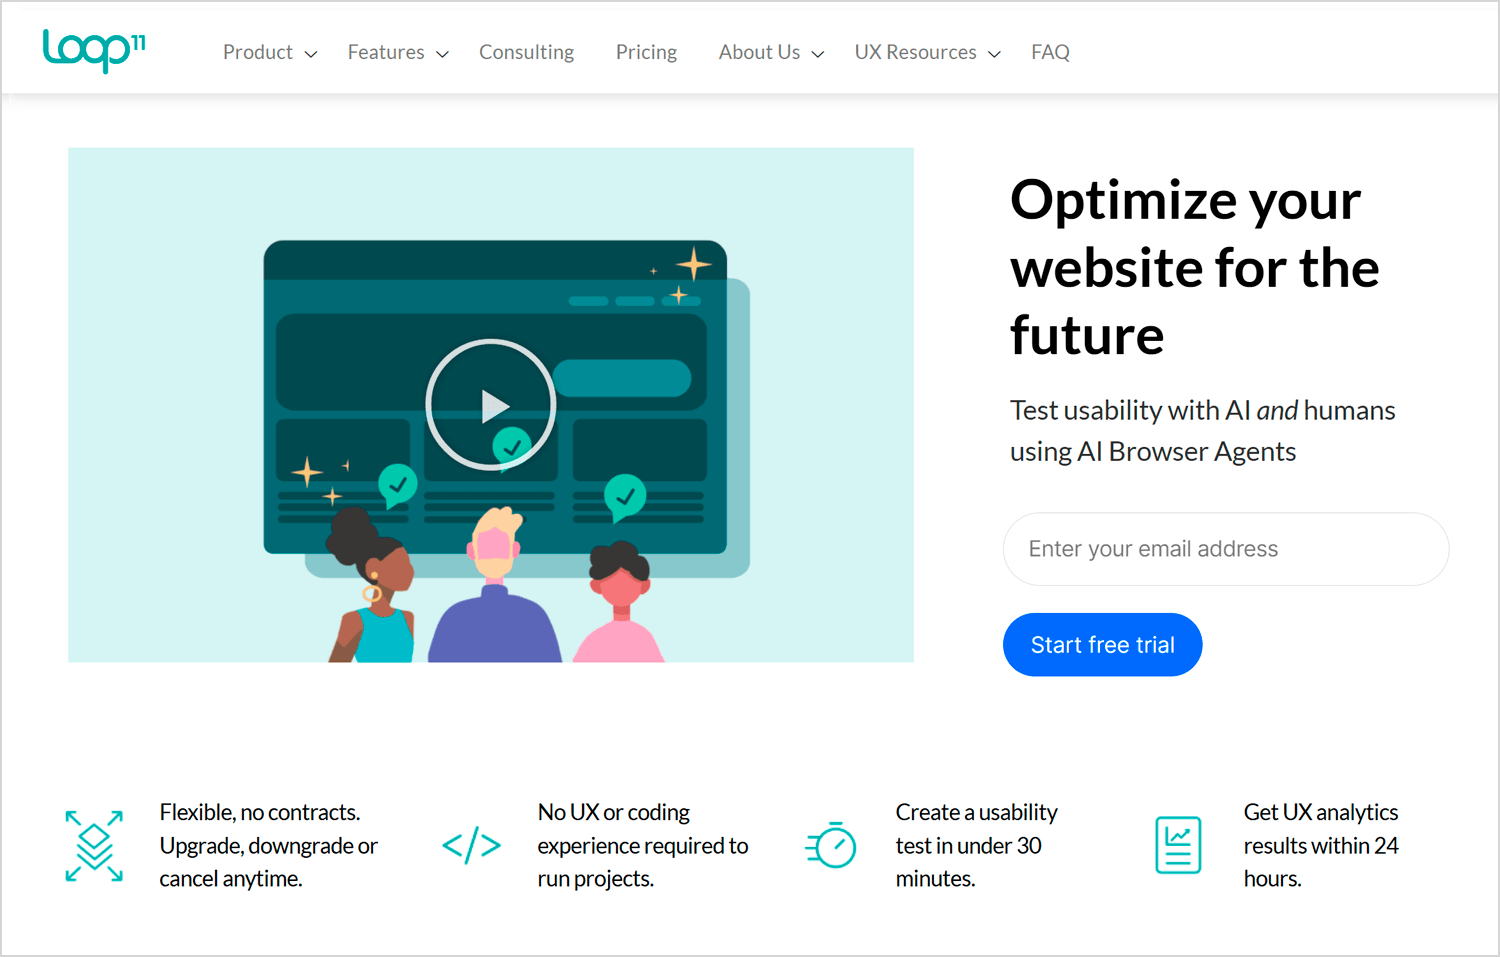
Loop11 offers quick usability testing with no coding required. It lets teams observe user behavior, analyze task completion rates, and refine designs based on results.
Cost: starts at $69/month.
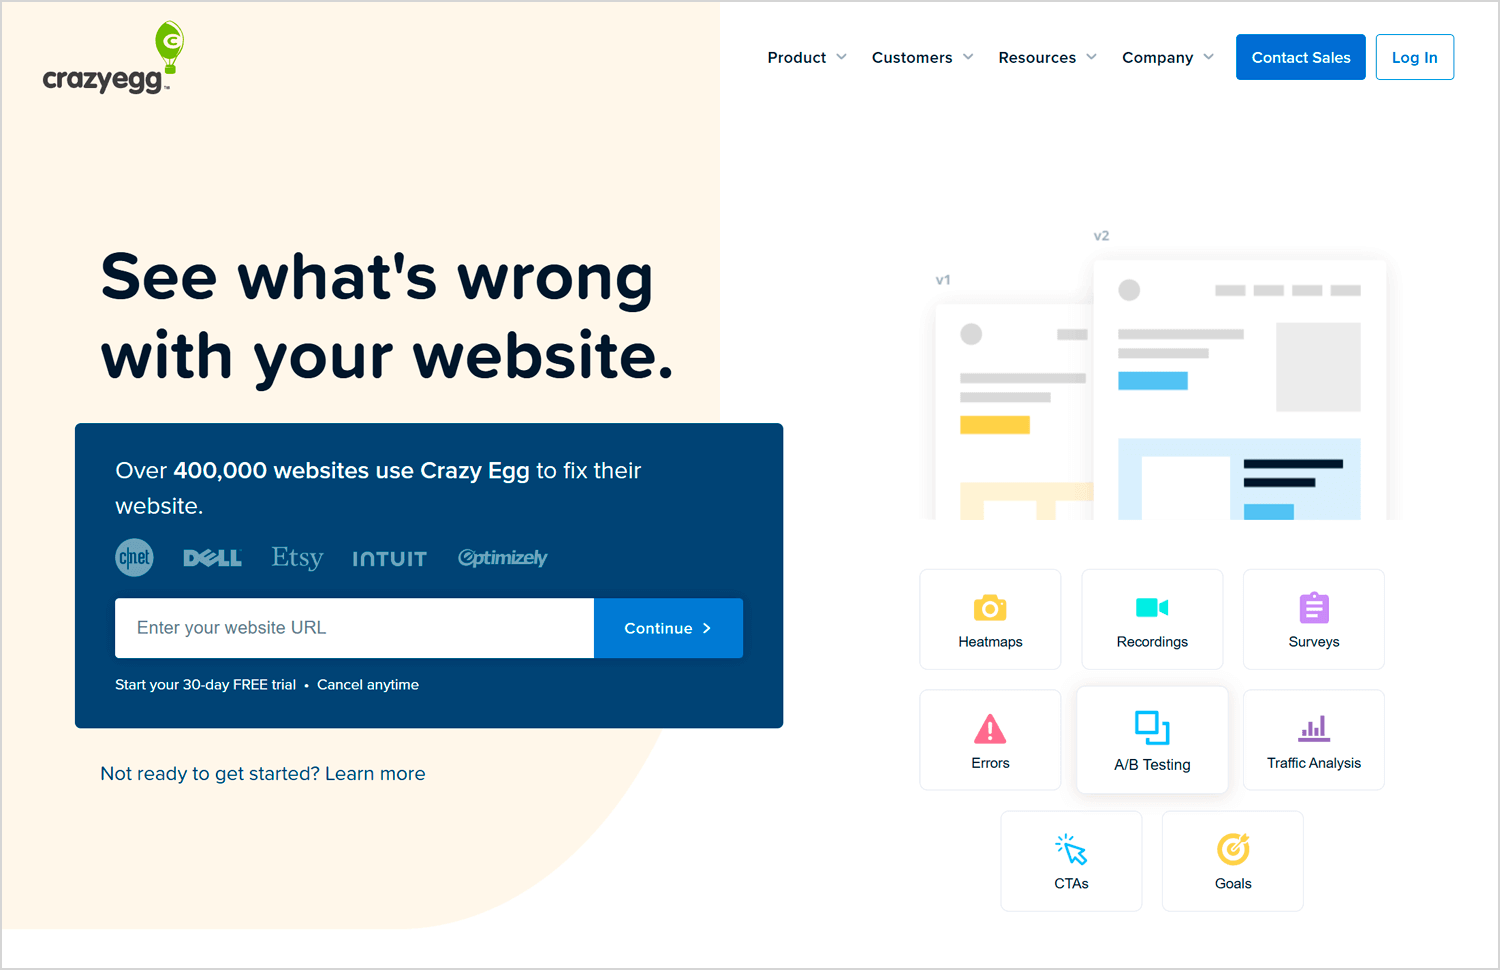
Crazy Egg tool that visualizes user interactions through color-coded heat maps, helping teams identify areas of high engagement and potential drop-off points.
Cost: pricing varies.
UserZoom enables large-scale usability testing with a vast participant pool. It provides advanced analytics and allows teams to conduct multiple studies simultaneously.
Cost: pricing available upon request.
Design thinking thrives on the right tools; ones that help teams uncover insights, test ideas, and refine solutions. From research to prototyping, each tool plays a role in making the process smoother and more effective. The key is to stay flexible, adapt as you learn, and let iteration lead the way to better, more user-centered designs.
Start prototyping innovative apps today. Unlimited projects!

Bringing an idea to life is rarely a straight path. There are twists, setbacks, and moments of insight that reshape everything. Design thinking doesn’t eliminate uncertainty, it embraces it, guiding teams through the process of testing, learning, and refining.
The right tools help, but real breakthroughs happen in those unexpected moments, when a wrong turn reveals a better direction or a small insight leads to a game-changing improvement. In the end, the best products aren’t just well-designed; they feel effortless, as if they were always meant to be.
