Learn the ins and outs of prototyping! We'll cover everything from simple sketches to interactive models, helping you build better user experiences.
Prototypes are a UX designer’s best friend. They provide an extensive list of benefits to product development teams, clients and users. However, to reap these benefits, you’ve got to do it right. In this guide, you’ll learn what a prototype is, the benefits, the different types, how to make one and what you should look for in a prototyping tool.
Start prototyping your web and mobile apps today
Prototypes are a close replica of what the end result of a product will look like, usually without code. They incorporate most of the final UI design and interaction that the finished product will have. Prototyping is one of the most powerful tools in a UX designer’s inventory.
They’re a powerful way of designing any digital product because they help us experiment and test out assumptions without them erupting into costly mistakes later on down the line. Prototypes are also an ideal way to communicate functionality, interaction and UI design to all those involved. This kind of communication leads to what’s called the “iterative cycle”.
If you’re designing a website, check out this awesome post on responsive website examples in less than 10 minutes. Alternatively, you can also pick from these wonderful website examples to get a head start.
Prototyping your designs and testing out your assumptions and ideas early on is a great way to prevent hiccups down the line. If you go directly to code without testing your ideas and make a mistake, a rework will be much more costly, not to mention time-consuming to fix.
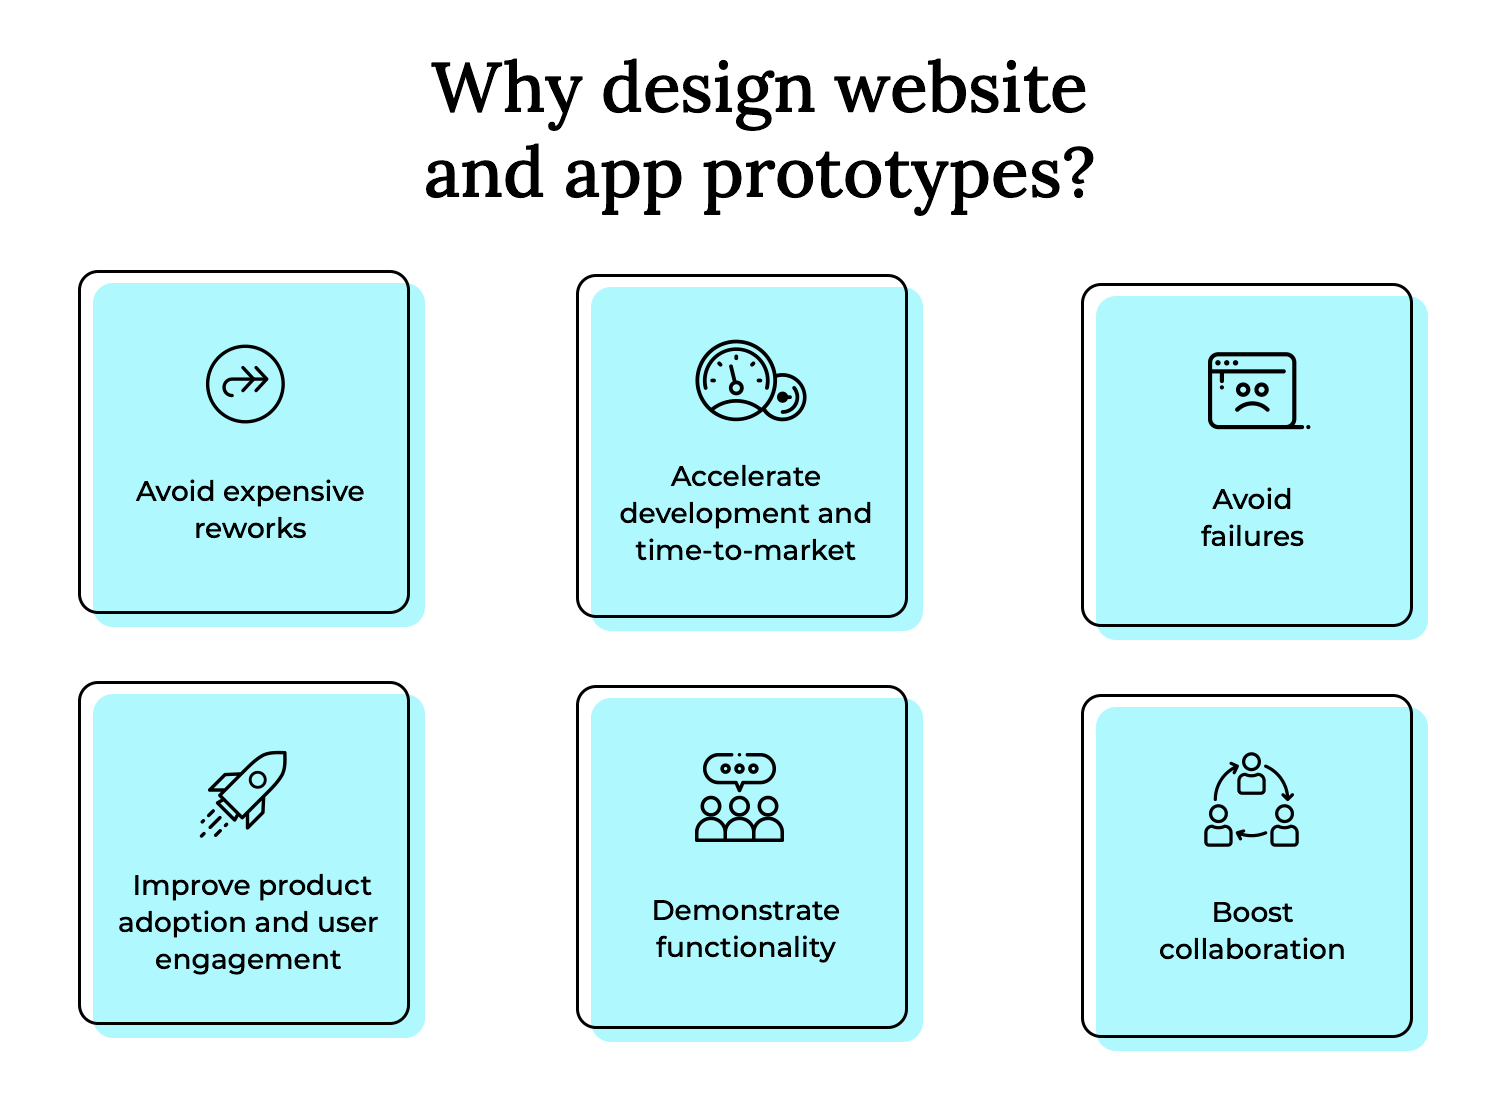
By deploying rapid prototyping and using the fail-fast method, you’ll be helping to speed up your product’s release. This is because stakeholders will be able to validate design decisions much faster and there will be less ambiguity at the development stage.
It’s no secret at this stage that designing high fidelity, pixel-perfect prototypes to test out on your users leads to a more user-friendly product. It also means that you’re far less likely to make design mistakes that only get spotted after costly development work has begun.
It’s also no secret that a more user-friendly product leads to much higher adoption and activation rates, while also leading to increased user engagement.
On top of that, prototyping is also a great way to demonstrate your app or website’s functionality to clients and stakeholders. By presenting them with a prototype, you’re saving hours of long meetings, extensive technical documents and misunderstandings.
Sometimes to get your point across and obtain buy-in, you need to demonstrate it visually, otherwise things can get lost in translation. Like those “you’d need to see it to understand” moments. What better way to explain a product concept, than to show the product itself?
Prototyping helps you to efficiently share your design ideas with a team. Let’s say you have a suggestion for the client on how a particular feature should behave in the product. What better way to demonstrate that idea than to prototype it? Then you can go ahead and test out that feature on your users and see if it’s for keeps.
When you hear “prototype,” you might picture sleek digital interfaces, but sometimes the best way to start is with a simple sheet of paper. Paper prototyping is all about bringing your ideas to life through sketches and paper mockups. It’s a fantastic way to quickly visualize and test concepts without getting bogged down in the details of digital design.
- Sketching: This is where you let your creativity flow! Grab a pen or pencil and start sketching out the basic layout and functionality of your product. Think of it as brainstorming visually. You can quickly iterate on different ideas, explore various layouts, and get a feel for the overall flow of your design.
- Paper mockups: These are a bit more detailed than simple sketches. You can create paper mockups of specific interface elements, like buttons, menus, and forms. You can then arrange these elements on a larger sheet of paper to create a more realistic representation of your product’s interface. This allows for quick testing of layouts and interactions.
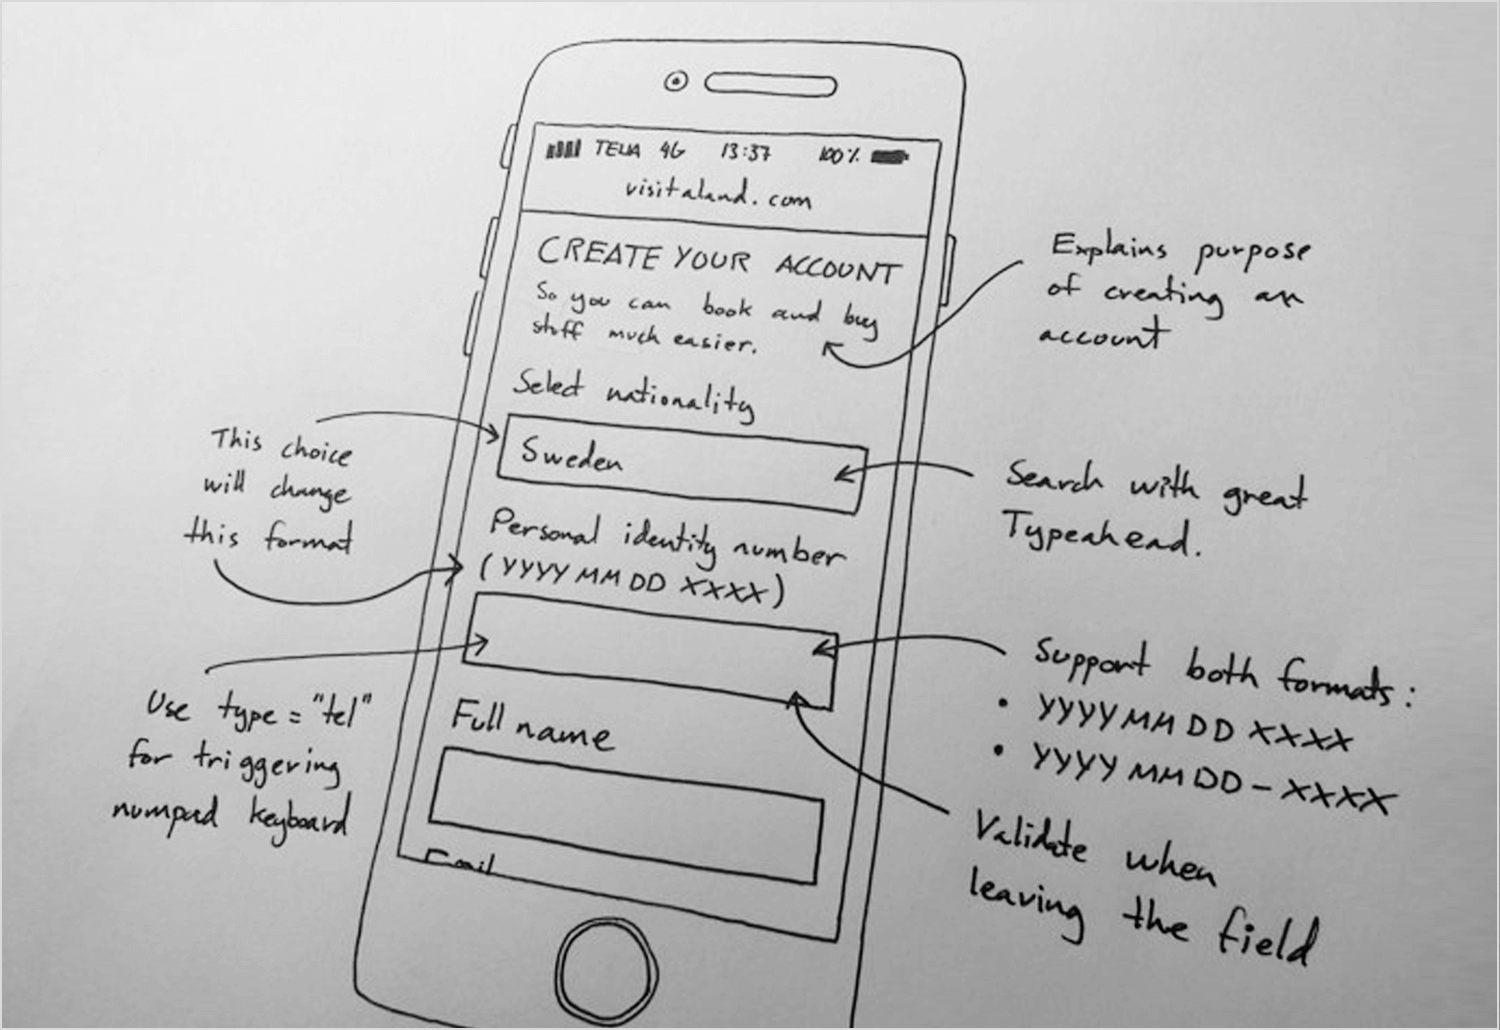
Imagine you’re trying to figure out if a new recipe works. You wouldn’t spend hours perfecting every detail; you’d whip up a quick version to see if the flavors are right. That’s the essence of rapid prototyping. It’s about creating a working model of your product quickly, focusing on the core functionality, and then iterating based on feedback.
- Quick iteration: This is the heartbeat of rapid prototyping. It’s about building, testing, and refining your design in short cycles. You create a version, get feedback, and then quickly make changes. This iterative approach allows you to learn and adapt rapidly, ensuring you’re always moving in the right direction. It’s about embracing the “fail fast, learn faster” philosophy.
- Core functionality focus: In rapid prototyping, you don’t sweat the small stuff. You focus on the essential features and functions that define your product. What are the key tasks users need to accomplish? Build those first.
Mid-fidelity prototypes are a step up from paper prototypes and rapid prototypes. They offer a more detailed representation of your design, focusing on structure, layout, and basic aesthetics without diving into the high-fidelity details. They’re all about creating a clearer picture of how your product will function and look.
Think of wireframes as the blueprints of your digital product. They’re digital sketches that focus on the structure and layout of your interface. They use simple shapes and lines to represent content and elements, emphasizing the flow of information and the hierarchy of elements. The primary goal is to establish the foundation of your design, ensuring a clear and logical user journey.
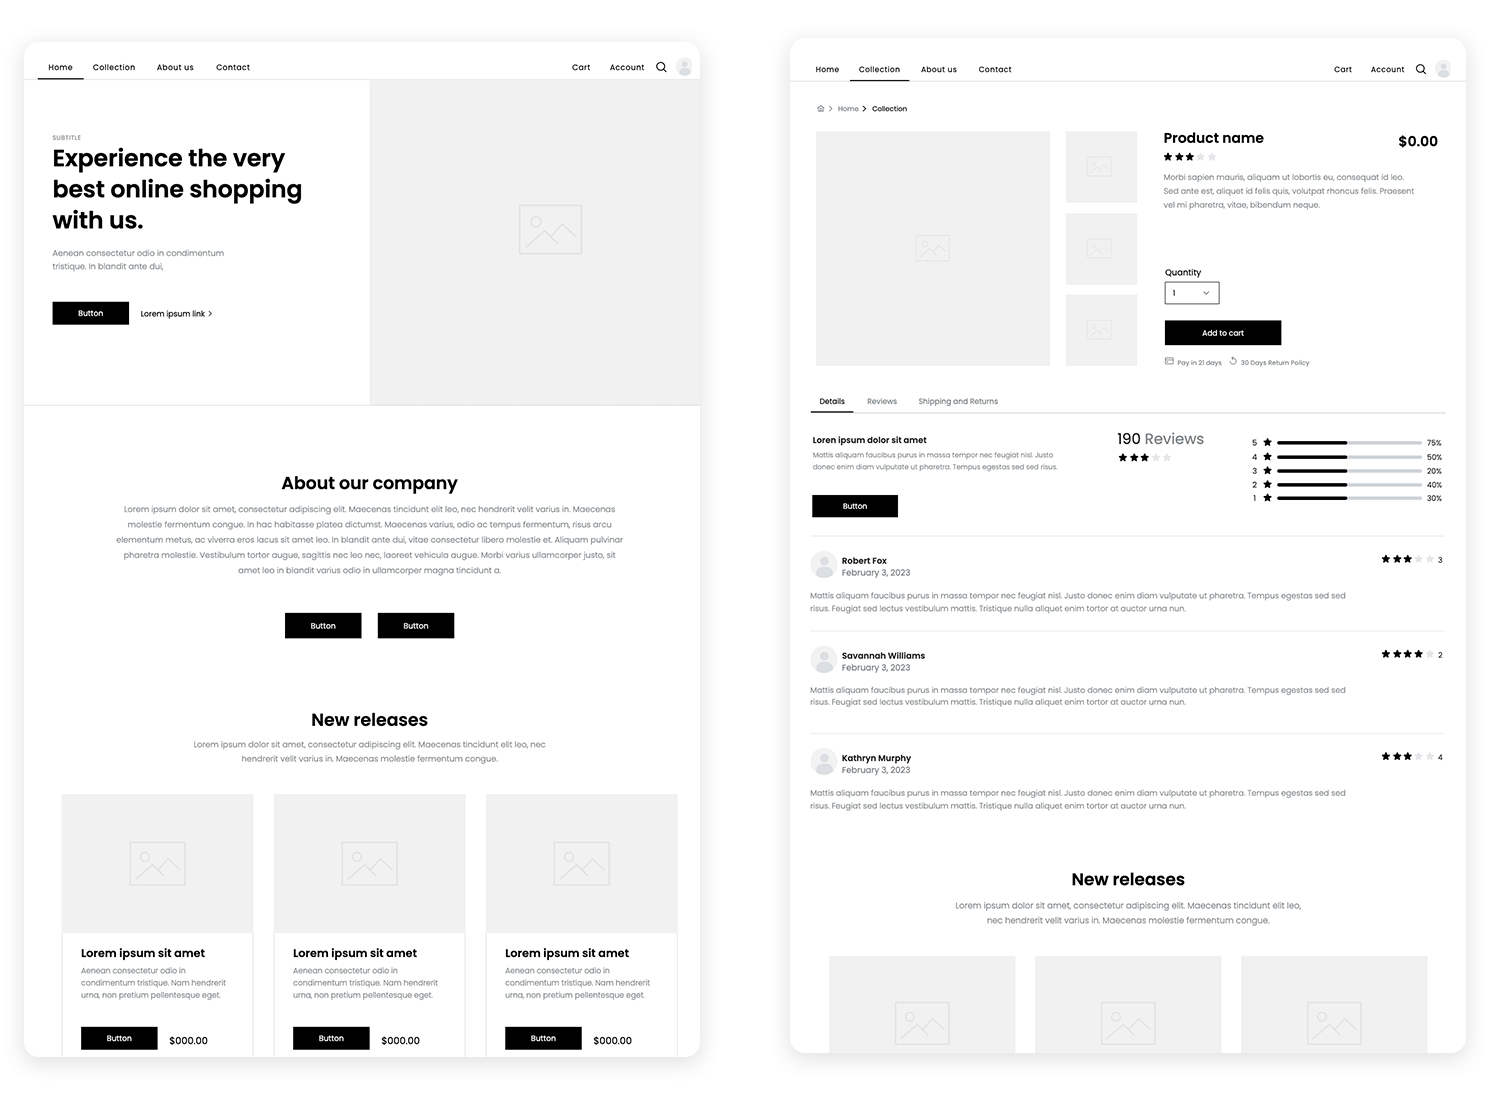
Mid-fidelity prototypes, especially wireframes, are all about getting the structure right. They help you define the placement of elements, the flow of information, and the overall organization of your interface. This focus ensures that your product is usable and intuitive.
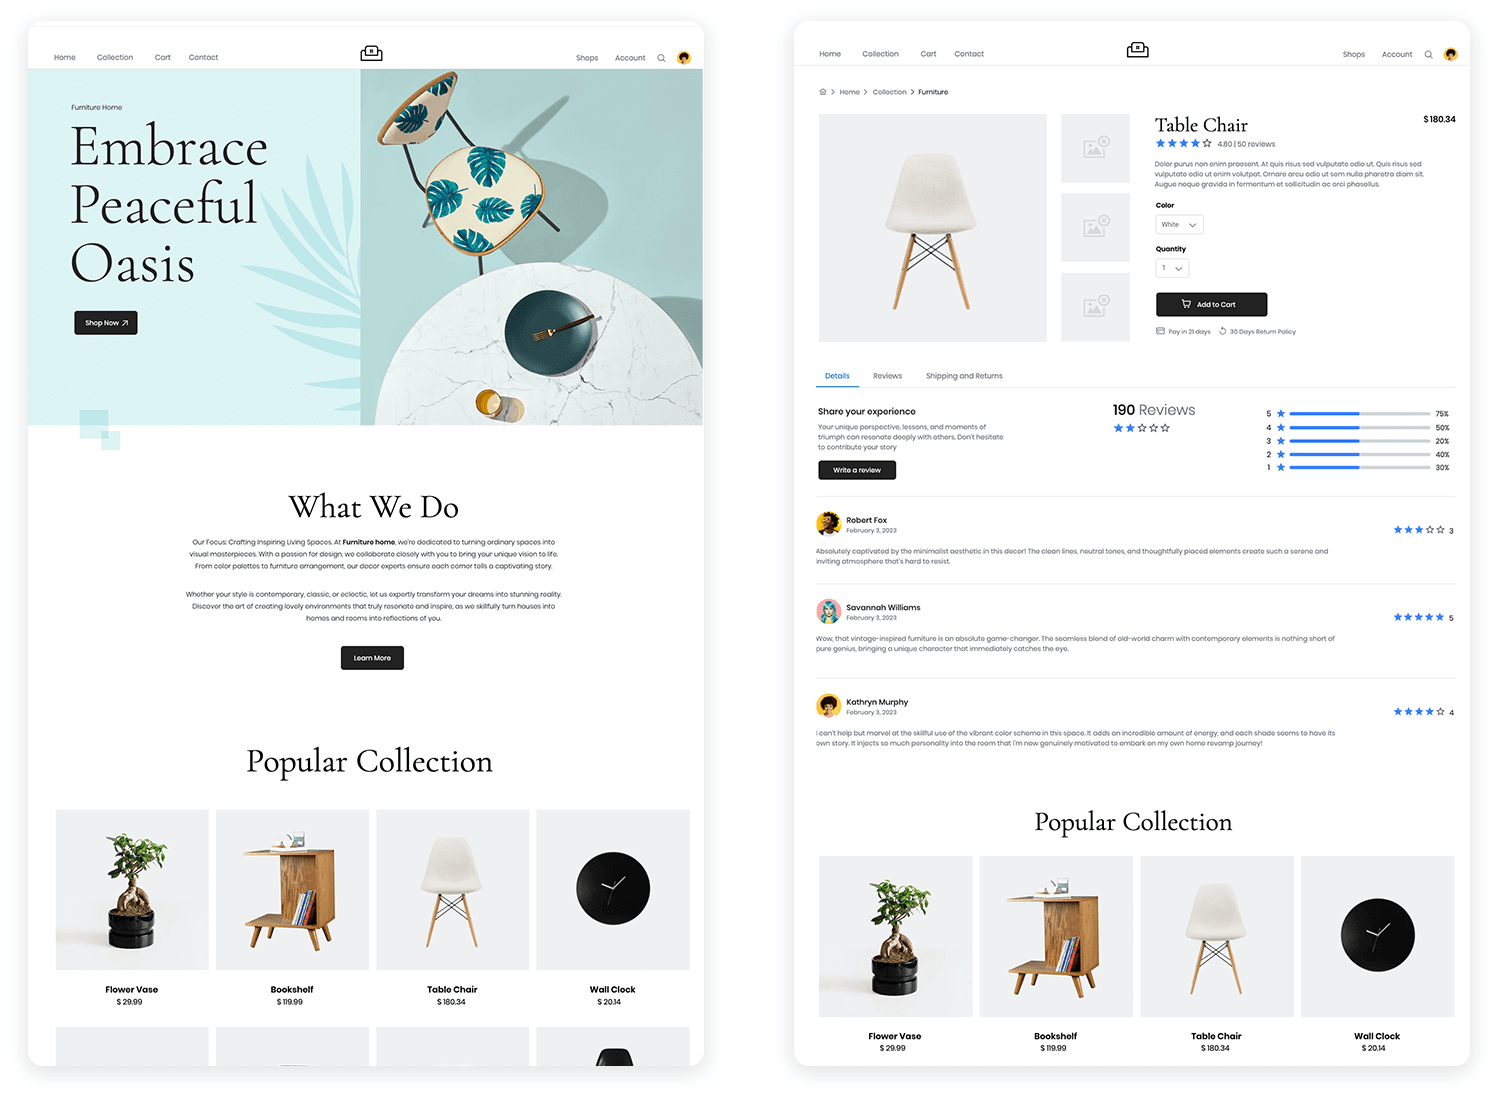
Mockups take things a step further by introducing static visuals. While they’re still not fully interactive, they provide a visual representation of how your product will look. They begin to include some aesthetic consideration.
Mockups are static visual representations of the design. They add a layer of visual design, showing how the interface will appear with colors, typography, and imagery.
This is where branding begins to take center stage. You can start to incorporate brand colors, fonts, and logos, giving stakeholders a sense of the product’s visual identity.
These are the stars of the show! Interactive prototypes are clickable simulations that allow users to navigate through the interface and experience the flow of the product.
- Clickable simulations: Users can click buttons, navigate menus, and interact with elements, mimicking the actual user experience.
- User flow focus: High-fidelity prototypes emphasize the user flow, ensuring that the navigation and interactions are intuitive and efficient. They allow you to test complex interactions and identify any potential roadblocks.
Functional prototypes take interactivity to the next level by incorporating near-realistic functionality. They may include features like form validation, data input, and dynamic content, providing a more accurate representation of the final product.
Before you even think about sketching or coding, you need to deeply understand who your users are and what they need. This stage is all about empathy and gathering insights that will inform your design decisions. Here’s how you do it:
- User research: Gather data on user needs and behaviors through interviews, surveys, testing, and observation. Identify pain points and understand user workflows.
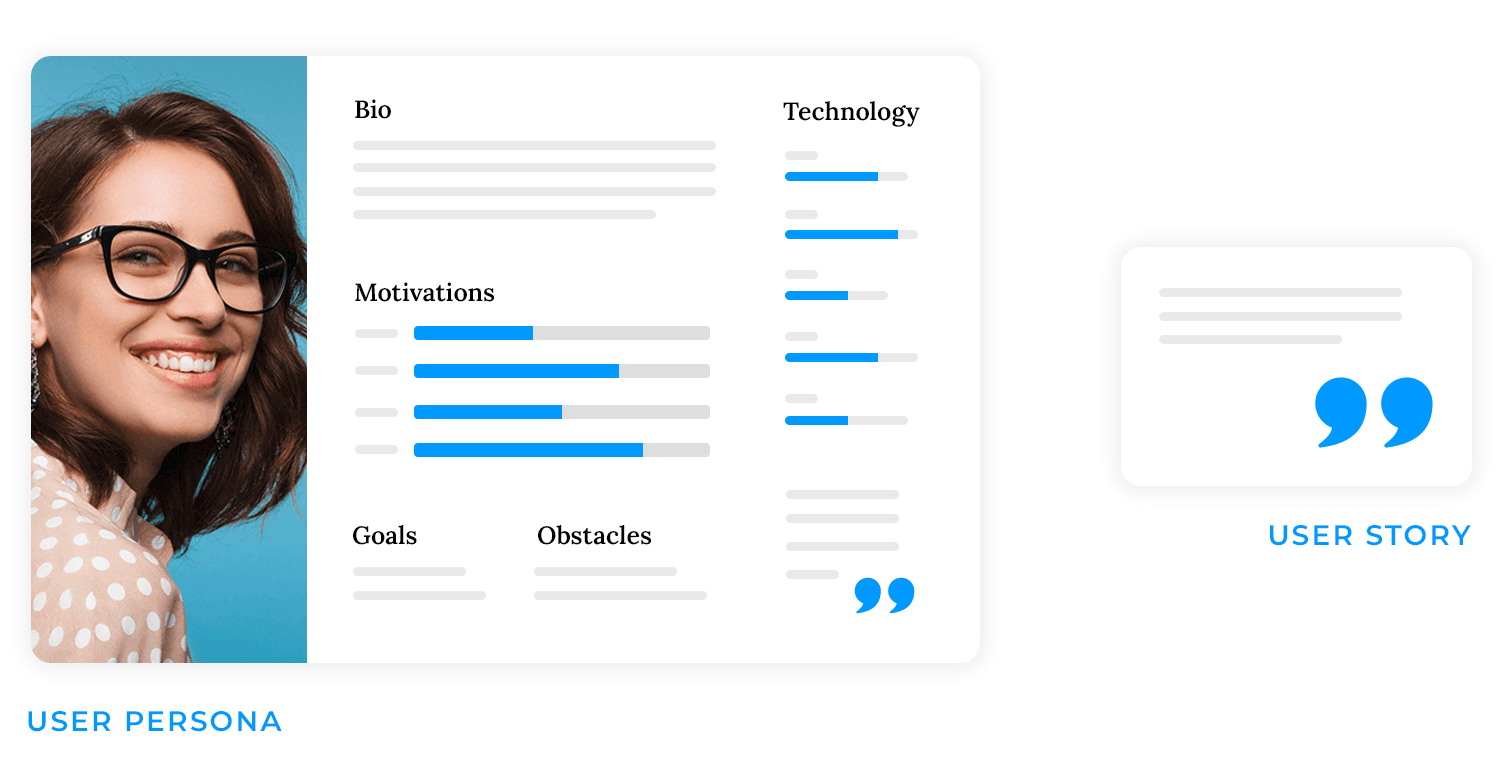
- User personas: Create fictional user profiles based on research. Represent key user segments and their goals. Humanize the user for design decisions.
- User stories: Define features from the user’s perspective: “As a…, I want…, so that…”. Focus on user goals and desired benefits.
Clear communication is vital for prototyping. Sharing prototypes with stakeholders, including developers, ensures alignment. Presenting test findings and recommendations explains design decisions. Effective feedback management—listening, organizing, and transparently communicating changes—keeps everyone informed and engaged.
Defining a prototype’s objectives and scope is essential for focused development. First, clarify the specific questions the prototype aims to answer, such as usability testing or concept validation, and identify the target user group, whether general or specific. Next, precisely define the features and functionalities to be included, and equally importantly, those excluded, to prevent scope creep.
This involves determining the necessary level of interactivity and prioritizing essential features over optional ones. Choose tools your team is proficient in, ensuring they match the prototype’s required fidelity for efficient progress.
Once you’ve spoken to the client, nailed down some user research and devised your product requirements, you’re ready to start creating a lo-fidelity prototype.
Now you can start to build your screen layouts, along with UI element sizing and positioning. Additionally, this is where you’ll implement a basic navigation flow and cement a core UI design. There’s no need to delve into too much detail at this stage. You’re essentially just building out a basic outline of your product’s screens that lets clients, stakeholders and users click through and test the water.
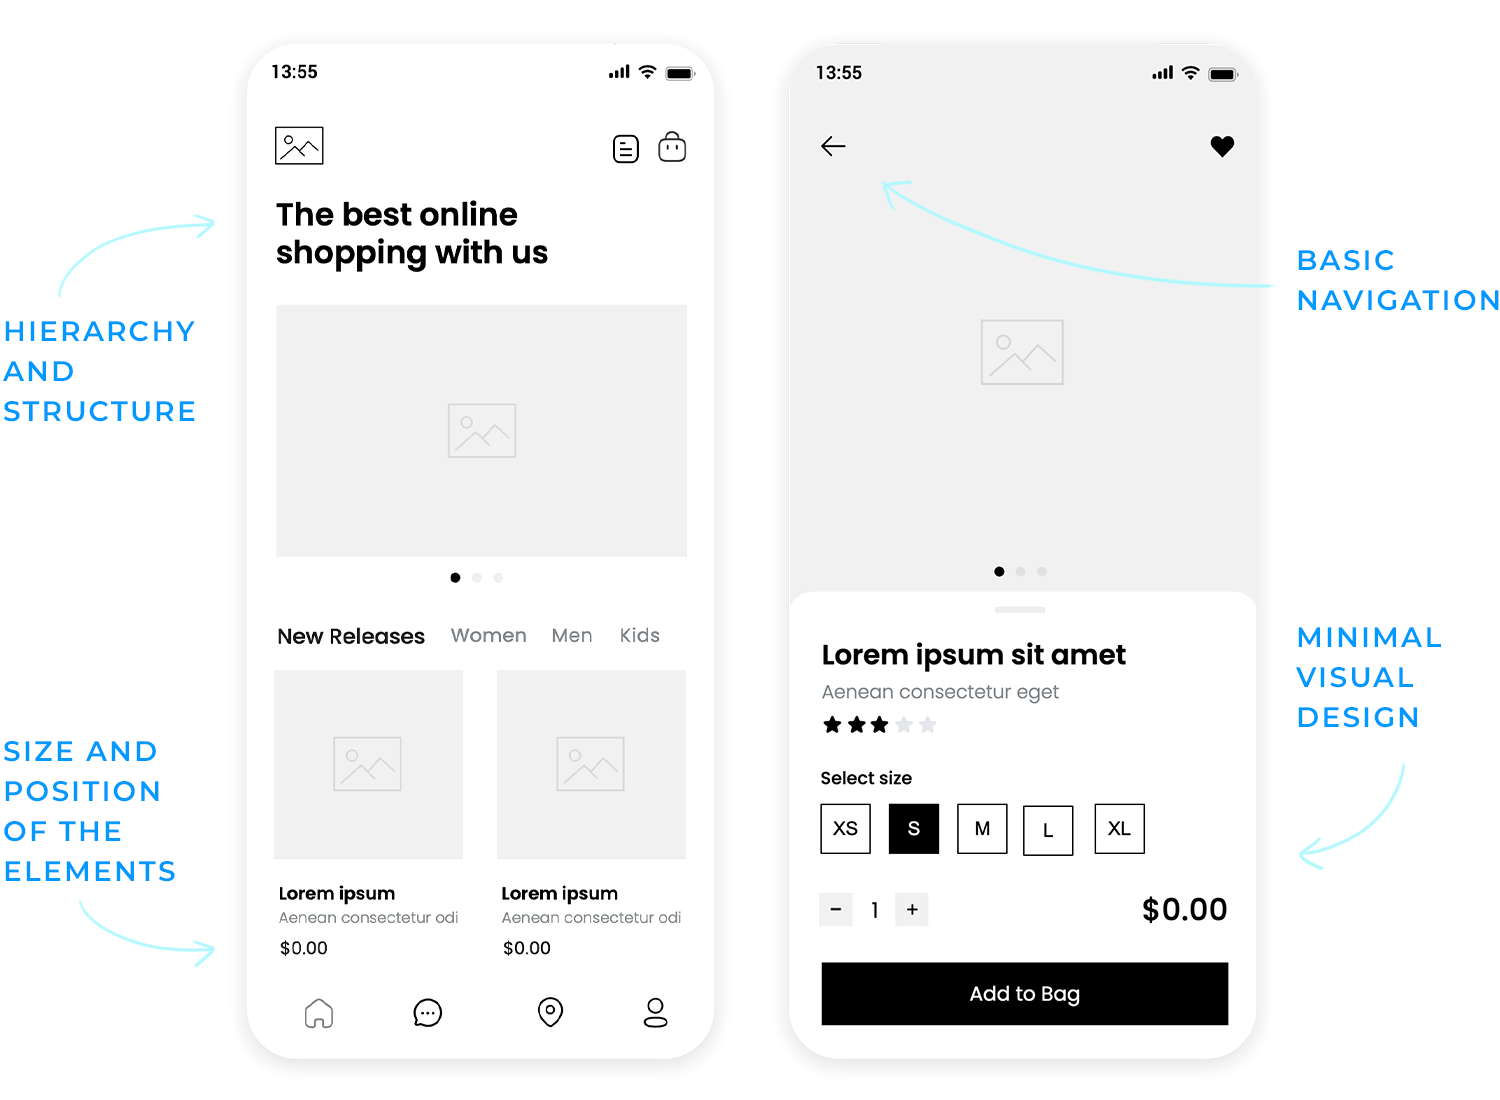
Advance interactions
As you move on to a high-fidelity design, your prototype should start to demonstrate more profound functionality. An example of this would be creating a search bar that retrieves data stored in the prototype based on input from the user, accordion menus, dropdown lists and other similar elements.
A further aspect that distinguishes hi-fi prototypes from the lower end of the spectrum is that they often store both numeric and text data, as well as certain settings the user enters. These settings can be stored and affect other elements in the prototype, either on the same screen or different screens.
For example, imagine you’re prototyping a sign up form and want the user’s email address to be saved and appear on another screen, such as the account page. The variable would allow this to happen, making the experience more meaningful and realistic during testing.
Microinteractions
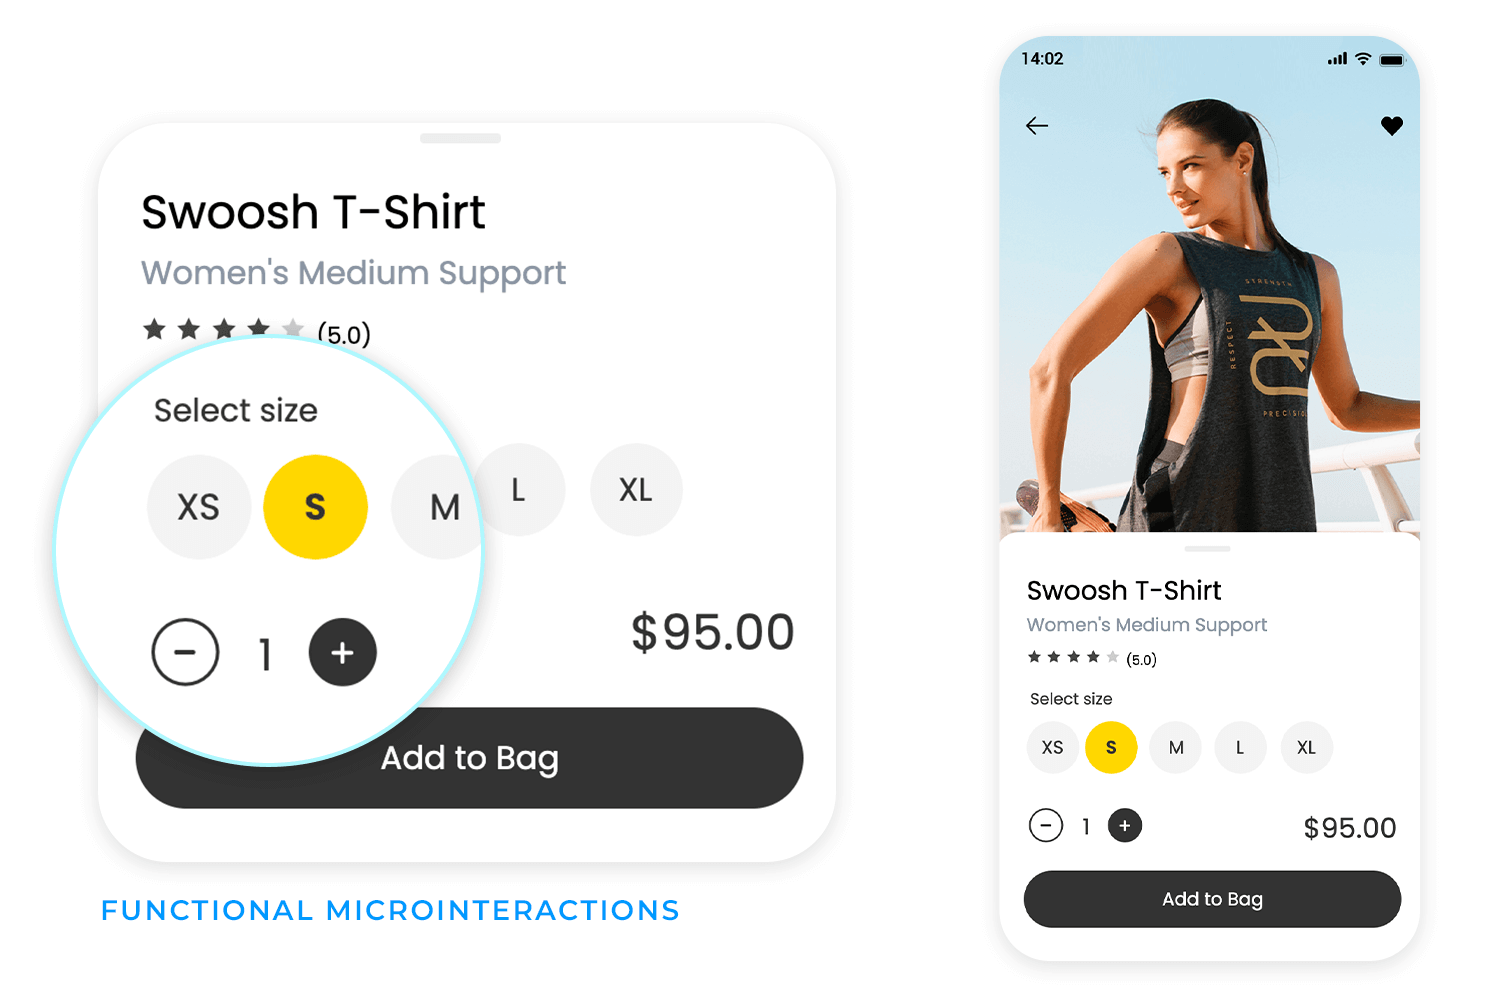
Microinteractions are a crucial aspect when it comes to refining the design at the hi-fi prototyping stage. A microinteraction usually consists of a trigger initiated by the user or the system, followed by some sort of feedback.
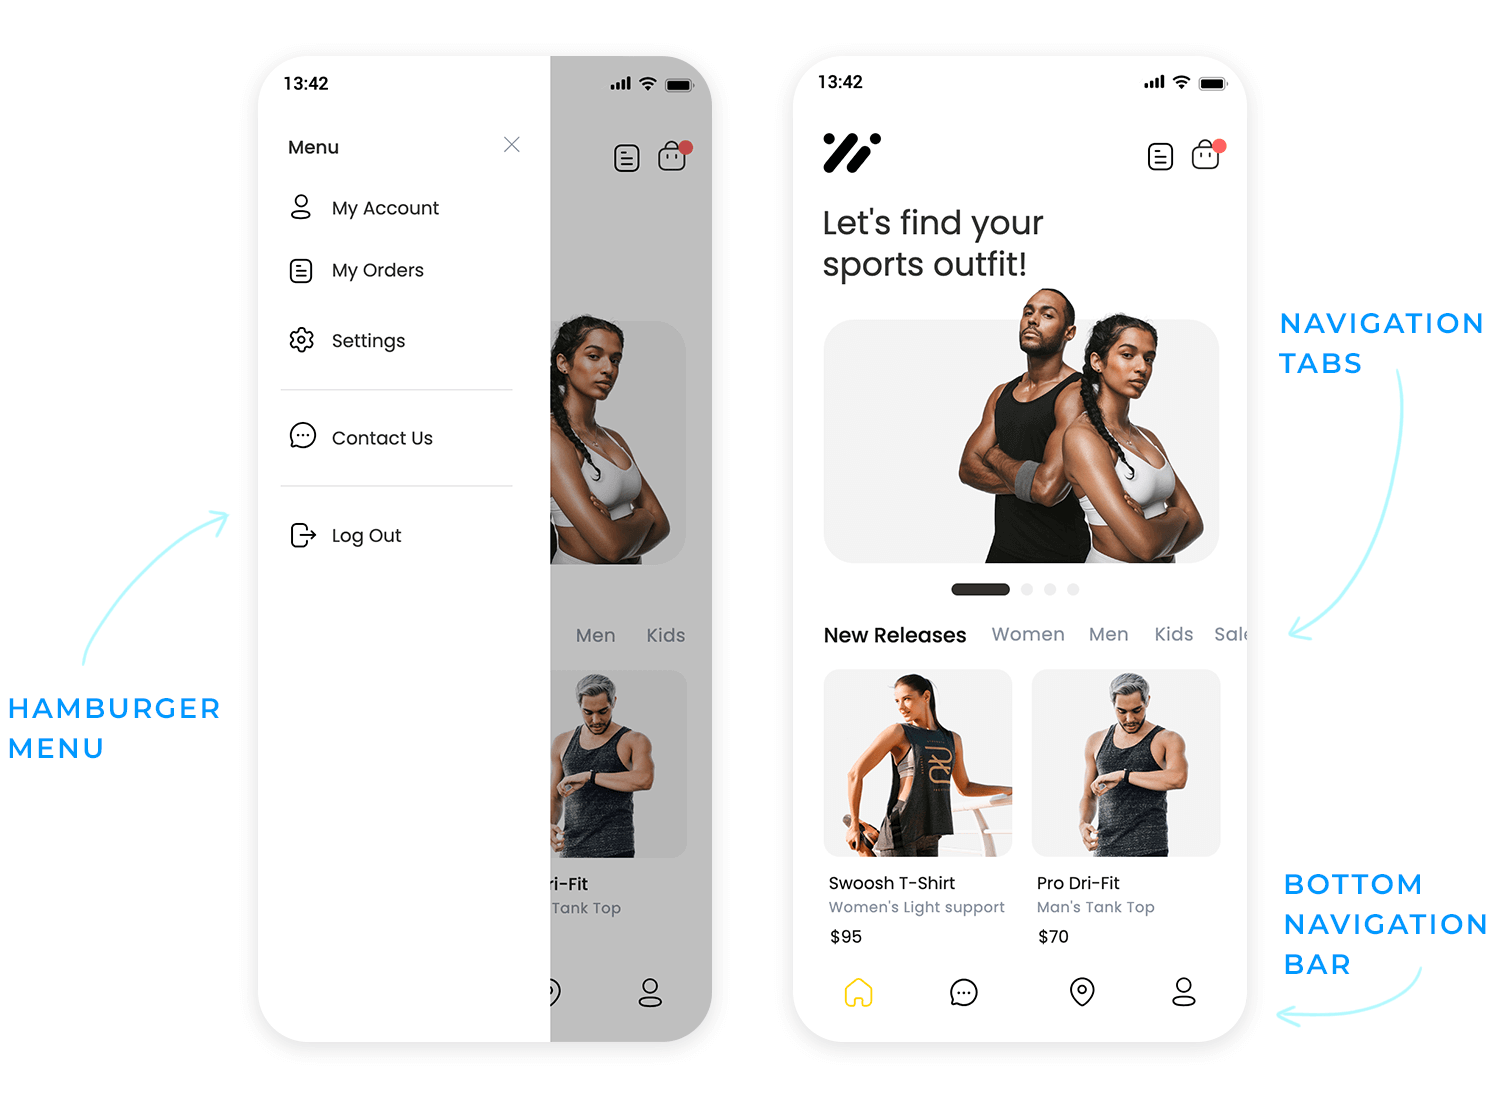
An example of this could be adding mouse over effects to change the states of various elements like buttons, links and images to show they’re clickable. A menu that slides in when the hamburger is tapped is also a microinteraction.
These small but significant interactions help improve the user experience and make your product more intuitive and usable.
Transitions
Think about adding in transitions when it comes to loading new screens or appearing/disappearing elements. We’re talking fade-in-fade-out transitions and exploding elements. These types of interactions not only add some pizzazz to a UI, the fractional delay they cause helps the user’s eyes readjust.
Prototyping forms
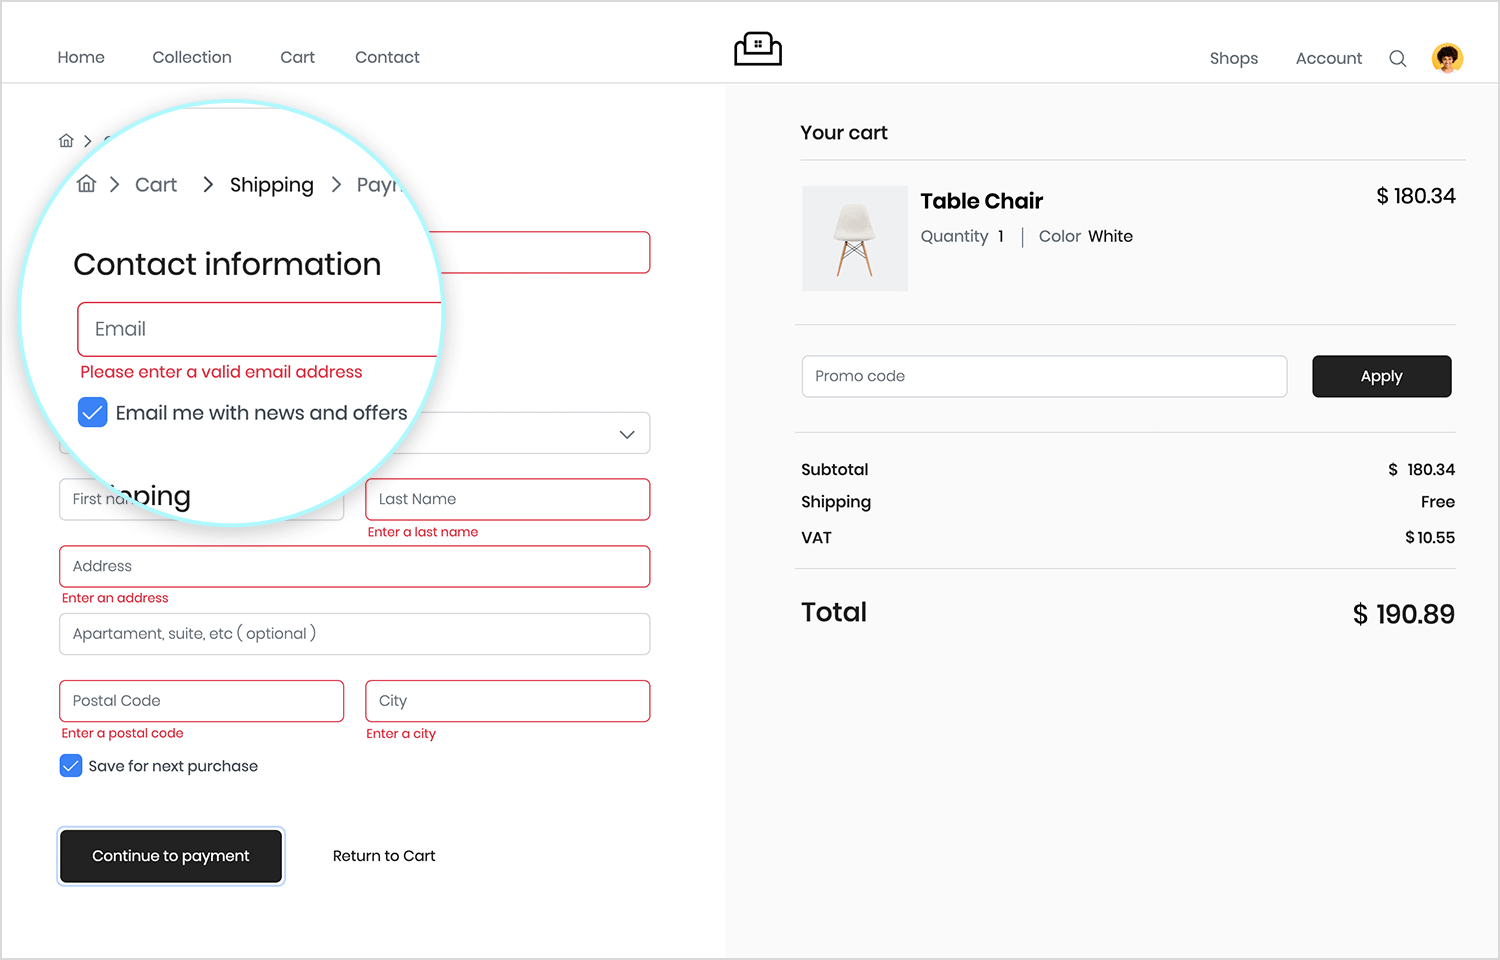
Form design is a crucial part of a product’s UX. Forms have an interaction cost on the part of the user. Unnecessarily long forms, or forms that are over-complicated, hard to understand or glitchy can cause users to abandon your product and never return.
For this reason, prototypes are very useful for validating and testing forms. At the high fidelity stage, your prototype’s forms should include conditional interactions and error messages and inline validation. An example of this might be displaying an error message if anything other than an email is typed into a field.
Finally, a high fidelity prototype will more than likely contain real data visualization to simulate the functionality of the final product.
Imagine you’re creating a prototype of a web app that manages employee shifts. You might want to create a list of employee names, roles and contact details.
At the high fidelity stage, it should be possible to view this kind of data in the following formats:
Ideally, the user should be able to make changes, such as adding or deleting employees, changing times, etc. and have these changes repeated throughout the prototype. When prototyping data visualizations such as these, you should always include the following possible interactions:
- Applying filters
- Sorting data
Visualizing and interacting with data helps demonstrate product functionality to stakeholders and developers, while also providing an opportunity to test whether the interactions make sense to the user.
Intuitive and visually appealing UI components, including buttons and forms, are designed for ease of use and user satisfaction. A unified design language ensures consistency and usability testing validates clarity and operability. Justinmind has over 4,000 UI elements with built-in interactions for you to assemble hi-fi prototypes at the drop of a hat.
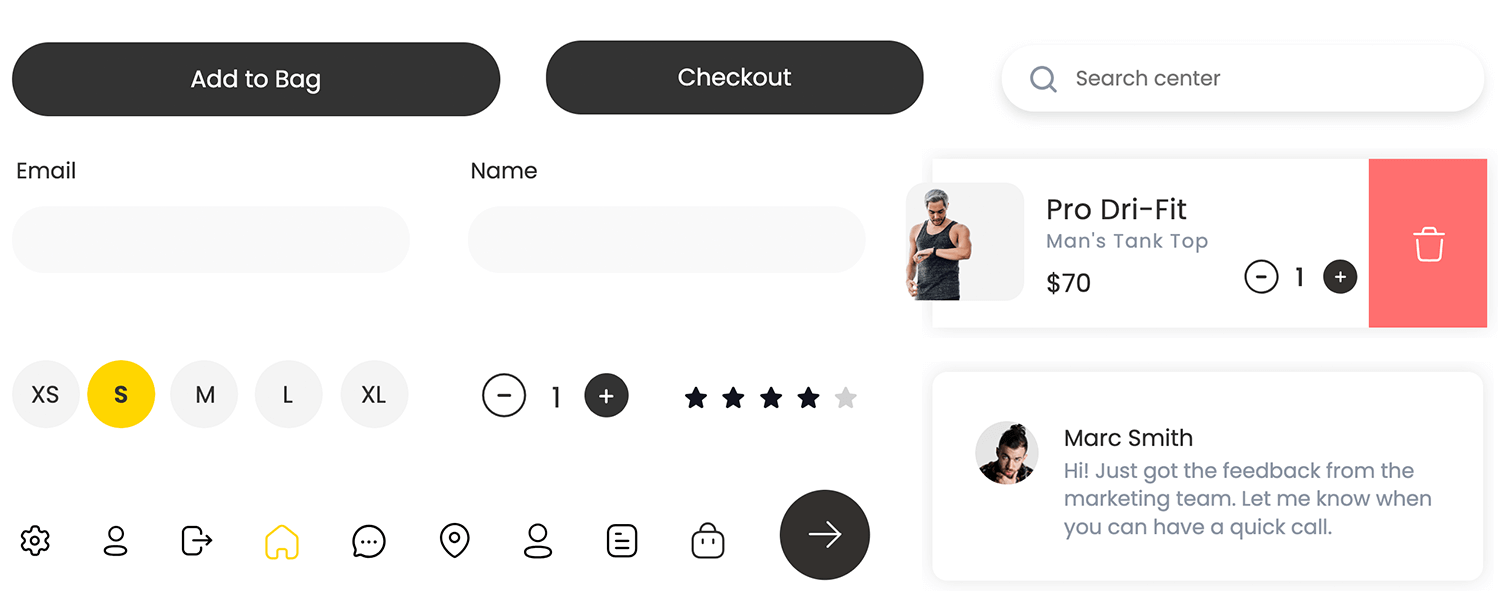
When you get to the high fidelity stage, most prototypes will have an advanced level of UI design. At this stage you should implement your chosen color palette based on brand guidelines as well as advanced styles for elements, such as tones, gradients and shadowing.
Make sure the color combinations you use provide good accessibility and usability, while also accentuating your brand. That is, adequate contrast for visually impaired users while also consistently reserving colors like red and green for error and success messages.
Choosing the right typeface and font to use in your prototype is important as it will be the closest reflection of the final result, making it an important element to note while testing. Why? Because it’s crucial when it comes to the UX and basic usability. If users can’t easily scan and read your font, you’ll be less likely to activate and retain them.
Lastly, in the high fidelity stage we’ll want to be working towards a pixel-perfect representation of our end-product. That means refining the spacing and positioning of all UI elements to the exact pixel. Defining this type of information in the prototyping stage will make it easier when it’s time to develop the product.
Start prototyping your web and mobile apps today

At the low fidelity prototype stage, you’ll more than likely be using placeholders for images, as the focus will be simply on layout, navigation and the type of content displayed on the screen.
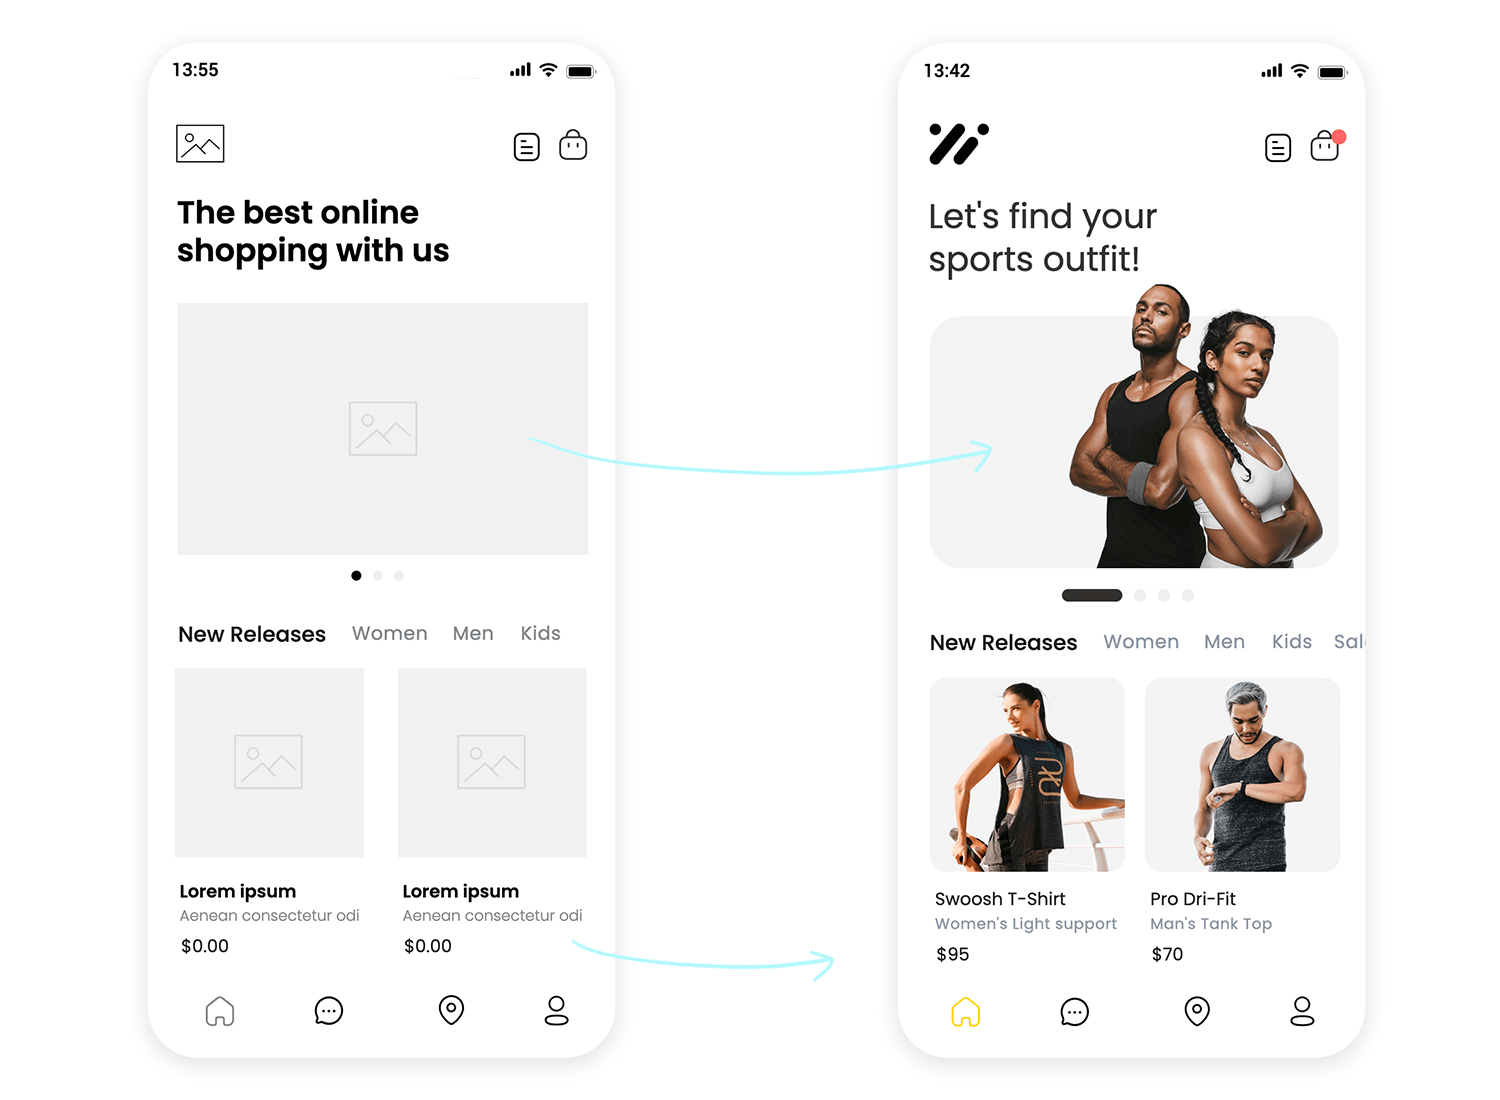
However, all high fidelity prototypes will use quality images with a high definition. Using this type of content at this stage is important for a few reasons:
- It helps obtain validation from the client
- It moves your prototype closer to the real product
- It boosts intuitiveness during user testing
- You can hand off image assets to developers with your prototype
Adding high quality images, in addition to interaction is one way of moving up the fidelity chain and edging closer to the end product.
Placeholder text like Lorem Ipsum, as we’ve mentioned above, is fine for wireframes, as long as it doesn’t affect navigation and orientation within the simulation. Nonetheless, in your high fidelity prototype, you should aim to include all real text and copy in your design where possible, including paragraphs of text that aren’t related to finding one’s way around the prototype. Here’s why:
- It helps add more meaning to the prototype
- It helps you discover if certain content works on certain pages
- When your prototype is developed, your product will need a minimum level of real content
For these reasons, we should always try and include real content in our prototypes.
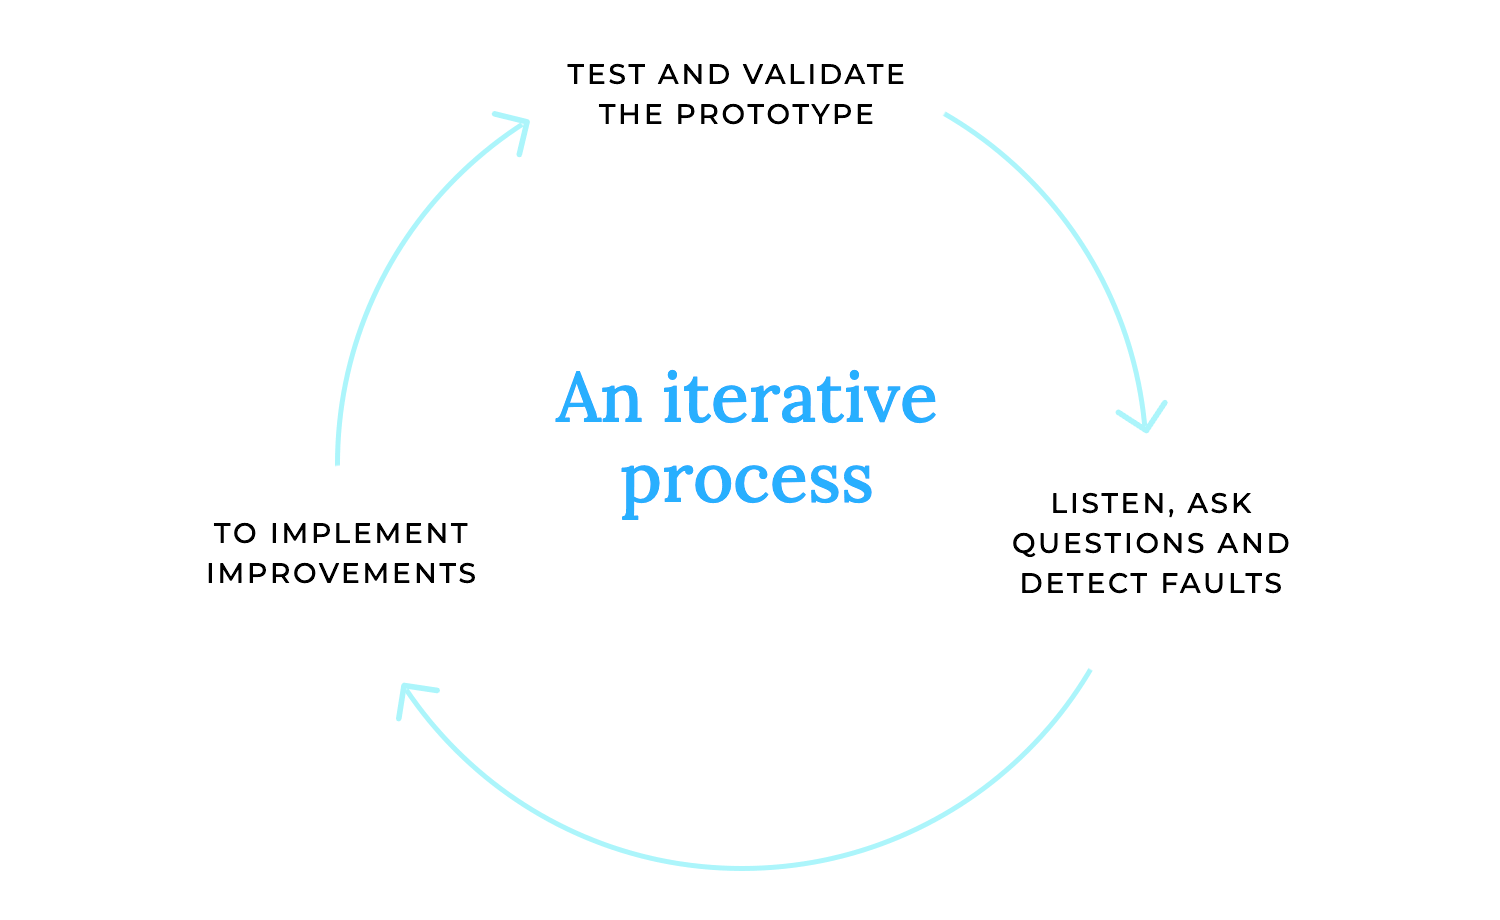
Imagine letting your users take your prototype for a spin! That’s usability testing. We’re putting your design directly into the hands of your target audience, giving them tasks to complete, and observing how they naturally interact. It’s like watching a real-life demo, where you can see firsthand what works and what doesn’t. We’re looking for those “aha!” moments and those little hiccups that might cause frustration.
Qualitative feedback
We want to understand the user’s thoughts, feelings, and opinions. This is about getting the story behind their interactions. Did they find something confusing? Did they love a particular feature? We’re digging into the “why.”
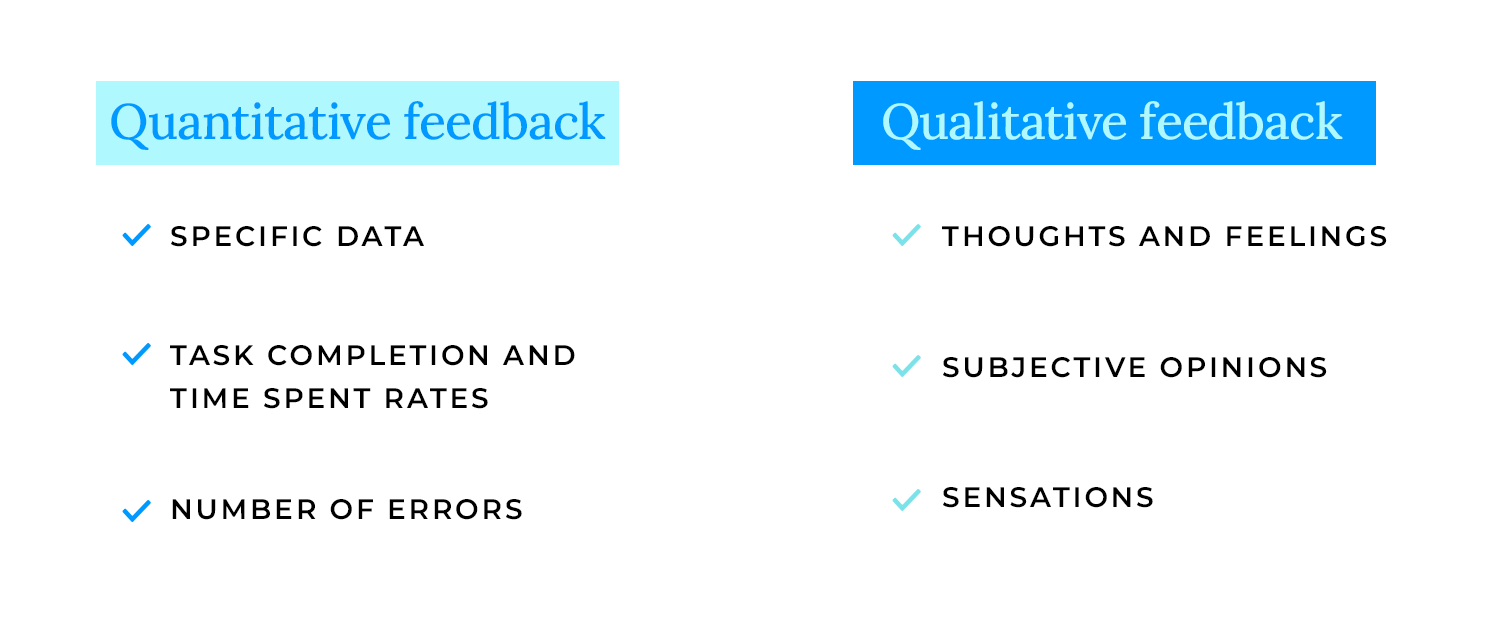
Quantitative feedback
We’re also collecting hard data, like task completion rates, error counts, and time spent on tasks. This gives us the numbers to back up our qualitative findings, telling us “how much” and “how many” users encountered specific issues.
Analysis
Finally, it’s time to put on our detective hats and analyze all this feedback. We’re looking for patterns, common pain points, and areas where your design can really shine. This isn’t about finding fault; it’s about understanding how to make your product even better. We’re translating user feedback into actionable insights, ensuring that every tweak and improvement is driven by real user needs.
Prioritize the feedback, focusing on the most critical issues, and begin implementing those changes. This is where you refine your design, making it even more user-friendly and effective.
Repeat the testing and evaluation process. Test your refined design again, gather more feedback, and analyze the results. This iterative cycle ensures that your product continuously improves, moving closer to perfection with each round.
Throughout this process, don’t forget to document your design decisions and the rationale behind them. This documentation serves as a valuable record, helping you and your team understand the evolution of your design and ensuring that every change is purposeful and well-informed. It’s a continuous loop of learning and improvement, ultimately leading to a product that truly delights your users.
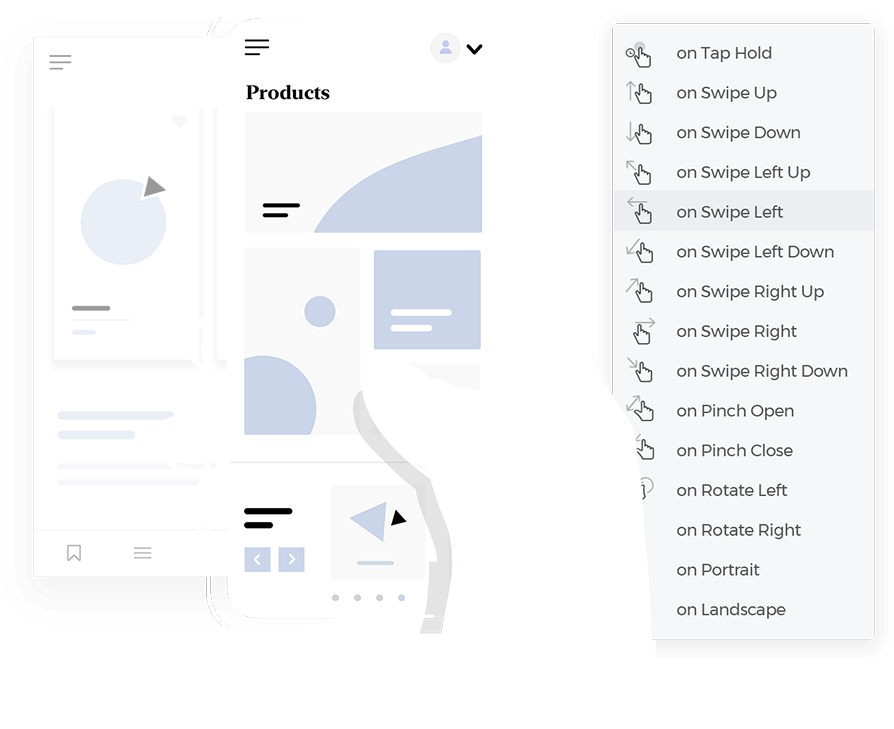
Mobile devices are all about touch. We design for intuitive touch interactions and gestures, like swiping, pinching, and tapping. We ensure that every interaction feels natural and responsive, making the app a joy to use. It’s about creating an experience that is truly tactile and engaging.
Mobile screens are small, so we need to be smart about navigation. We use mobile navigation patterns like hamburger menus and bottom navigation to keep interfaces clean and organized. We ensure that users can easily find their way around the app, even on the go. It’s about creating an experience that is both efficient and user-friendly.
Mobile devices have limited resources, so performance is crucial. We optimize our prototypes to ensure they run smoothly and efficiently. We consider factors like loading times, memory usage, and battery consumption. It’s about creating an experience that is fast, responsive, and reliable, even on less powerful devices.
Start prototyping your web and mobile apps today

We craft designs that gracefully adjust to desktops, tablets, and mobile phones, ensuring a consistent and enjoyable experience regardless of the device. It’s about building a digital space that feels welcoming and accessible to everyone.
Using flexible layouts and media queries
We employ flexible layouts and media queries to dynamically adjust content and design elements based on screen size. This allows us to create websites that are both visually appealing and functionally robust. It’s like having a tailor that can adjust your clothes to fit perfectly, no matter your shape or size.
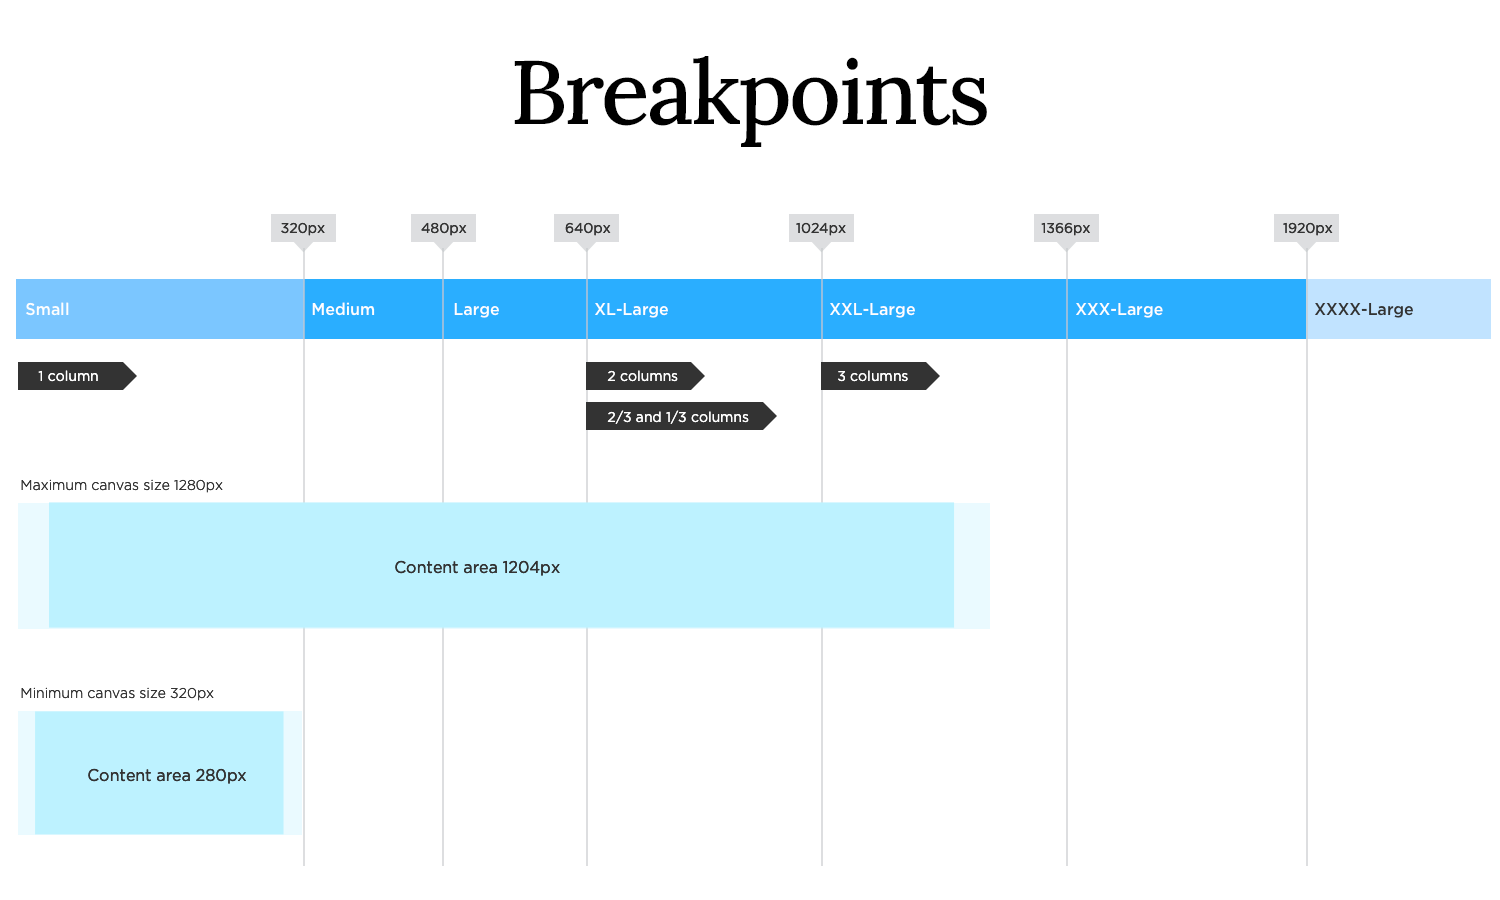
Testing responsiveness across devices
Rigorous testing across various devices is crucial. We meticulously check how our designs perform on different screens, ensuring a flawless user experience. This step guarantees that our website looks and functions as intended, regardless of the device used.
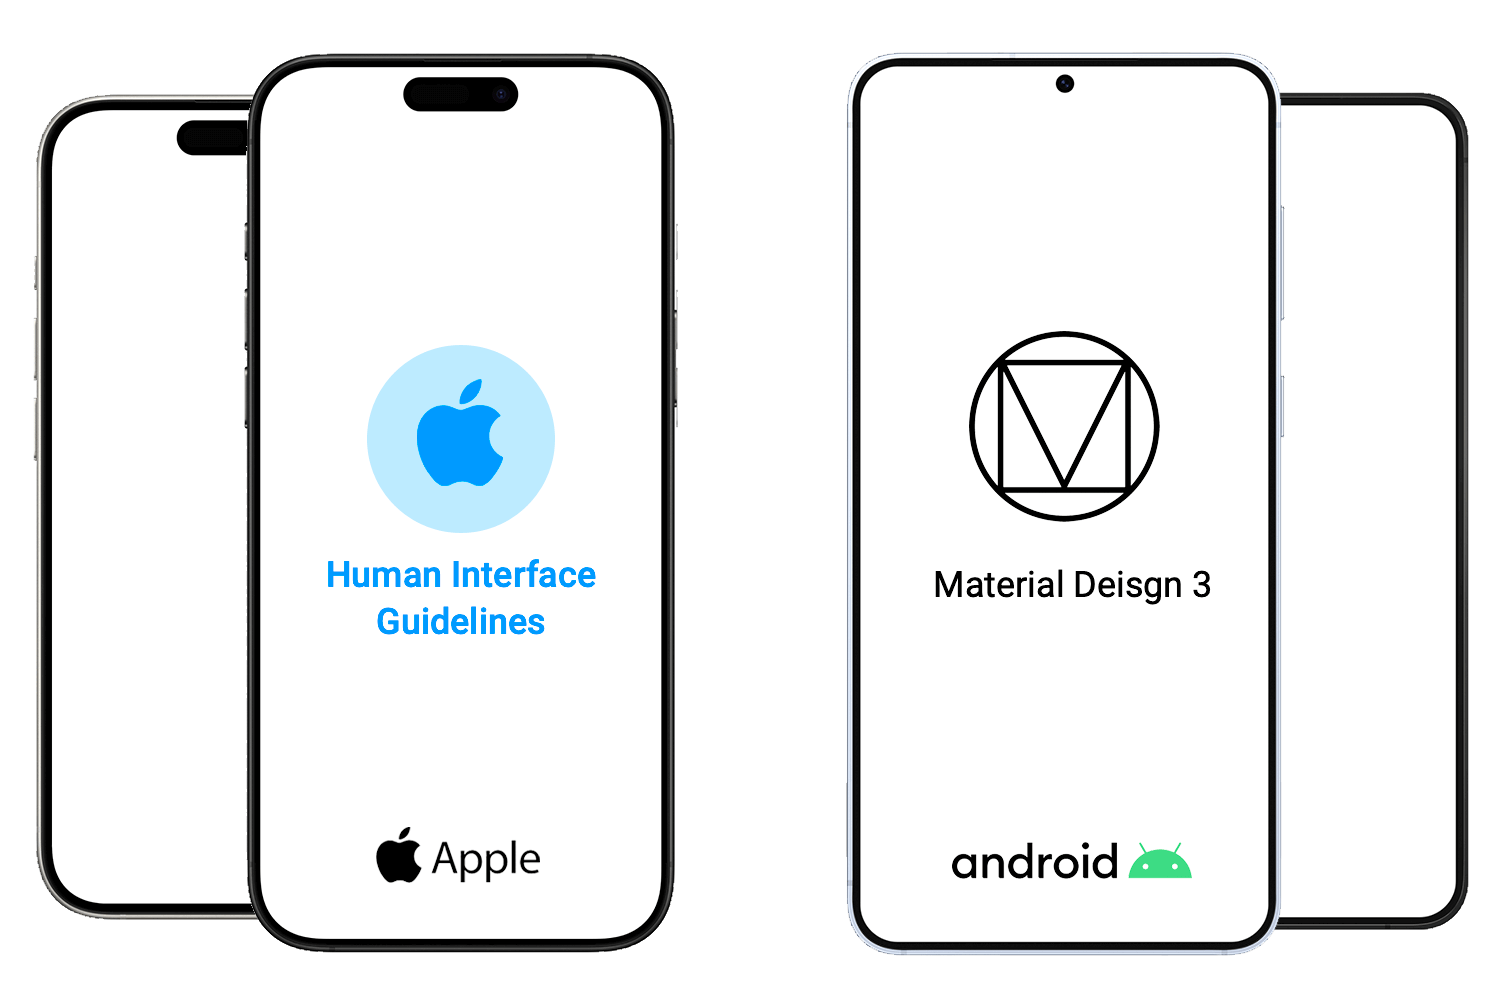
Imagine you’re designing a tailored suit; it needs to fit perfectly. That’s how we approach iOS prototyping. We start by understanding iOS design principles and patterns, the language of the platform. We delve into using iOS UI kits and components, the building blocks that ensure our app feels native and familiar to users.
Crucially, we design for specific screen sizes and resolutions, ensuring our app looks crisp and beautiful on every iPhone and iPad. It’s about creating an experience that feels seamless and natural within the Apple ecosystem.
Android, with its diverse range of devices, requires a different approach. We follow Material Design Guidelines, Android’s design language, to create consistent and intuitive experiences. We understand Android design principles and patterns, ensuring our app feels at home on any Android device.
The future of user experience is immersive. VR/AR prototyping allows us to create interactive prototypes in virtual and augmented reality environments. We’re building experiences that transcend traditional screens, allowing users to interact with digital content in a more natural and intuitive way.
This opens up new possibilities for training, education, and entertainment. It’s about stepping into new dimensions of interactive design.

Artificial intelligence is revolutionizing the design process. AI-powered prototyping leverages machine learning to generate and evaluate prototypes, providing valuable insights and automating repetitive tasks. We’re using AI to analyze user behavior, predict design outcomes, and even generate design variations. This allows us to create more efficient and data-driven prototypes. It’s about letting the machines help us to be more creative.
Start prototyping your web and mobile apps today

Known for its robust features, Justinmind excels in creating high-fidelity prototypes, especially for complex web and mobile applications. It’s a powerful tool for those who need to simulate intricate interactions and data-driven experiences.
A collaborative design tool that has taken the industry by storm. Figma’s cloud-based platform allows teams to work together in real-time, making it ideal for collaborative prototyping and design. Its versatility and user-friendly interface make it a favorite among designers of all skill levels.
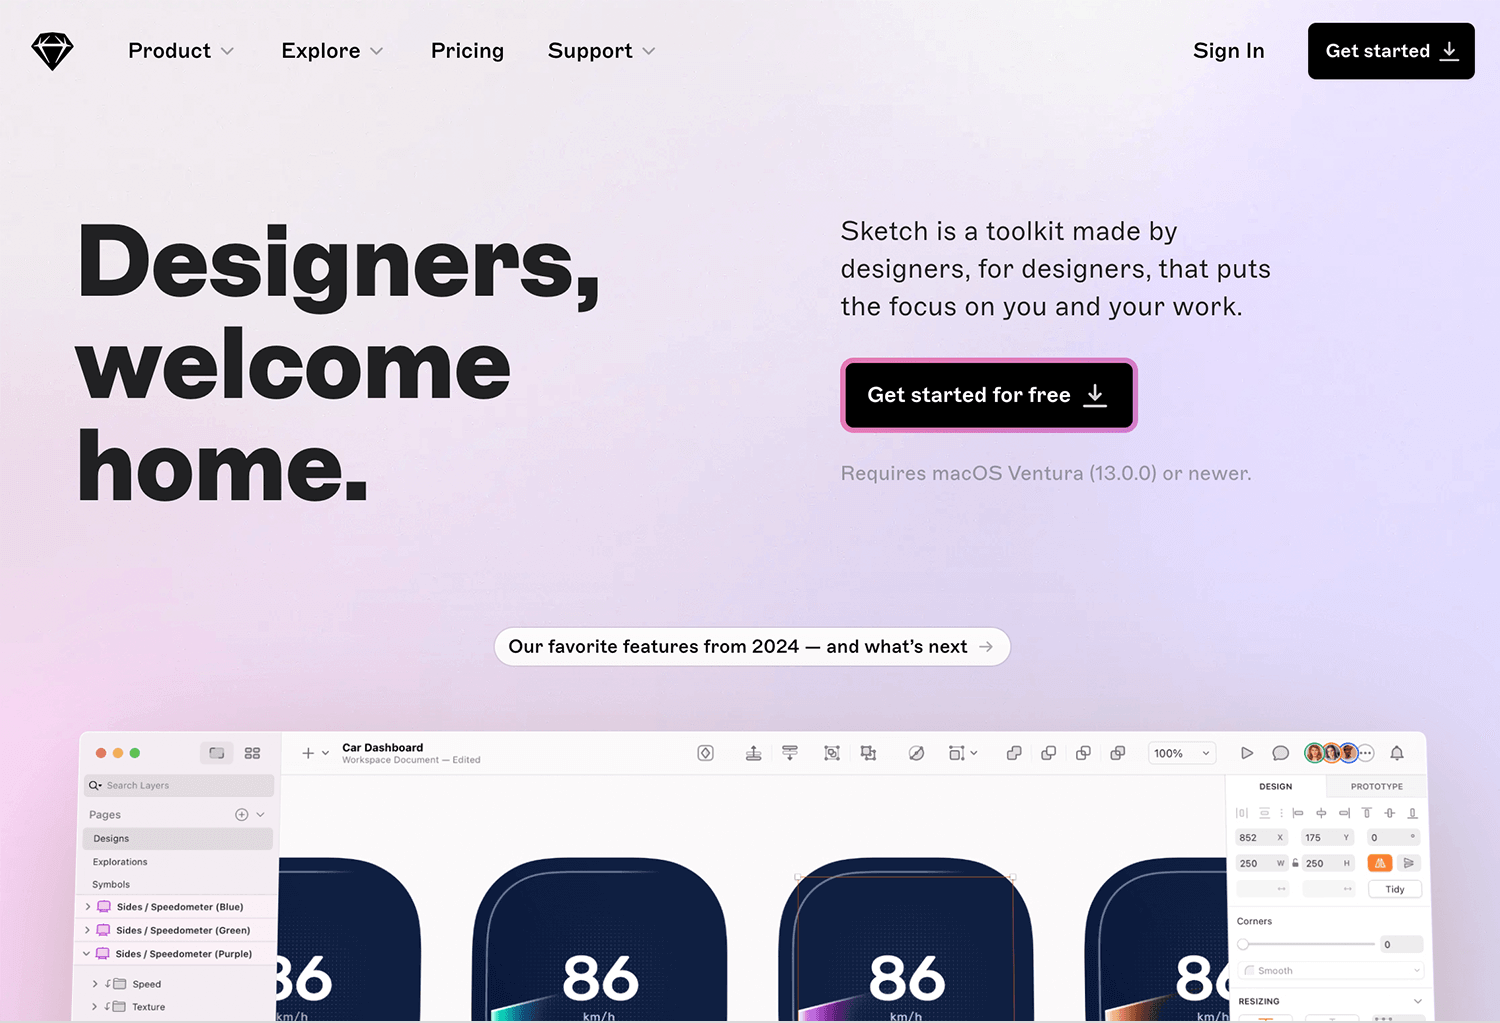
While primarily a UI design tool, Sketch also offers powerful prototyping capabilities. Its simple interface and extensive plugin ecosystem make it a popular choice for creating sleek and efficient prototypes for iOS and macOS applications.
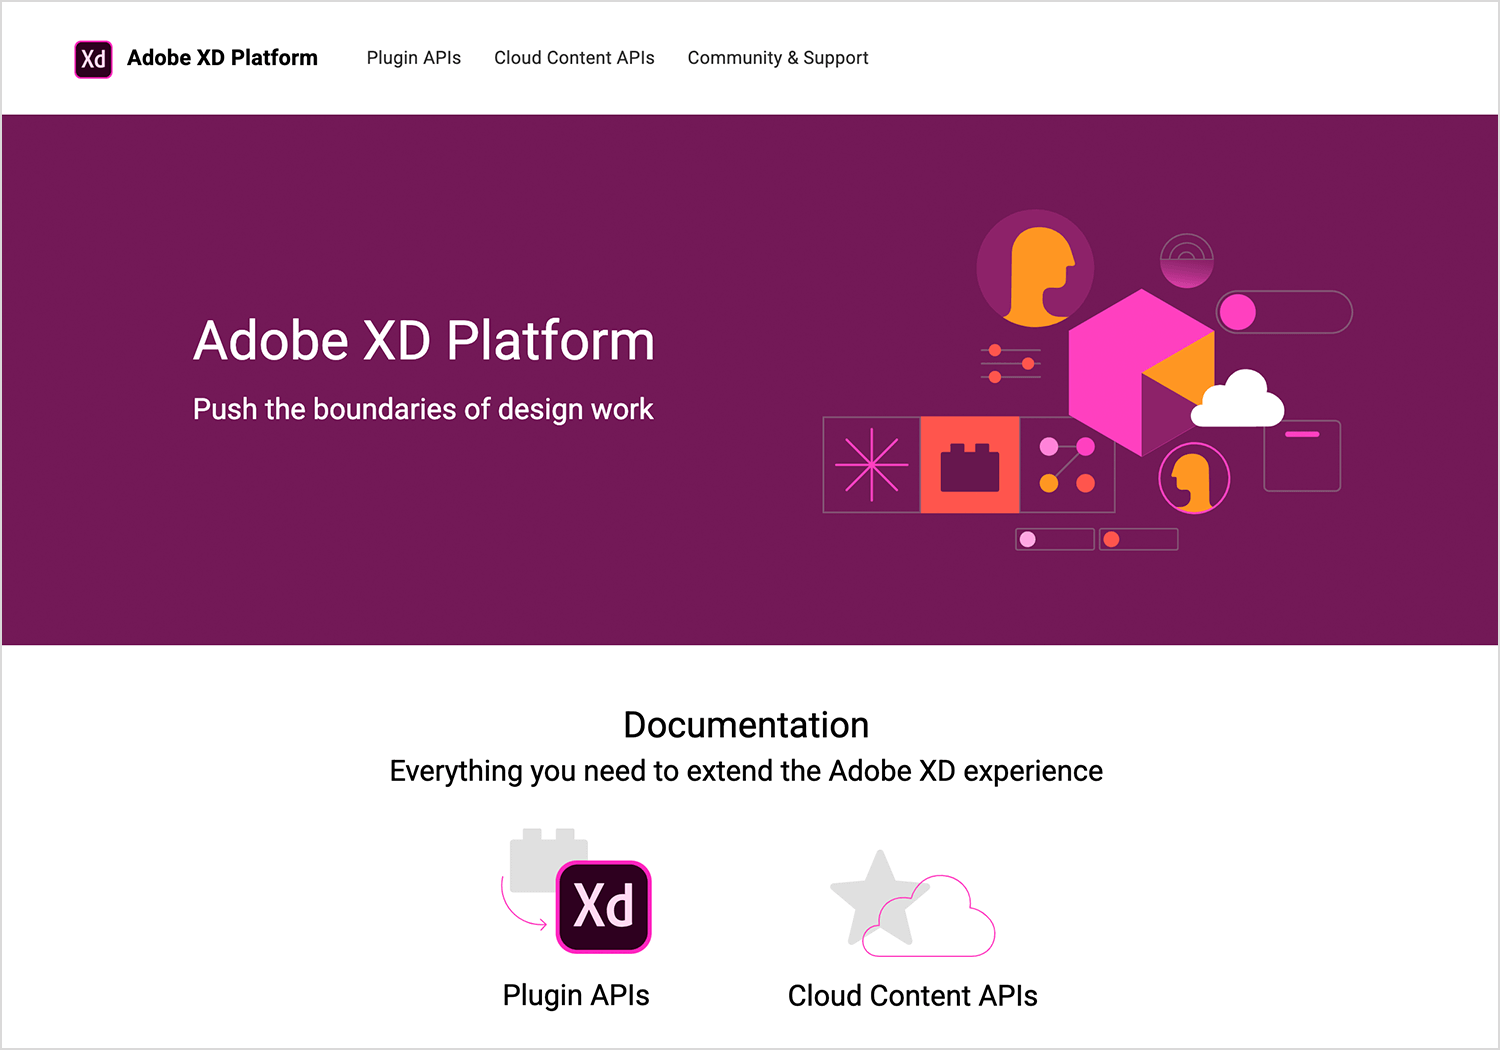
Adobe XD is a comprehensive UX/UI design tool that seamlessly integrates with the Adobe Creative Cloud suite. It’s perfect for creating interactive prototypes for websites and mobile apps, with features like auto-animate and voice prototyping.
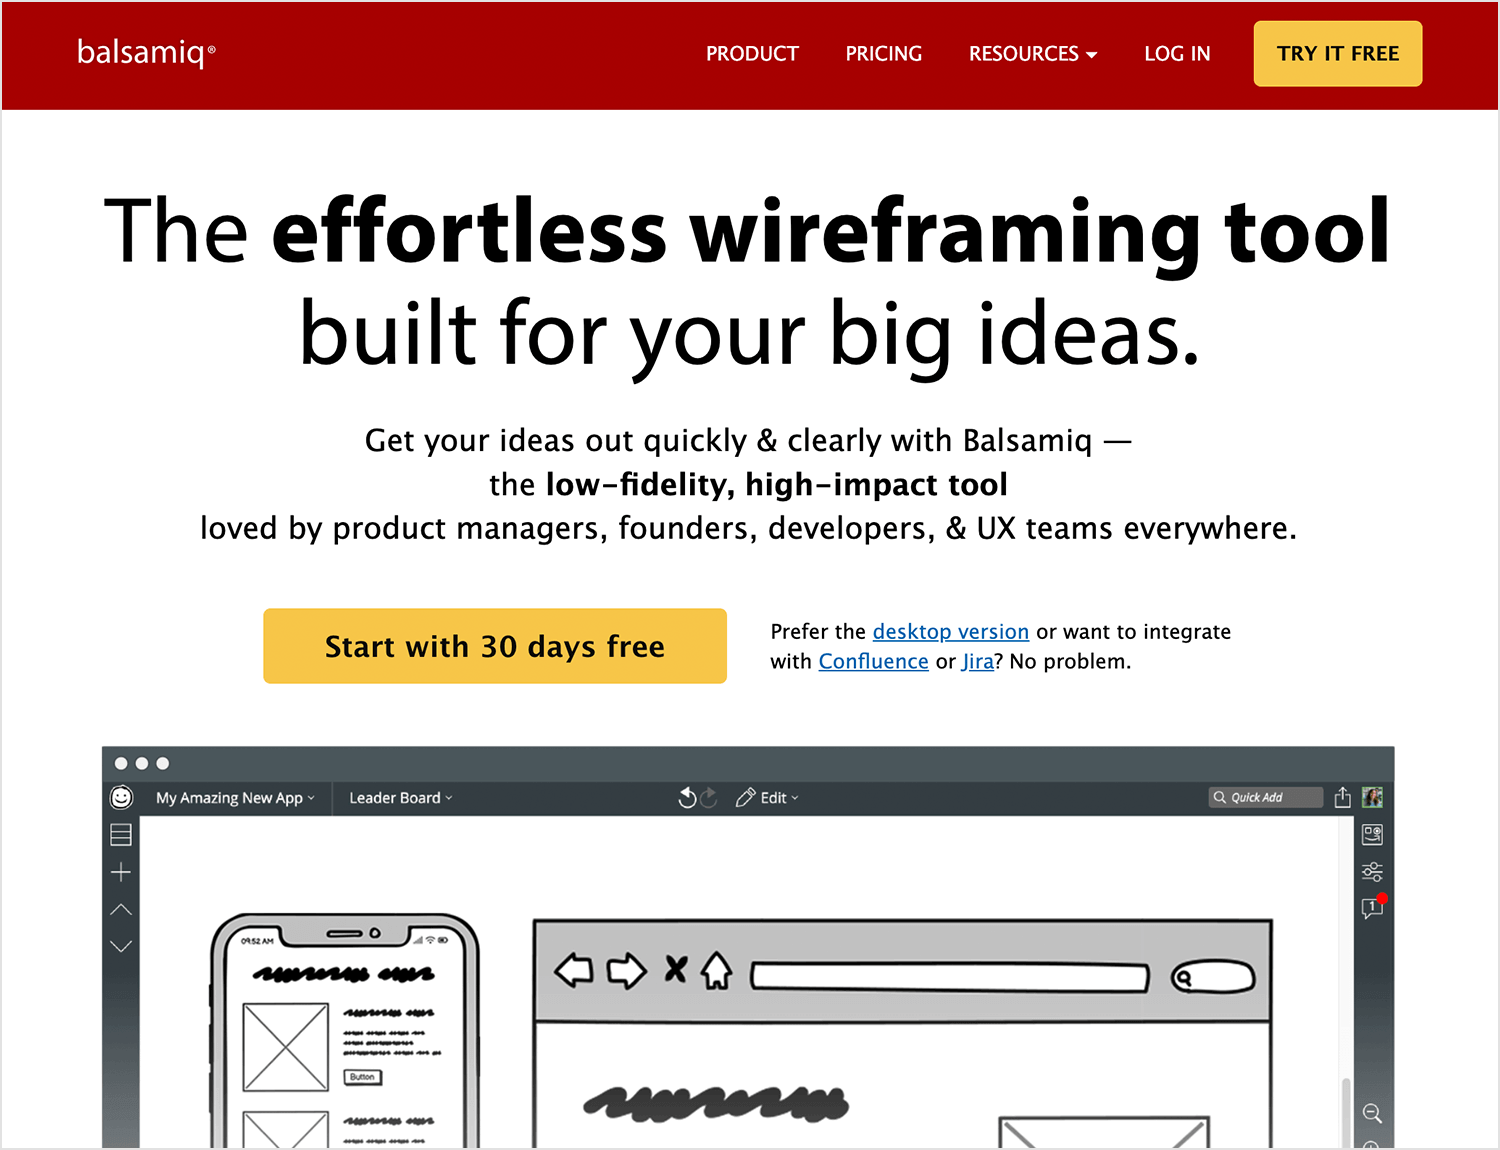
If you’re looking for a quick and easy way to create low-fidelity wireframes, Balsamiq is your go-to tool. Its focus on rapid prototyping allows designers to quickly iterate on ideas and gather feedback early in the design process.
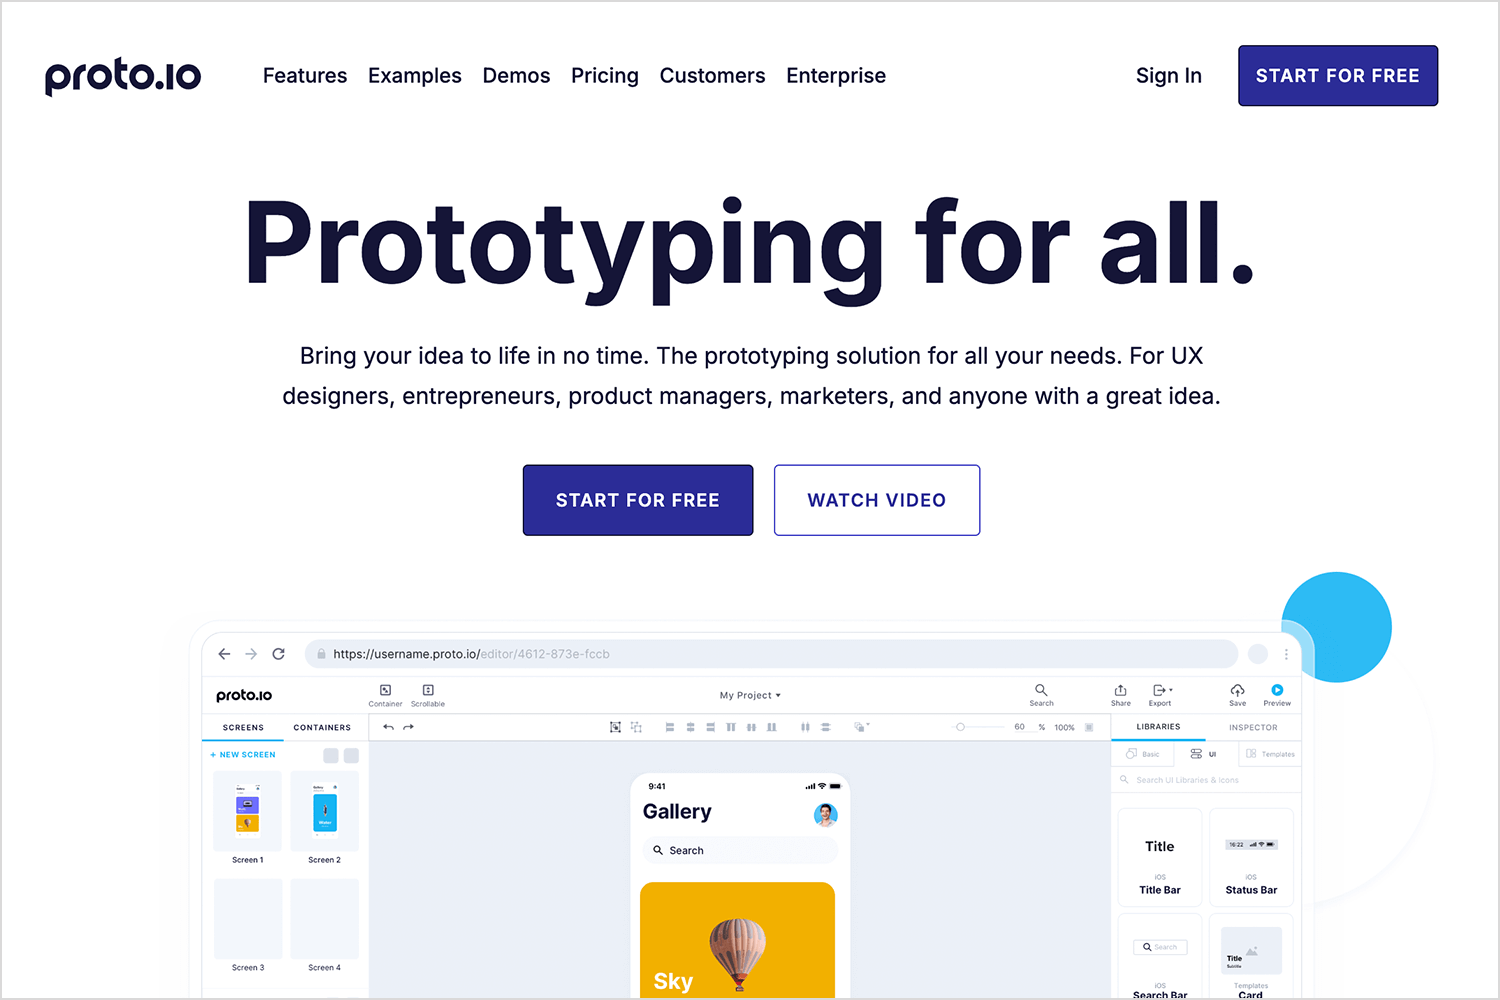
Proto.io is a powerful platform for creating high-fidelity mobile app prototypes. It offers a wide range of interactive components and animations, allowing designers to create realistic simulations of their app designs.
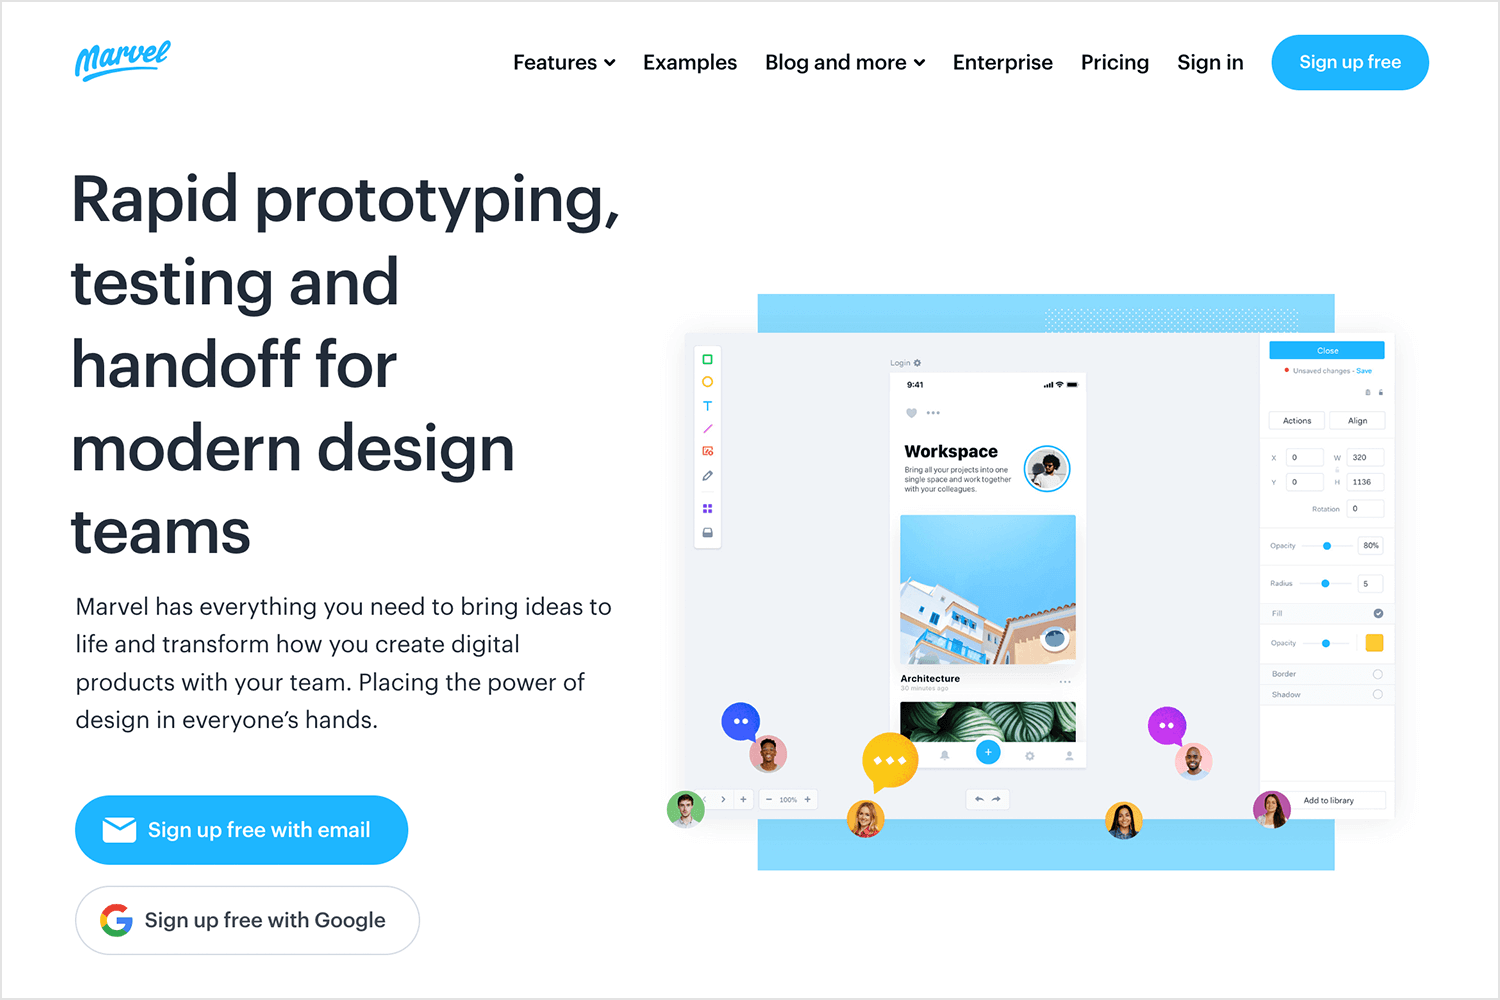
Marvel is a user-friendly prototyping tool that excels in rapid prototyping and collaboration. It’s known for its simplicity, allowing designers to quickly turn static designs into interactive prototypes with hotspots and transitions. Marvel is perfect for creating quick prototypes for user testing and gathering feedback.
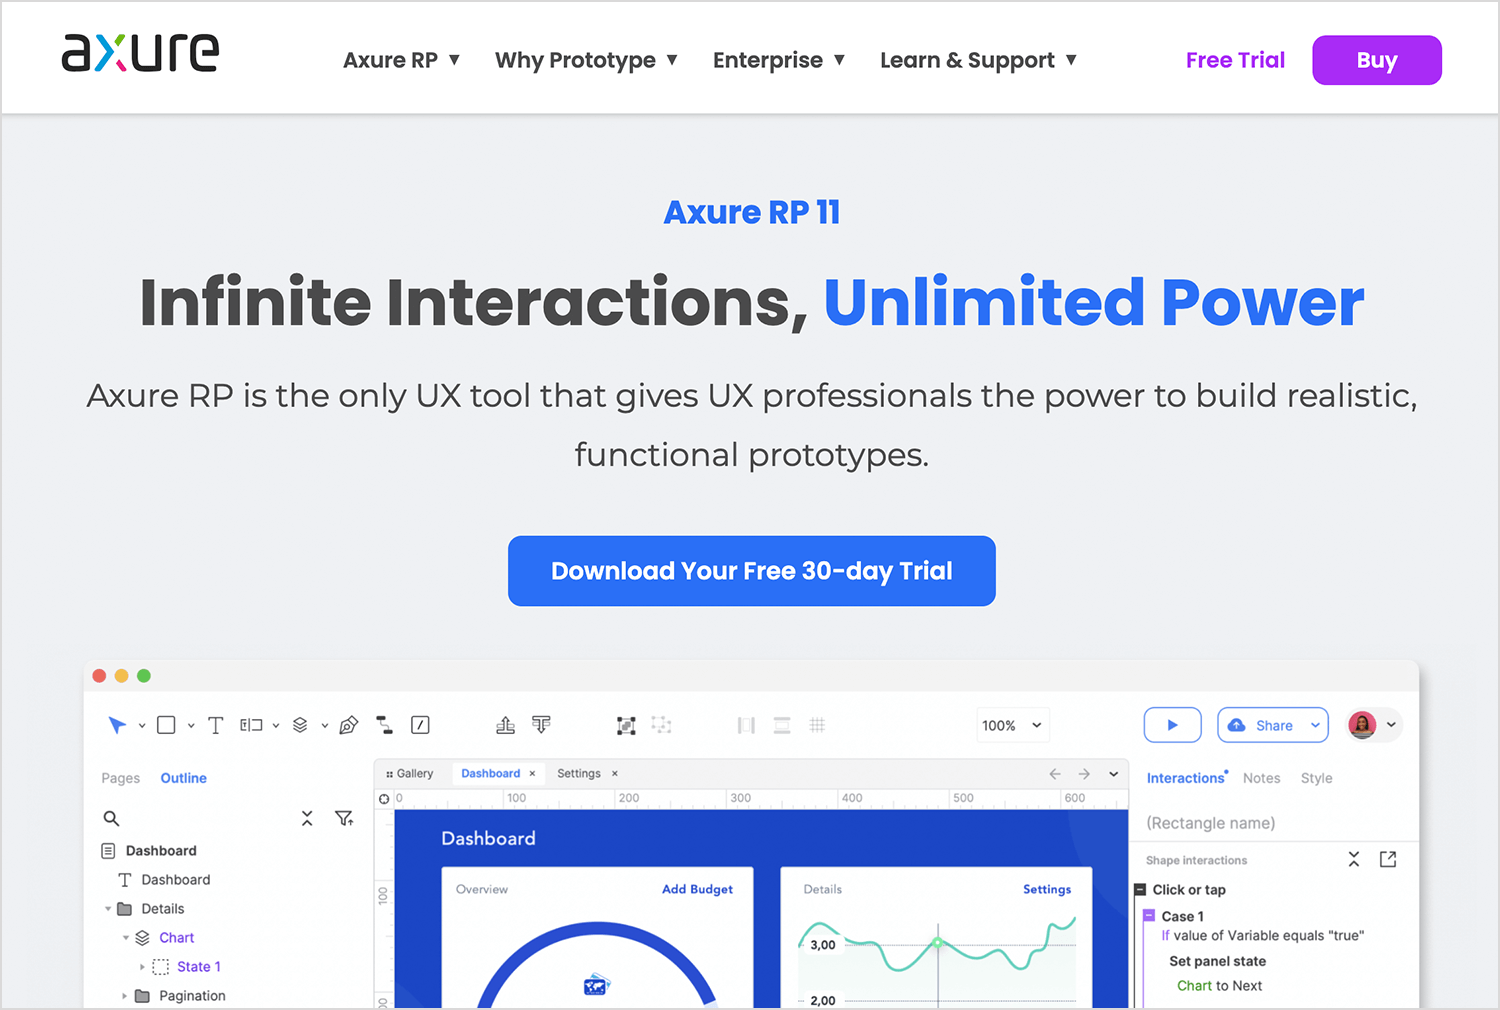
Axure is a professional-grade prototyping tool that’s ideal for creating complex and data-driven prototypes. It offers advanced features like conditional logic and dynamic content, making it suitable for enterprise-level projects.
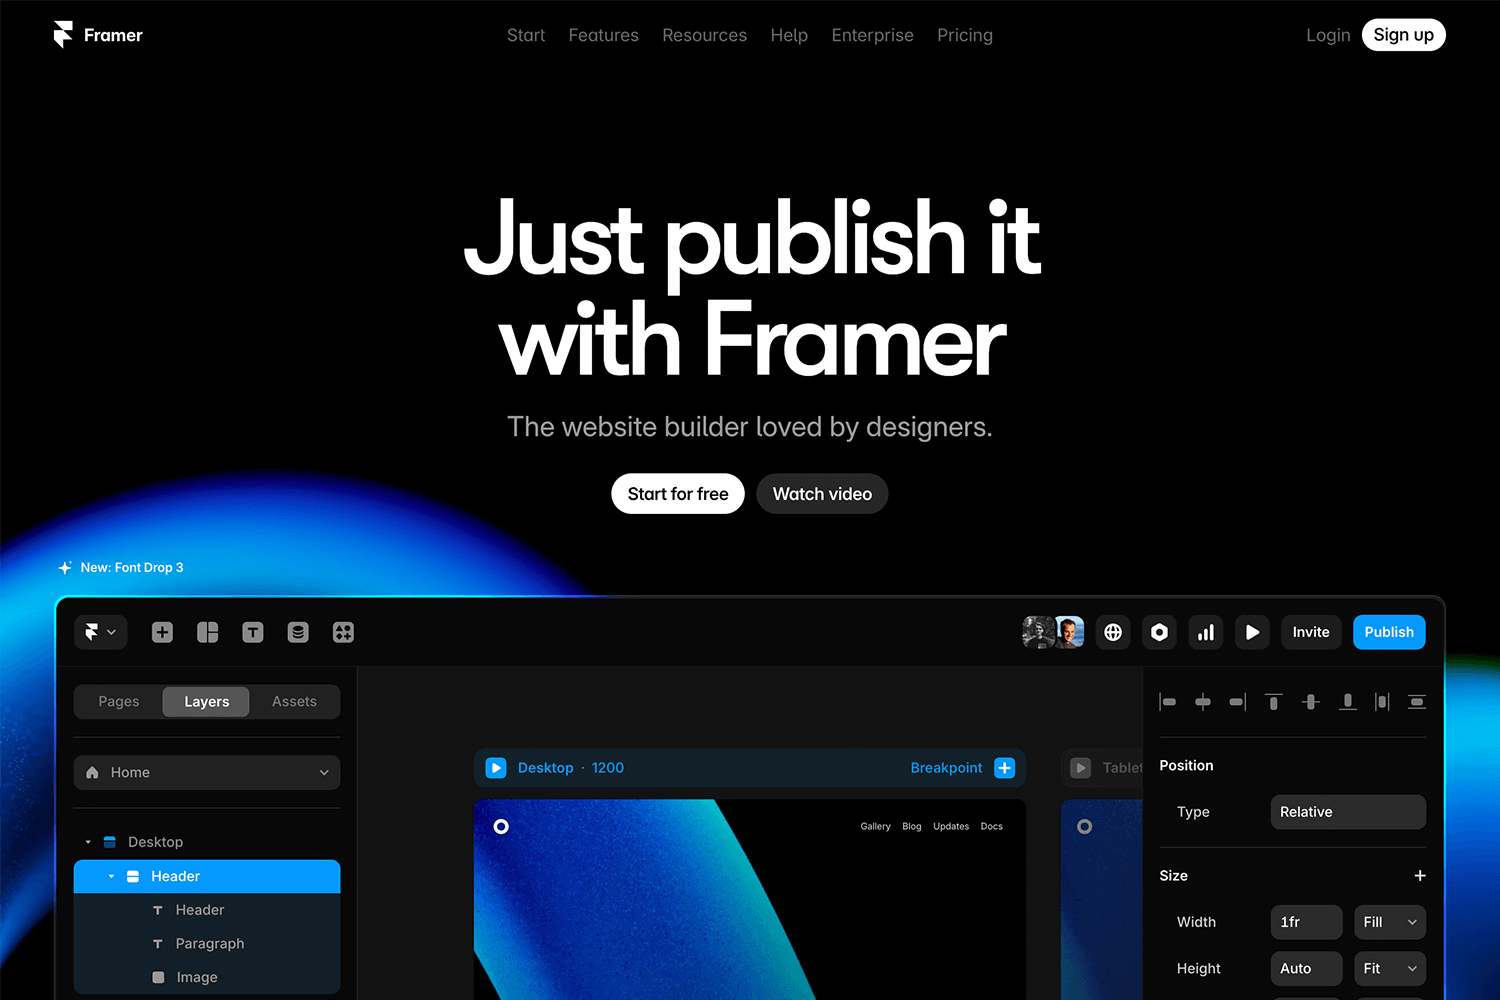
Framer is a powerful prototyping tool that allows designers to create highly interactive and animated prototypes. Its code-based approach provides greater control over interactions and animations, making it a favorite among designers who want to push the boundaries of interactive design.
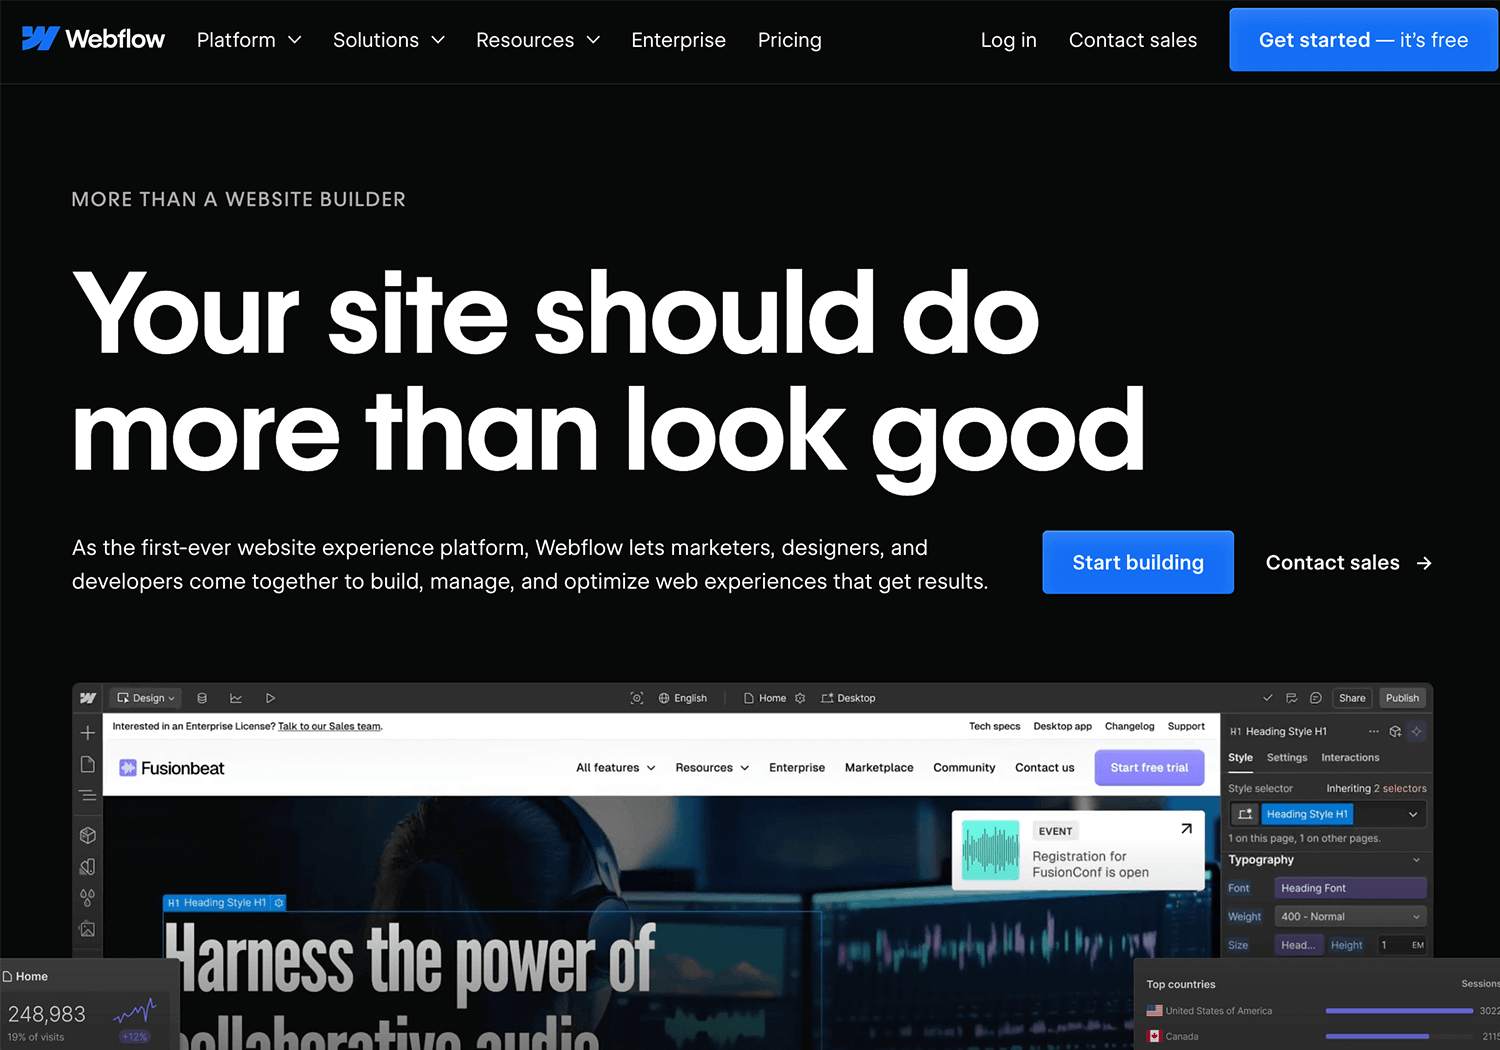
Webflow bridges the gap between design and development, allowing designers to create responsive websites without writing code. Its visual interface and powerful features make it a great tool for prototyping and building production-ready websites.
There are different ways to go about designing prototypes and when it comes to choosing one, there’s no size that fits all. You need to find the method that works best for your situation or company.
Prototypes can vary in fidelity, and in reality, you can begin at any stage. However, we recommend starting with a wireframe first and nailing down the basics before progressing to more pixel-perfect designs.
Lastly, the agile approach is unbeatable when it comes to getting a successful product to market quickly. For best results, adopt an iterative approach to your prototyping, failing fast and testing often until you get on the right path.
Remember: mistakes are not punished in agile, as long as they’re made early. They will help guide you to where you need to be.
PROTOTYPE · COMMUNICATE · VALIDATE
ALL-IN-ONE PROTOTYPING TOOL FOR WEB AND MOBILE APPS
Related Content
 Learn how to design better e-learning platforms with user-centered UX principles, real examples, and high-fidelity prototyping tips to boost engagement and learning outcomes.13 min Read
 Infinite scroll keeps users engaged, but it’s not always the best choice. This guide breaks down when to use it, when to avoid it, and how to design it right.14 min Read
 UX research can be a driving force in design. But what methods are there? How do we approach it? Find out in this post!10 min Read
