On-site user testing is great, but it can be expensive and complex. Remote user testing is within reach of everyone - check out why it might be perfect for you!
User testing is one of the key phases of product development. It has the power to validate the design and give everyone some peace of mind – or to make you drop the design and go back to the drawing board. But if it’s so important in the development process, why do many teams struggle with it?
Different teams will face different challenges, of course. But many of the issues with user testing relate to the fact that it can be difficult to plan and execute – aside from bringing a heft bill to the project. You need to find the right people, get them down to a certain place and have them use your product. Even though it may sound simple, it can be surprisingly tough.
And it is precisely because user testing can be difficult and expensive, that we’ve seen the rise of remote user testing. This can be a way design teams can curb the large cost of finding and transporting people, or even the trouble of compiling the data from the tests. But what exactly is remote user testing? What kind of features would a remote testing tool need?
Remote testing is using a software to carry out the user testing on a prototype or live product. The testing itself will be quite similar to the classic concept of user testing – in truth, only the medium will change. And by that, we mean that you’ll be applying the same research methodology in your remote testing as you would in a face-to-face test.
The goals remain the same. You want to find out if your product succeeds in solving a problem for users, as well as to get a feel of users’ perception of the product. You want to do classic user testing things, such as establishing standards for the usability of your product, or validate certain aspects of the product – such as the navigation.
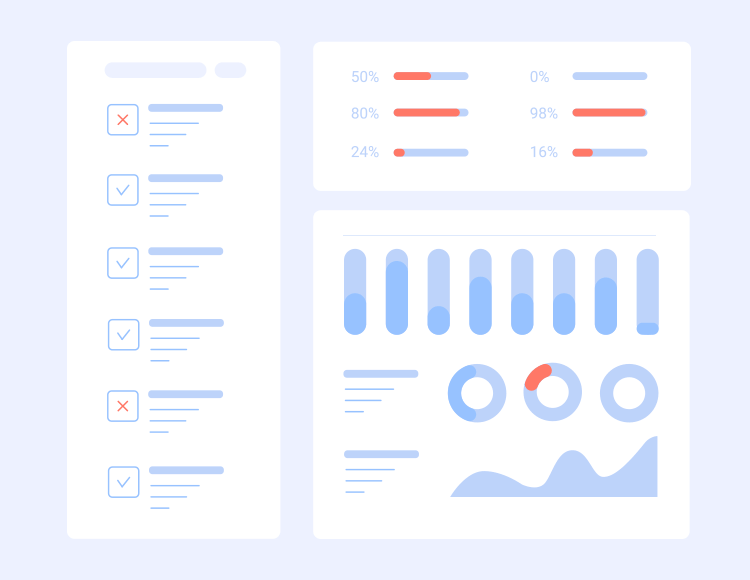
The important things about remote testing are planning and the medium.
Planning refers to planning the actual things you’ll be testing, activities and questions you will ask of users who participate, setting of standards and so on. This is important because it will stipulate which metrics you’ll need to assess your success or failure.
On metrics: Some metrics are quite simple and are commonly used in all sorts of testing, such as task success rate. Others, are specific to what you’re testing and will vary greatly.
The medium refers to how you’ll be carrying your remote testing. This can be, in a way, simpler than the planning phase. This is largely because there are plenty of tools that help you carry out remote user testing. These tools will put the design in front of users and record their behavior -but we’ll get to those in due time. For now, let’s go over some of the key benefits of remote user testing.
In on-site user testing, we usually have a trained researcher (in-house or external) who conducts the testing in a way that resembles an interview. This interview can be conducted either in a special UX lab, or in a more familiar setting for users such as a cafe or their own homes.
There are those who say that face-to-face user testing is likely to bring in more feedback. It’s hard to argue with that, as you can’t put a price on observing the user’s expressions and the ability to keep them talking as they use the product.
Things that we often take for granted when talking to people such as oscillations in tone of voice, watching their body language and defining the pace of the conversation – are all factors that allow for more feedback. Chances are, a UX researcher would make something out of a twitch of an eyebrow, and you can’t put a price on that level of insight.
There is another powerful difference between remote and on-site user testing: getting stakeholder buy-in. For top business folks, few things are as powerful as watching real people use the product.
In fact, Jakob Nielsen even defends that having more stakeholders attend usability tests is one of the main factors behind why companies invest in UX labs. Now that is a statement, right? As it turns out, business analysts will not only be more involved in the product by being there for the testing – they can also contribute with their own expertise.
For more: Read more of Jakob Nielsen’s article on involving stakeholders in user testing.
On-site research, however, has one major drawback. Precisely due to us having one person conducting the whole show, it can fail. Researchers are, after all, people. It can be tricky to find a researcher that is experienced and thorough with the planning and implementing of the test. The success of the entire testing, and in a way the entire product, will depend heavily on the researcher. No pressure, right?
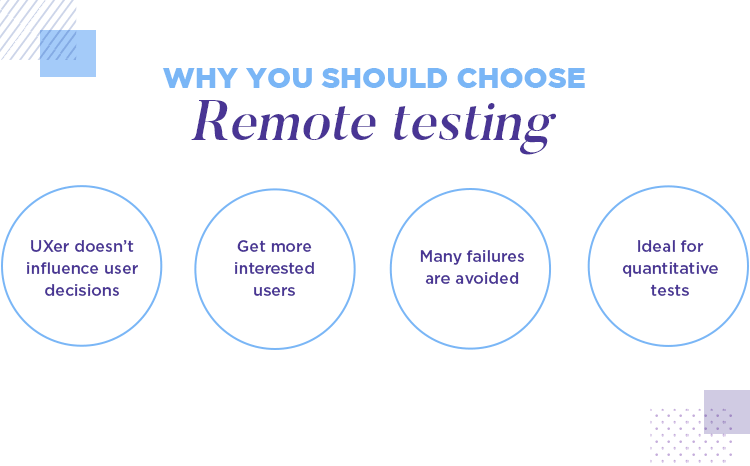
There is one last thing to be said about on-site user testing. It’s difficult to scale. After all, even if you do have a UX lab, there will only be so many people who fit in there – which makes it a good method for qualitative testing. When larger numbers of people are needed for quantitative testing, remote user testing tends to be the way to go.
Many of the benefits of remote user testing involve the features of the pieces of software that make it possible.
The idea is that by using the right tool, you save yourself the trouble of recruiting, gathering and conducting the test with all the users who participate – this is known as unmoderated or automated remote testing. With this method, you establish what you want to test and what the test will be like for participants – and come back once all the data is there.
Remote user testing is widely popular, and for clear reasons. Not all teams can afford the high cost of having a lab or the time it takes to plan and implement the testing face-to-face. Remote user testing is extremely cost-effective and it does allow for a wider reach.
That is because the main immediate cost from your whole testing will be the cost of the tool. Usually, the tool itself minds the recruiting and carrying out of the test, leaving only the interpretation of data to the design team. This cost pales in comparison to organizing a full user testing face-to-face.
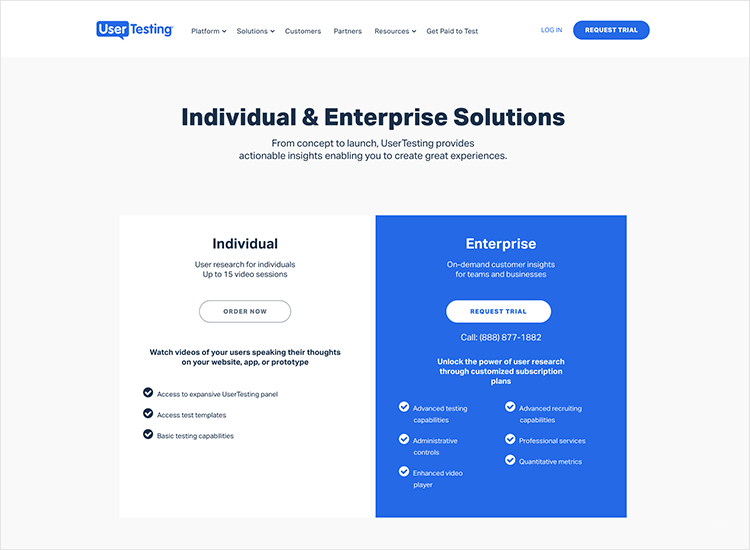
There is, however, more to the cost that can arise from remote user testing.
Logically, your remote user testing may reveal weak points in you design or even a major flaw in the concept of the product. Revelations like these are a good thing, but they represent additional costs as your product will have to be modified. The more changes are needed, and the later into the product development process, the more expensive these changes will be.
Remote user testing tools come with a wide array of price tags. That means that you can find relatively cheap tools or more pricier ones that likely offer more features for the remote user testing and collection of data. This means a lot of flexibility to the UX research team to find a tool that suits their needs and fits in nicely in their budget.
Carrying out your remote user testing online allows the design team to test their design on basically anyone you can think of. You’re not confined to your area and can, instead, have access to the entire world. You can create apps that are tailored to europeans, or a website that is made specifically for australians.
When it comes to reaching distant groups of users, remote user testing solves pretty much all your problems. But it also comes with another huge benefit: flexibility and agility. This is a big win for teams that need to test small parts of their product, or need to get feedback quickly.
The tool itself will be available to the team at all times, opening the window for constant validation of design decisions. Teams will be able to schedule remote user testing sessions as many times as they need – which can have a huge impact on the workflow, and the ultimate result in the form of a finished product.
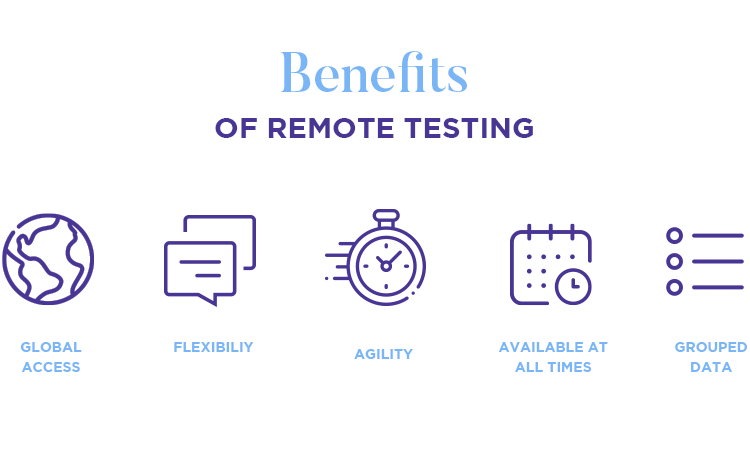
The speed with which you get data also contributes to the agility of this method. The tool gathers all the data for you, and presents it in a way that the entire team can interpret. Yes, interpreting that data can take a while, as making sense of data isn’t always a straight path to the next step.
It does help, however, that all this data is already organized and presented to you in ways that are easy to understand – which takes us to the next big benefit of remote user testing.
If you were conducting a face-to-face usability test, you and the team would be in charge of writing everything down, recording users, and listing out all the data you can. Once all this data is recorded, comes the time to organize it all so that other people can easily understand it. That can include making use of visual aids, such as graphs and charts, to help others make sense of the numbers.
This part doesn’t sound too easy – because it isn’t. Writing things down is all fun and games until you have to record each action that people take, along with more notes on their reactions and behavior. Things can get lost and mixed up. The opportunity for errors go where humans go.
And so, it is better to have a piece of software that will do all the recording for you, both of hard data such as success rates and other factors such as cursor movement or eye tracking. If the remote user testing tool does it for you, there is very little chance of any detail slipping away.

But there is another benefit to having the tool handle the data for you. In UX, it can be really difficult to quantify usability. After all, how do you communicate usability to a room full of business analysts? It can be difficult to take all the participant behavior and transform it into hard statistics and numbers that stakeholders will understand.
That is where having a good remote user testing tool comes in really handy. If the tool is any good, it will provide you with full statistics and put it all into graphs, maps and charts. Many of the tools even offer you the ability to export it all into a report without any need for you to intervene.
Alright. Now that we’ve gone through what remote user testing is and why you may want to engage in it – let’s dive into how you go about that.
This may seem obvious to an experienced researcher, but it never hurts to say. Before you can actually get any remote user testing done, you have to do some homework. The crucials are the things without which you can’t possibly go on to test your design: the target users, your goals and standards, as well as what tool you’ll be using.
It’s non-negotiable to do some planning before you start testing – your target users, for example. This will be a representative group of the users you’re designing for, which is the whole reason why testing adds value to the process. Think of this group of users as your window into how your users all around the world think, feel and perceive the product.
This part comes with the challenge of defining how many people will take part in your usability testing. This can be tricky, as remote user testing doesn’t limit the number of participants – making it a decision you and your team must make.

This is the time to differentiate between qualitative and quantitative testing. For most products and teams, qualitative testing is the way to go. Usually, getting more people means higher costs and more time needed to carry it all out. It’s not always about numbers but rather finding key insights that will drive your design decisions.
For more: Feel free to check out Jacob Nielsen’s article titled How many test users in a Usability Study? It recommends qualitative tests to have about 5 participants.
Next up, are your goals and standards. These are important, because it’s these goals that will lead you the metrics you’ll be using to measure success. These can often be slightly confusing, as they can vary greatly depending on what you’re testing. Let’s go over a simple example of how this would work.
You are testing the navigation design of your live product or the design in your website prototyping tool. Your goal is that all users must make their way from the homepage of your website to a specific lower-level page – that is the main task. But this goal alone is unlikely to help you understand which way is up. You need standards and metrics in order to understand which way is up.
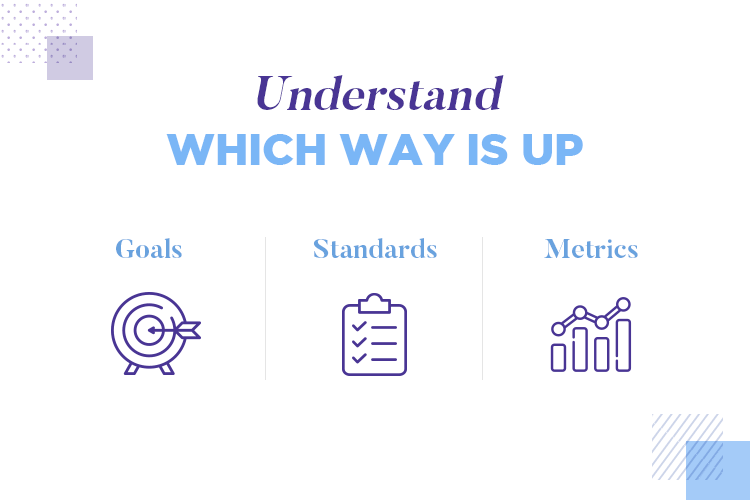
And so, you and your team define that your standards will be as follows: at least 60% of participants have to achieve the task within 60 seconds. This will also give you your metric, which is not just the simple achievement of the task, but doing it within a time frame.
This way, it will be immediately clear if your navigation design succeeded or failed. And what is more, it will give you a point of reference. Once your team has gone over the navigation design and made all the necessary modifications, comes the time to test it again. By means of comparison, you’ll be able to see which direction you should be going in when it comes to the design.
There are quite a few remote user testing tools out there. Some of them are more focused on certain testing methods, such as Crazy Egg and heatmaps. Others are more complete and offer a whole set of features, such as UserZoom.
The choice of tools is likely to depend on several factors, such as what type of testing features you’ll need. Other factors that may affect your decision are your budget, the number of tests you need or how you want the data to be displayed.
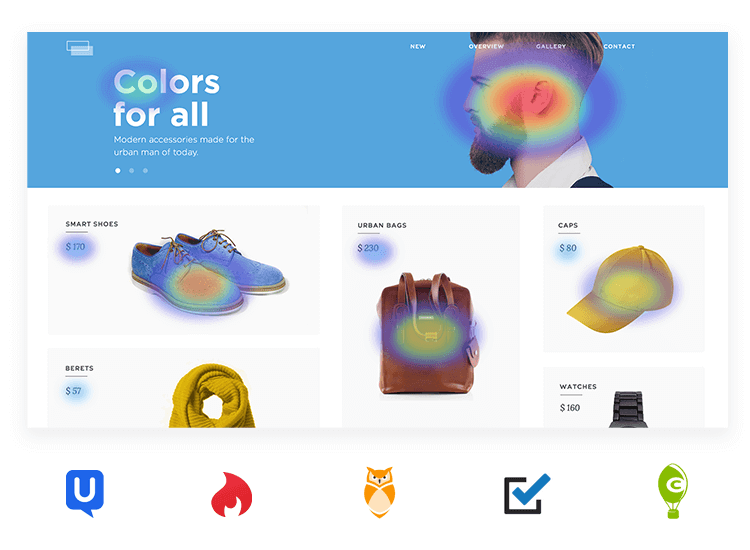
Another important detail that could have a big impact on your workflow is the possible integration of your remote user testing tool with your prototyping tool. An integration would likely speed up the process of moving your prototype to the remote user testing platform, or bring about a better display of data that is visually linked to certain parts of your prototype.
Don’t miss out: For a speedy remote user testing process, check out Justinmind’s integration with user testing tools!
The good thing is that for most of these remote testing tools, the actual set up is very brief. Once you get set on a tool, do take it for a test drive (many of them offer free trials). It never hurts to take the tool for a spin before you commit.
Consider this the script of your remote user testing. In this context, participants will be wearing the shoes of users but with one crucial difference. In the remote user testing, participants didn’t actually need or want to use your product.
There’s a certain naturality in any of us picking up our phones and going through a new app we’re excited about. There’s a drive to explore, to discover what this new app can do for us. These feelings are something that you will need to simulate with your script – in the form of tasks and questions.

The questions should start off simple. You can ask a bit about the individual, which could provide a better insight into the type of people who will use your product. If done right, the first few questions should make sure the user is relaxed, and in the right state of mind to carry out the study.
Example questions could include things like “Do you have any children?” or “Do you work from home?”. Bonus points if these ice-breaker questions relate to your product.
Your tasks will be oriented towards a specific area of the design you want to test, and can be as simple as reaching a page or making a purchase.

The important thing is that you offer participants a scenario in which they can imagine themselves. For example, if you’re driving an app for streaming series, your scenario could be the user, calmly sitting at home after a long day’s work. If your app is all about exercise, your scenario could be a park or the gym. Your task will follow the scenario’s lead.
- Scenario: You have just arrived at home after working all day. You sit down on the sofa and decide to watch a comedy show on TV.
- Task: Open the app and select a comedy series to watch.
Understanding how people experience things can be tough. Try to frame your questions in an open format, so that users can elaborate and share their opinions without interruption. It’s important that your questions never imply your own opinion on the product, so that you don’t influence participants’ answers.
We have a wonderful post on the kind of user testing questions you can include in your script. The important thing is that you always encourage people to share how they felt, what they think.
With the right tool, the actual testing won’t require any action from you. In fact, with most remote testing tools, you simply set it up with all the metrics and parameters and come back once the data is all there.
There is the exception of tools that allow for moderated remote user tests. With these tools, you can have a researcher or the designer take action during the test and interact with participants. This is the perfect choice if you want to be able to ask follow up questions or intervene when a user becomes stuck when trying to achieve a task.

Another thing worth mentioning here is that at this point, you want to have run a trial test before you actually invite people to participate. Remote user testing is all about validating the design before its release – so consider validating your testing tasks and questions before that is released too.
Arguably, making sense of the data is the most difficult part of remote user testing. This is when you and your team will find yourselves looking at a graph, and wondering just what the numbers mean.
Having some direction and some sense of what is acceptable is key. That’s why you need to establish standards and goals. Once you have a point of reference for the statistics, it becomes much easier to spot areas that lived up to your standards and those that didn’t. By looking at how participants behaved, you’ll come to identify weak spots in the design that need to be revisited.
For many teams, interpretation of the data is only part of the battle. Particularly true for larger companies, this data will need to add value to the project in the eyes of stakeholders. This data needs to help you get their buy-in! Unfortunately, simply sending stakeholders a screenshot of the graphs is hardly enough.
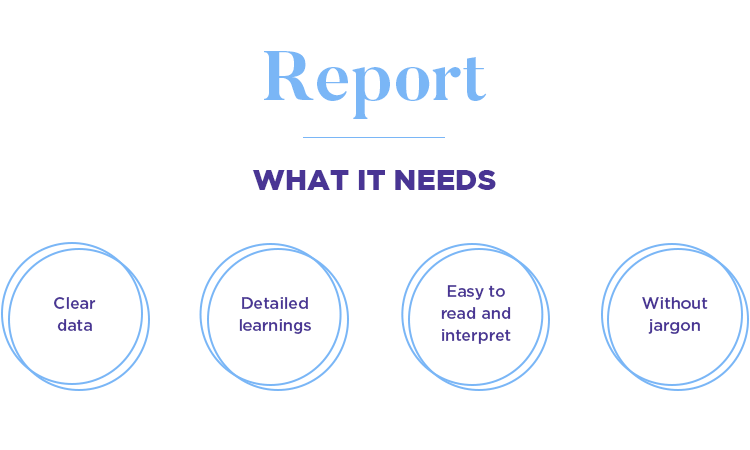
That’s why many teams take all that data and turn it into a report. Ideally, the report should lay down not just the key pieces of data but also what they mean. The actual format of the report will depend on what you believe is the best way to communicate what you’ve learned or perhaps on how previous reports are done in your company.
The key thing about your report is that it needs to be easy to read and absorb. Your stakeholders are likely to consist of mostly business representatives and engineers or developers. This means your insights and learnings need to be spelled out in a simple way, free of any jargon or design-sector lingo.
Remote testing can be a daunting endeavor at first sight. It does involve a lot different factors that all have an impact on how your test is conducted and the final insights it gives you. Not to mention, it can have a huge impact on your final design.
With all that said, there is something truly gratifying about conducting a remote user test and watch your product improve its performance with each round of modifications. Your remote user testing is the window into how users will experience the design, and for that alone, it is extremely valuable.
With each round of tests, you’ll be more and more familiar with what kind of people you’re designing for – and you’ll get better at putting yourself in their shoes. Consider your usability testing a map that you can follow to your destination: a final product that makes a difference in users lives.
