How to prototype interactive images
In this article, you’ll learn how to prototype an interactive image. You’ll define a region on an image so that text appears when you move the mouse over it.
Here’s how you build it:
View
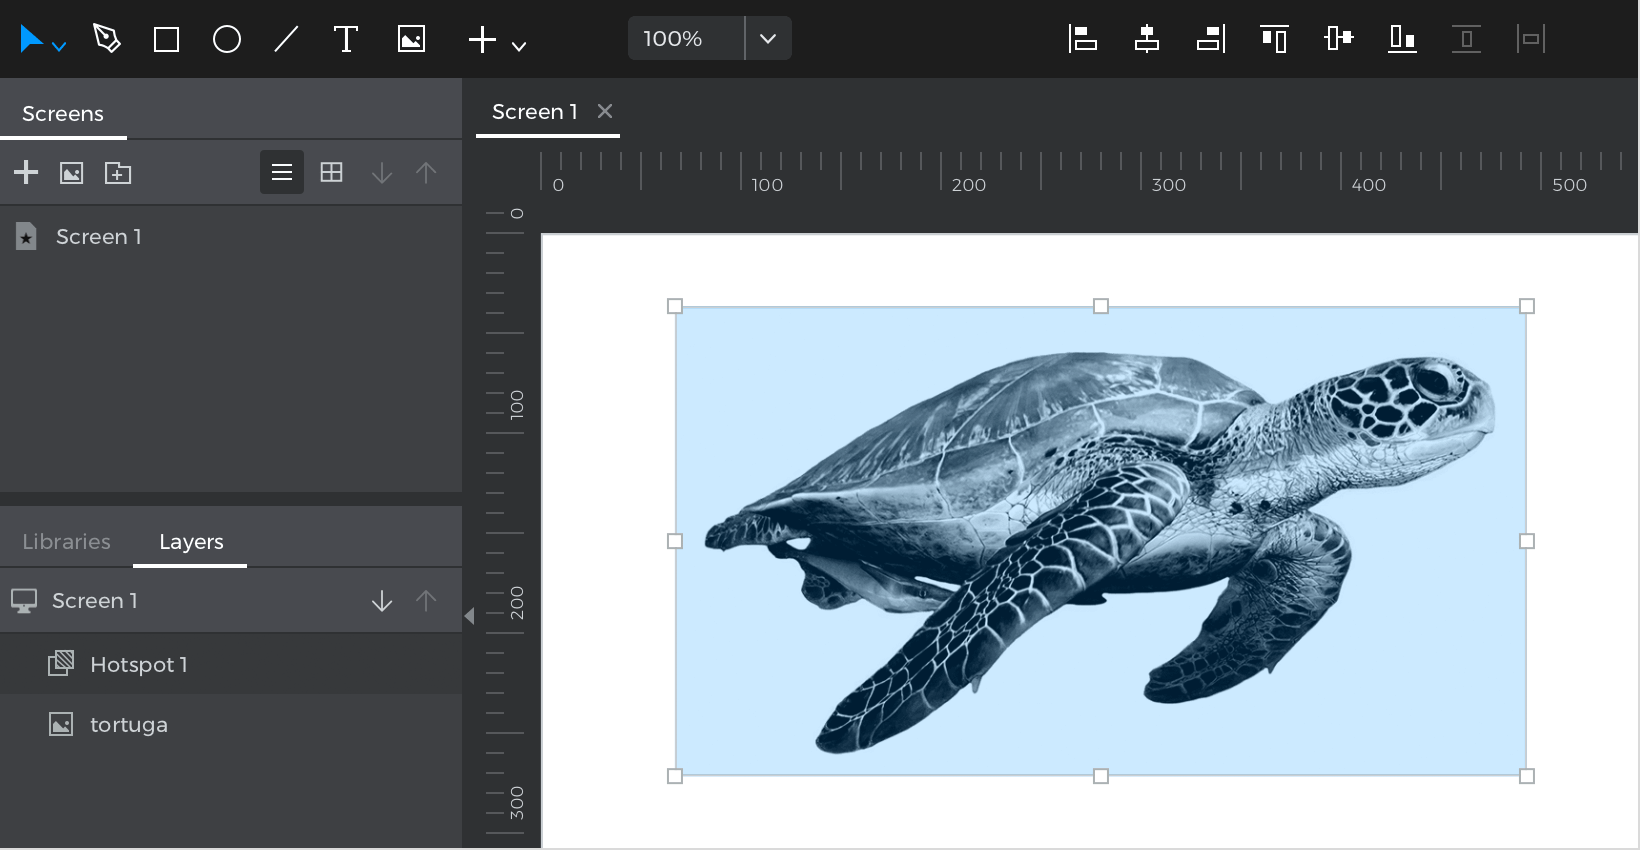
- Click “Image” (clicking this tool will display a file explorer to select an image file). After selecting a file, you can choose where to place it in the canvas; you can also drag the “Image” widget from the “Basic widget” library to the canvas and double-click it to load your image.
- Select “Hotspot” and put it on top of your image; you can also drag the widget “Hotspot” from the navigation tab under the “Basic widget” library; adjust the position to cover the area where to attach the action.

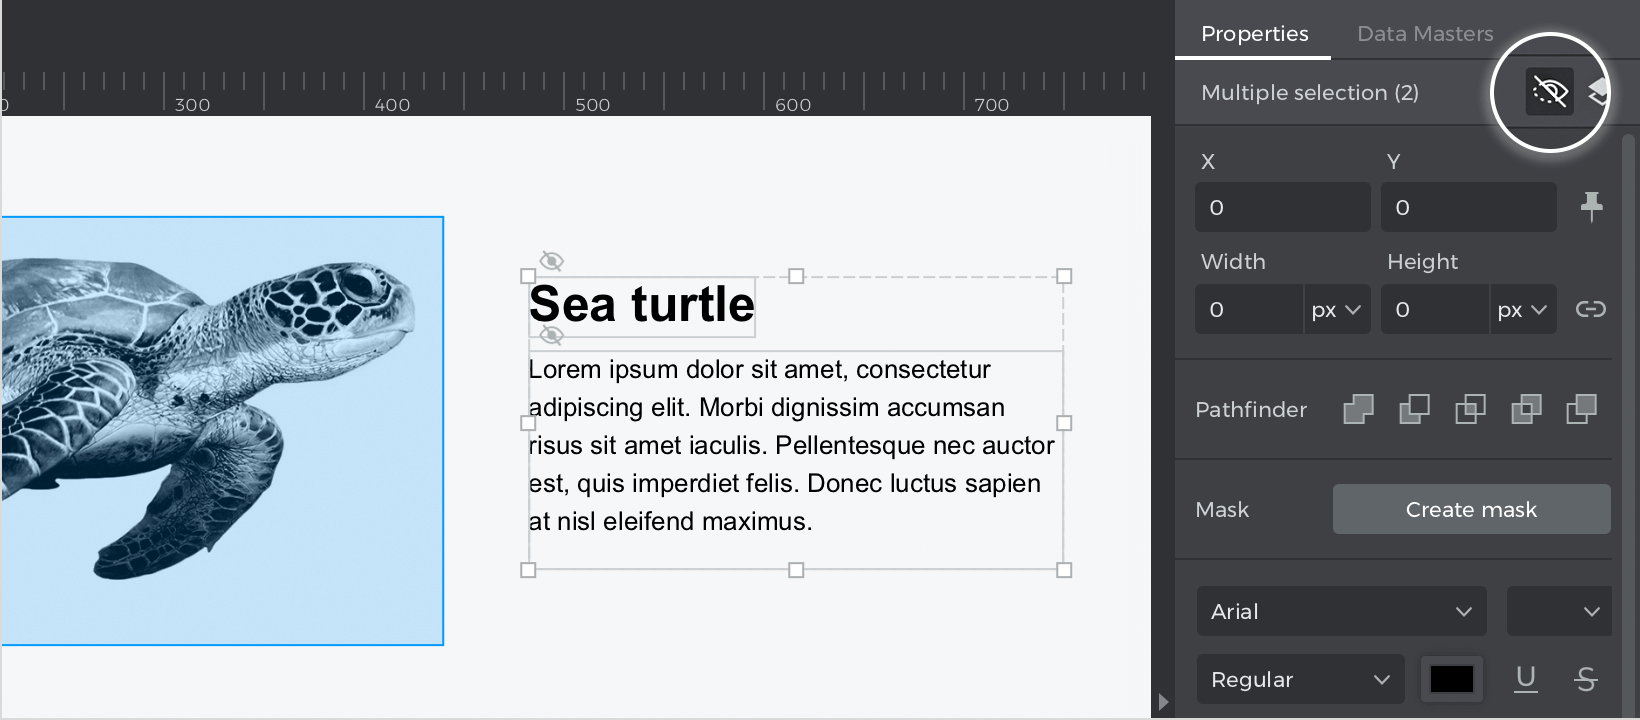
- Drag the “Text”, place it on the canvas and go to the Properties palette to hide it by clicking the “Hidden in simulation” icon.

Events
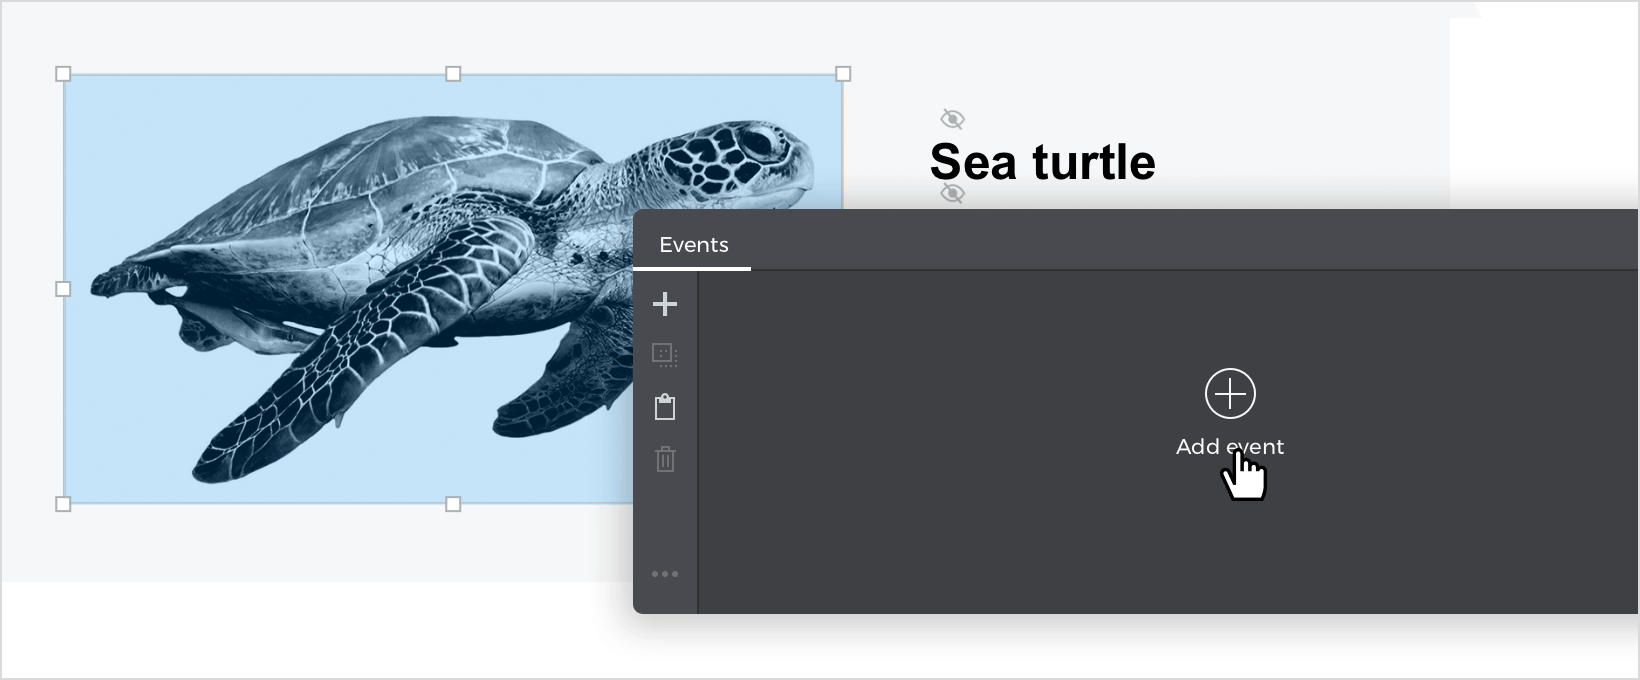
Select the “Hotspot”, go to the Events palette, click “Add event”.

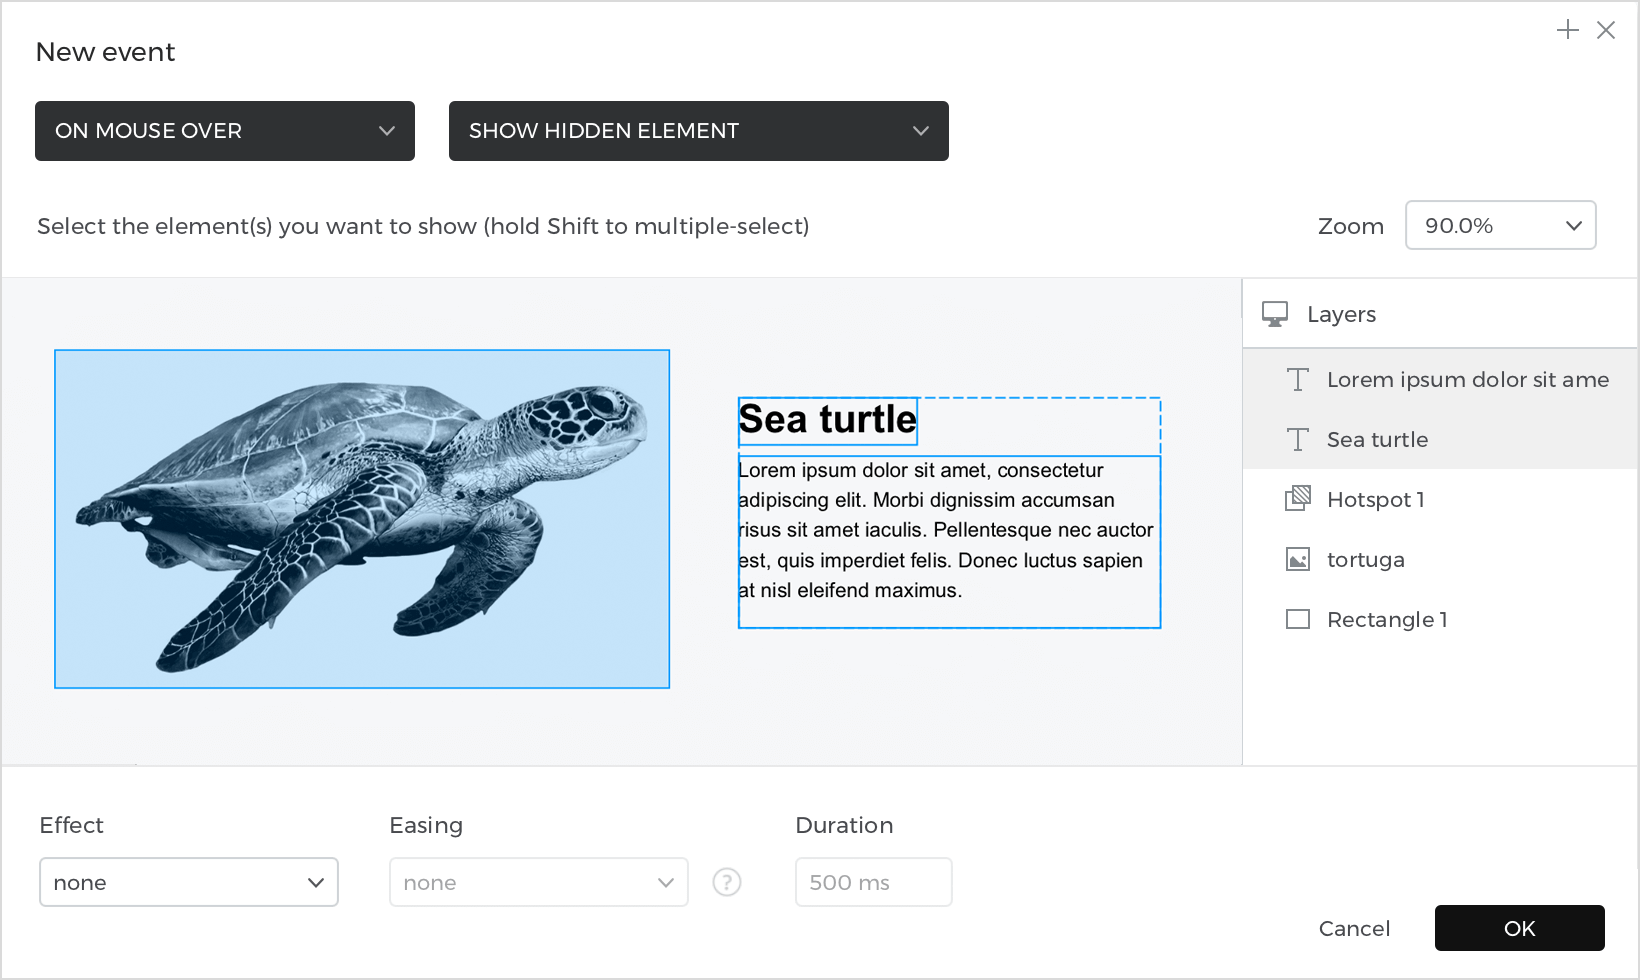
- In the dialog box click on “Choose Trigger” drop-down menu, hover over the “Mouse” section, and select “on Mouse Over”.
- In “Choose Action” select “Show hidden element” and select the “Text”. Click “Ok” to finish creating the event.

Simulate your prototype.

