Templates and Masters
With Templates and Masters, you can define global layouts and styles across many screens in your prototypes.
Templates
Templates are useful for creating screen grids and establishing default element designs.
Design a screen layout
You can keep consistent formatting and spacing throughout your prototype with a screen grid. Adding one is easy:
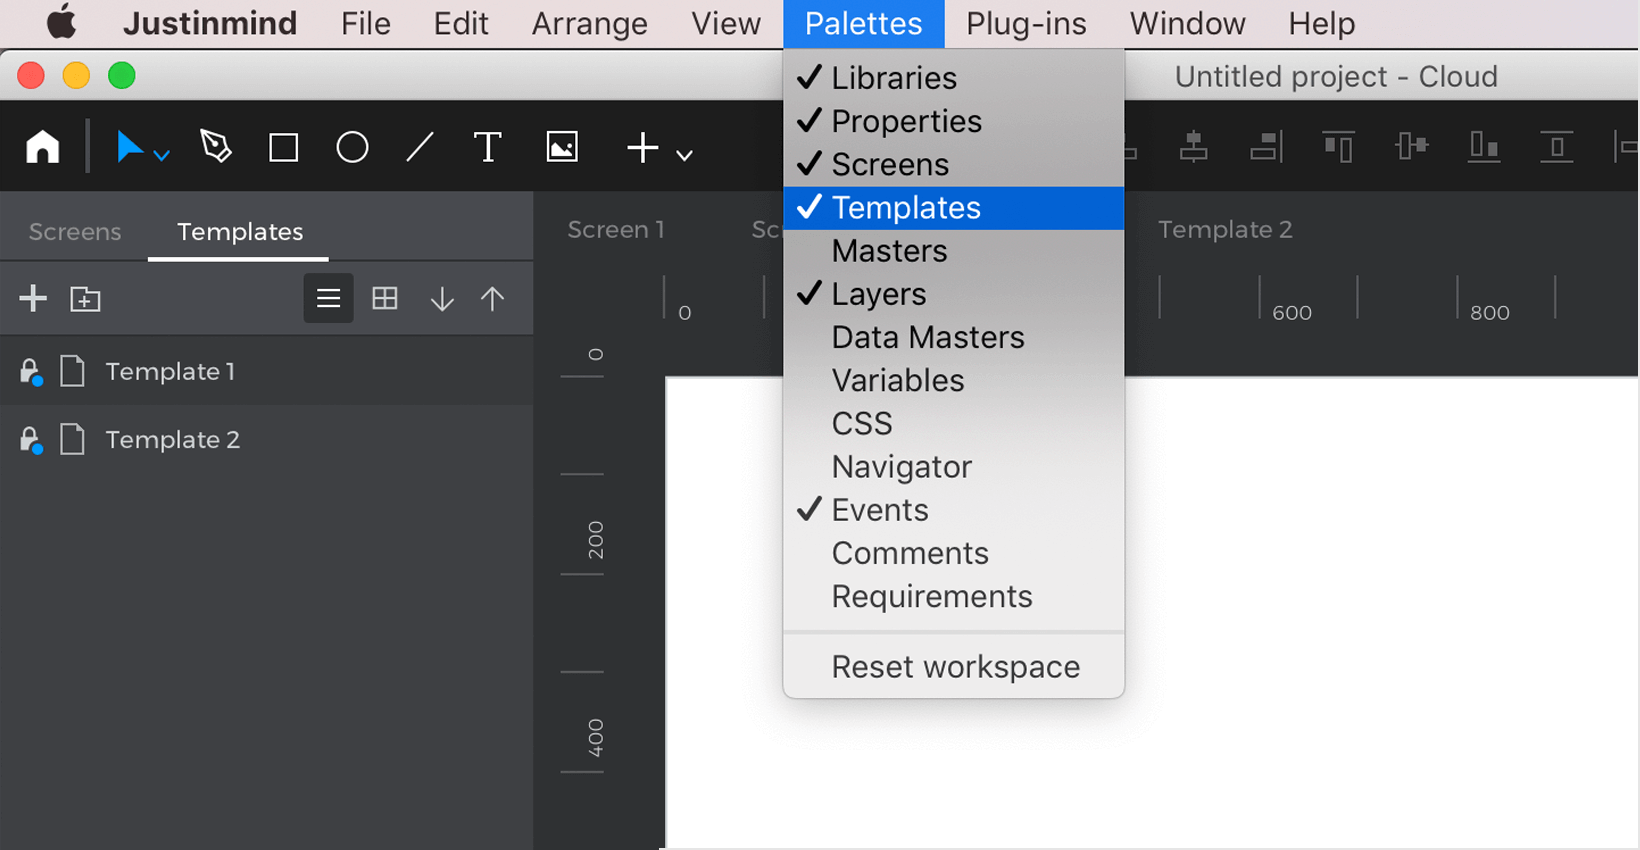
- Go to the Templates palette and select “Template 1”, which will open a blank Canvas. If you don’t see the Templates palette, make sure it’s checked to be visible in the Window menu.

- Hover across the rulers around the Canvas and click when you’re ready to place a layout guide. You can click and drag on a guide you’ve already placed to move its position.
- Go back to a screen in your prototype and notice how the guides you arranged are reflected. You’ll see these guides on any screen you create with this template.
Next, start building the content of the layout, using elements and widgets to create common designs you expect to use many times, like headers and navigation sidebars.
You can even add events like Links and Mouse Over effects to elements within the template, and they’ll work across all screens which use that template.
Go back to a screen in your prototype and you’ll see the content you just added on the Canvas. The template’s content will be tinted to let you know it’s from a template. You can disable the tint in the View menu.
Create and assign a new template
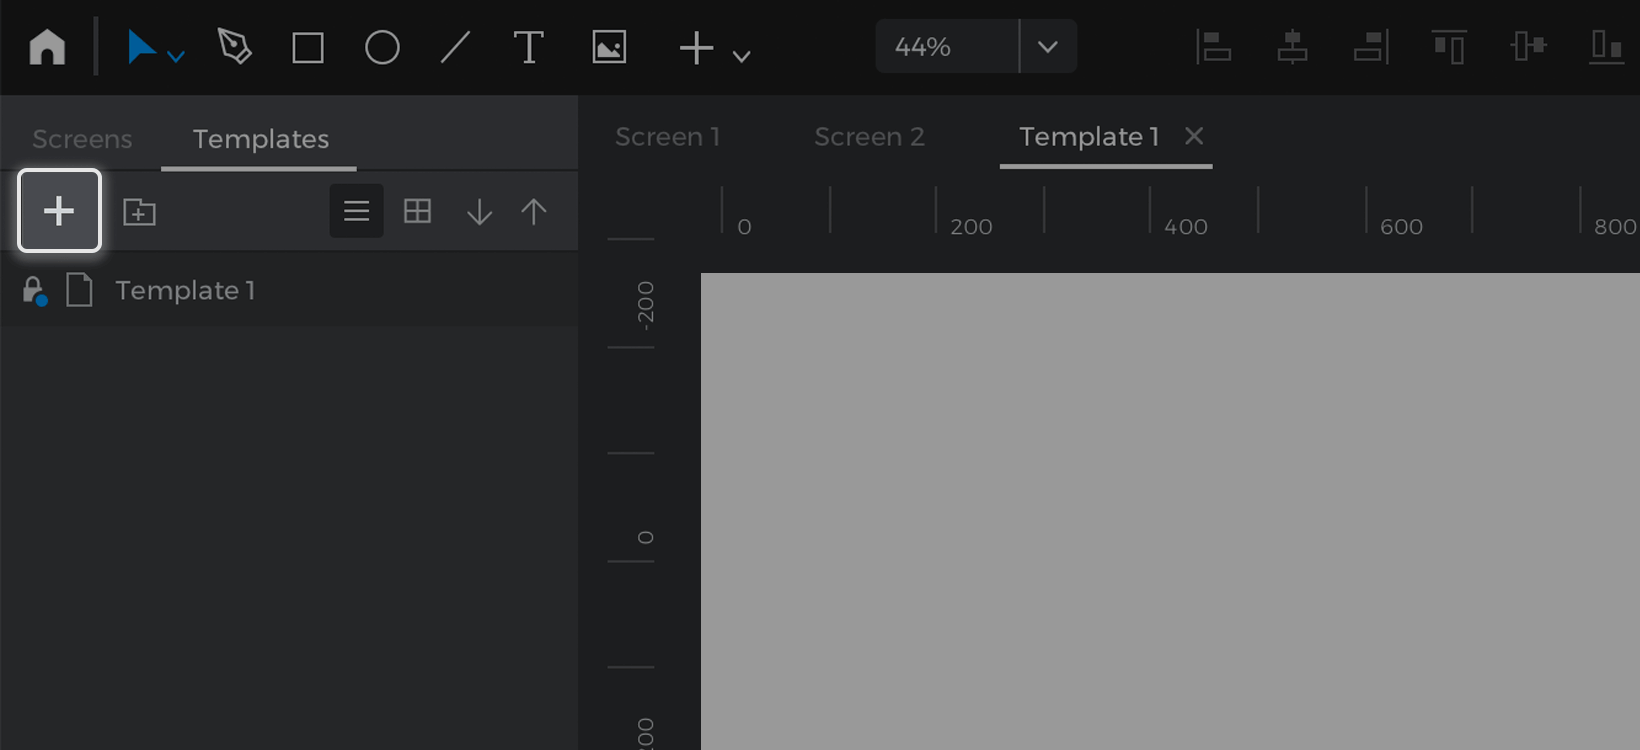
You can add a new blank template to your prototype by clicking the ‘+’ button in the Templates palette.

After creating a new template, you can assign it to a screen in your prototype:
- Select a screen where you’d like to use that template.
- Click on the screen name in the Layers palette or double click on the Canvas to select the screen.
- Look to the Properties palette and change the template in the ‘Template’ dropdown.
Define default element styles
You can also specify basic widget properties, like sizing, coloring, and fonts in a template:

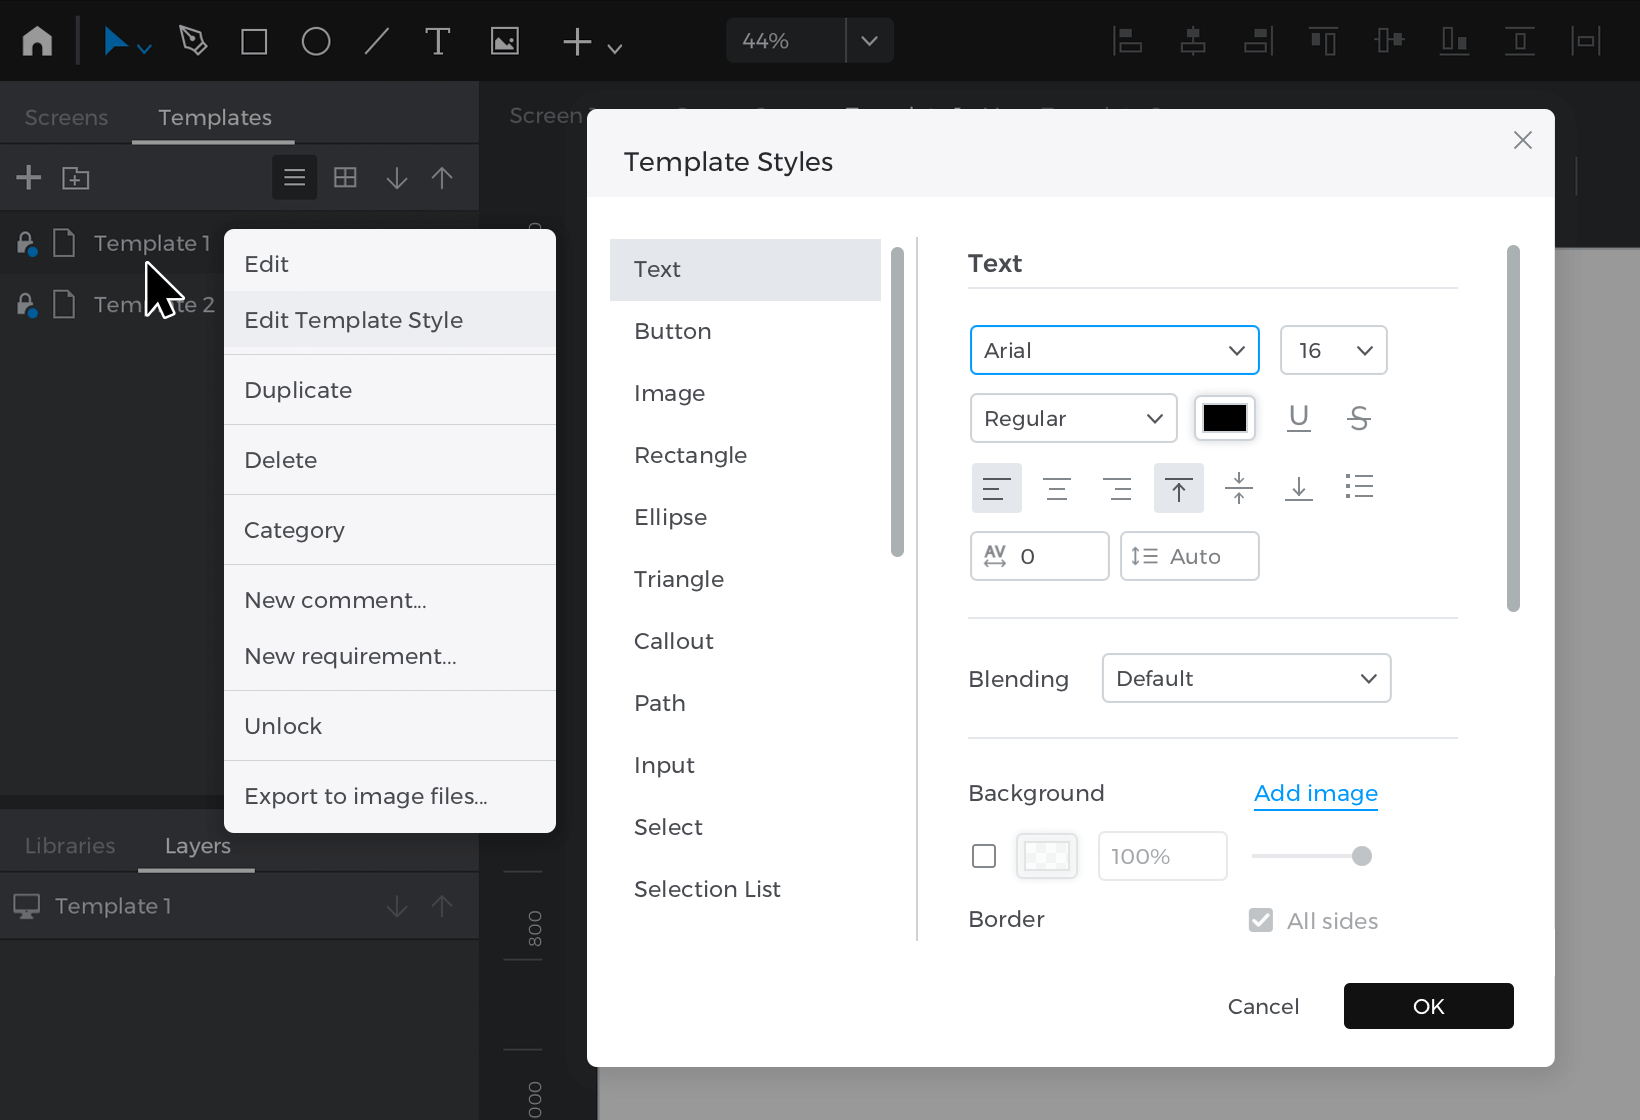
- Right-click on a template in the Templates palette and select ‘Edit Template Style’.
- Select elements from the pop-up list and customize their appearance.
Now, any new elements you place on the template and any screen which uses that template will show the styles you detailed.
Masters
Masters are elements or groups of elements that you can reuse in your prototype. They’re useful for creating base designs you plan to use many times, like CTA buttons, texts, and dropdowns.
Any changes you make to a master will be reflected in every instance of that master you use in your prototype. Unlike templates, you can use many different masters on one screen.
Create a master
Adding a new master to your prototype is easy:
- Go to the Masters palette and click the ‘+’ button to create a new master. If you don’t see the Masters palette, make sure it’s checked to be visible in the Window menu.
- Notice that you won’t see a blank white Canvas to design onto as you do with a template. Because masters are independent of any screen, they won’t have a regular background like screens and templates do. Instead, you can just drag and drop elements onto the transparent Canvas. Like templates, you can add events to elements within a master.
Edit a master
To edit or change a master, click on it in the Masters palette, or double click on the master instance on a screen, which will open it for editing.
Remember that any changes you make to a master will be applied to all its instances throughout the prototype.
If you want to edit a master for only a specific screen, right-click on the master instance on the Canvas and select ‘Detach from master’. Elements from the master on that screen will be grouped into a Dynamic Panel container, which you can open and edit as preferred.